Recommendations for choosing tiles
When choosing ceiling tiles, first of all, you need to determine the most preferable type. Today, there are several types of panels on sale, including:
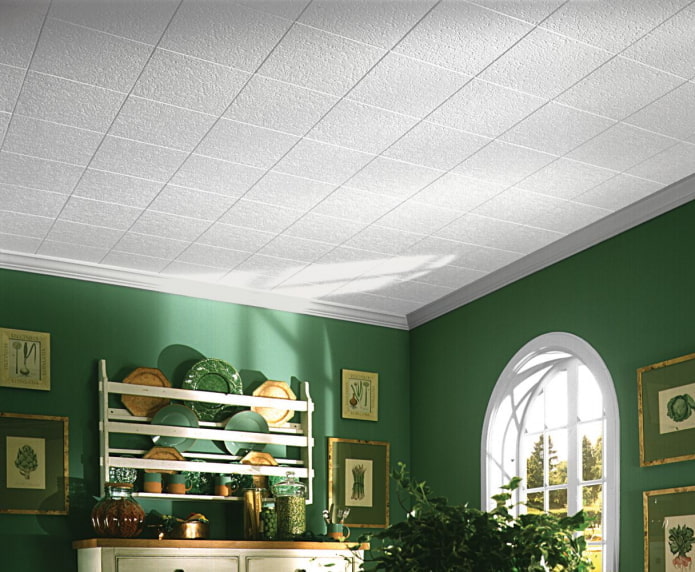
- Stamped. They are made of polystyrene foam by pressing, acquire a soft and granular (porous, loose) surface with an unclear pattern, and are available only in white. Typically, the thickness of polystyrene squares is about 7-8 mm. They tend to accumulate dust and dirt, so they are often painted. Polystyrene foam is recommended for use in dry rooms.
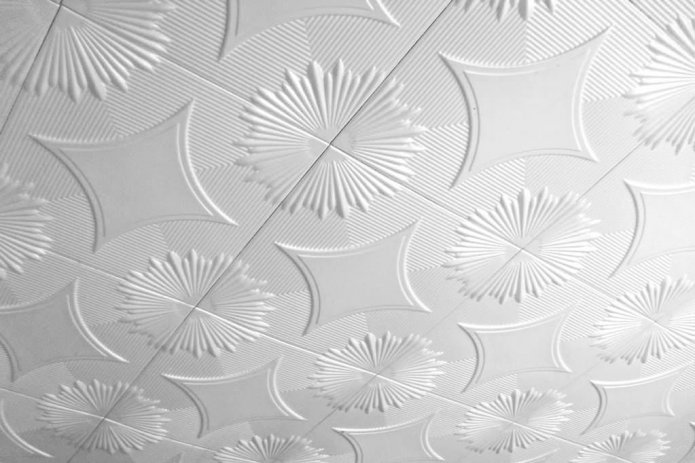
- Injection, or cast. Production is carried out from granulated polystyrene foam by pressing. They acquire a smooth, dense surface with a clear, expressive pattern, and are available only in white. The thickness of polystyrene tiles ranges from 8 to 14 mm. Such panels are moisture-resistant and fire-safe due to the inclusion of fire retardants.
- Extruded. Such ceiling tiles are made of polystyrene foam using the extrusion method (pouring a molten composition into special forms). They become very flexible, have a thickness of only about 3 mm. They are moisture-resistant and are used mainly in rooms with high humidity: in the bathroom, kitchen. Additionally, they are laminated, which increases the wear resistance of the material. At the same time, their cost is lower. for injection panels.
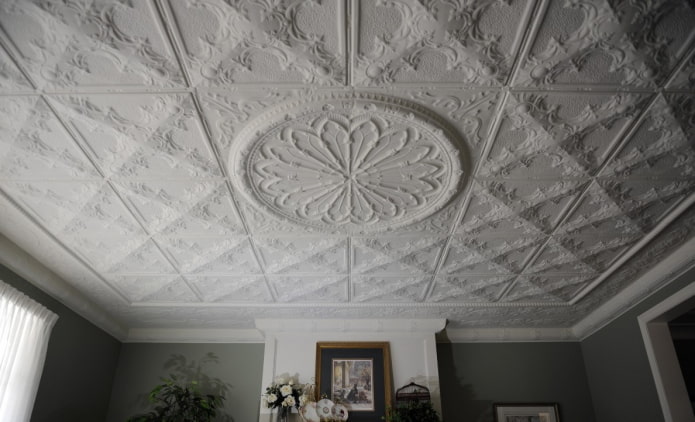
- Gypsum. Made of moisture-resistant and fire-safe material that can withstand large temperature differences. They have excellent aesthetic characteristics (beautiful patterns, different colors).
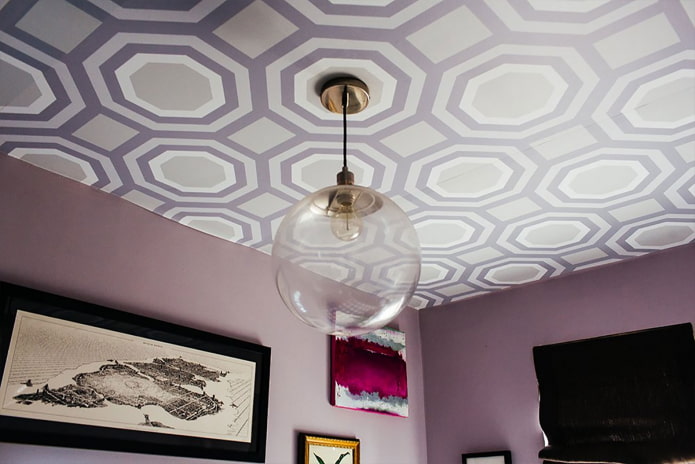
When choosing ceiling tiles, you should also consider the design. There are relief panels (resembling stucco), smooth colored (with a pattern or different textures, for example, wood), with special decorative inserts.
Having decided on the basic characteristics, you should study the material and the conditions of its use, as well as some additional parameters, including:
- Integrity of the product. Pay attention to the surface and edges: they should be uniform and smooth, without defects (chips and nicks). It is especially important to take this into account when buying seamless ceiling tiles (when laying which the joints are not visible), since any defects will become noticeable upon completion of the work.
- Quality. In order for the material to perform its functions and serve for the entire shelf life specified by the manufacturer, it must be manufactured in strict accordance with the requirements of technological processes. To make sure that the quality is good, lightly pull the corner of the panel and inspect it. If there are no cracks and the material remains intact, then it is of high quality and can be purchased.
- Geometry. Measure the diagonals of 1 tile: if they are equal, then the installation will be even and beautiful. The difference in measurements indicates that the products are of poor quality and if they are glued, distortions will occur, uneven seams and voids will form at the joints.
- Compliance with operating conditions. Manufacturers indicate on the original packaging the conditions under which the material can be used. For example, stamped panels cannot be glued in a room with high humidity and increased dust concentration, as they will wear out quickly. On the contrary, in such conditions, extruded panels last for many years and are easy to care for.
- The presence of safety markings. Look at the packaging and make sure that it indicates fire safety criteria, including flammability (B), combustibility (G), smoke generation (D), toxicity of combustion products (T). Each parameter is assigned a value from 0 to 3 (the characteristic indicates the degree of danger). The absence of special signs indicates a potential danger when using the panels.
- Availability of quality certificates. The seller must provide them at the first request of the buyer. The absence of such documents is a potential risk of purchasing low-quality materials that will quickly wear out. They can also be toxic.
What surfaces can and cannot be glued
The choice of ceiling tiles depends not only on the performance characteristics, but also on the type of base ceiling covering. The base material should be taken into account, including:
- Wallpaper. They must be removed before installing ceiling tiles. If this is not done, then over time the coating will deform, the tiles may fall off due to the sliding layer of wallpaper.
- Whitewash (lime, chalk, mixed). Chalk whitewash should be completely removed, since the glue does not adhere well to it. And you can leave the lime if it does not peel off.
- Painting. You can install panels over a water-based composition applied in a thin layer. If the paint peels off in some areas, it must be removed. If the ceilings are painted with other mixtures, it is better to completely clean them and only then start applying the primer.
- Plaster mixture. Since it can crumble and peel off over time, it is better not to glue tiles over it. It is recommended to pre-apply and level a thin layer of acrylic putty (gypsum mastic is allowed), having previously exposed the ceiling to the concrete.
- Putty. This is the best option, which provides good adhesion, does not break down under standard household conditions.
Before gluing the tiles, it is necessary to carefully prepare the base.
How to prepare the surface
Preparatory measures before installing tiles on the ceiling include removing paint residues, cleaning the base from dirt and dust. If there are irregularities, then the depressions are carefully sealed with putty (spatula) beforehand and wait for it to dry completely. Then proceed to installation and subsequent finishing, trying to do the work as correctly as possible.
Which glue is better to choose
The quality of the glue determines how strong and reliable the installation will be. Today, a wide variety of materials are offered, which can be grouped into 4 categories:
- Water-based compositions. These are the most popular adhesives, which are characterized by good adhesion and minimal toxicity to humans. They include a wide range of mixtures: from PVA (polyvinyl acetates) to specialized ones such as Bustilat, Titan, Moment, etc. Such compositions are universal and are used in the installation of all types of boards (the most popular brand is Moment). The most significant drawback of water-based adhesives is the long setting time, although most of them have a thick consistency and dry relatively quickly.
- Solvent-based compositions. They are made from a mixture of resins, hydrocarbons, and esters. They have very high adhesion (set well and quickly) and are economical. However, they do not work with all materials, for example, they corrode and deform stretch ceilings. However, they are preferable when installing slabs in rooms (bathrooms, kitchens, etc.) where significant temperature differences are often recorded, since they are resistant to heating. The disadvantage of aggressive solutions is the potential harm caused by the presence of toxins in the composition.
- Compounds. This is a special category of 2-component compositions prepared from a mixture of resins (component A) and a special hardener (component B). Popular compounds include EDP glue, Butacryl, etc. Unlike water- or solvent-based adhesives, they provide adhesion due to the functional properties of the base substances, and not moisture evaporation. Compounds do not deform surfaces, are heat- and moisture-resistant, economical, and safe. The disadvantage is the complexity of the work, since the composition is very thick and dries relatively quickly.
- Thermoplastic adhesives. These are special polymeric materials that melt and harden when heated, holding ceiling panels firmly. They have high adhesion, are fireproof, and non-toxic. But they are not recommended for use in rooms where high temperatures can be recorded, such as in a bathroom. If the thermoplastic begins to melt, the ceiling tiles will deform.
Today, water-based compositions are the most popular due to their versatility, safety, and low cost. If higher adhesion is required, use solvent-based adhesives, but remember the limitations: they cannot be used on stretch ceilings.
How to calculate materials correctly
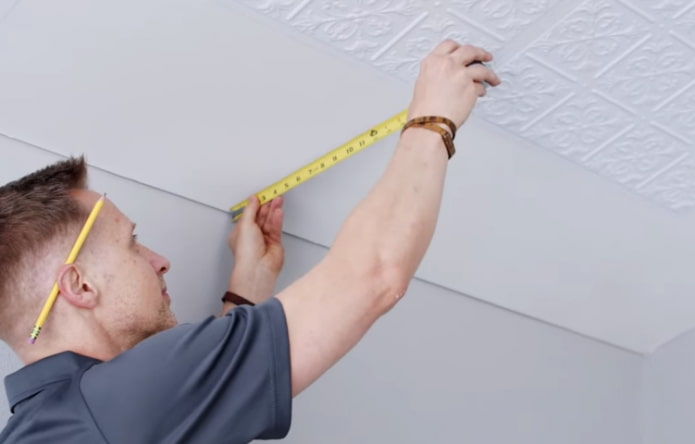
Before buying ceiling tiles, it is advisable to calculate the exact number of elements so that there is no excess material left, otherwise you will have to overpay. This is not difficult to do if the ceiling is in the shape of a regular rectangle. You need to measure 2 adjacent sides (at the intersection of the ceiling and walls) and multiply the found values u200bu200bto get the area. For example, if the ceiling is in the shape of a rectangle with sides of 5 and 3 m, then its area will be 15 m2. Add 2-3 panels as a reserve.
Now it is easy to calculate the number of tiles based on their dimensions. For example, the area of a standard square panel measuring 50 * 50 cm is 0.25 m2. Dividing the first value (the total area of the ceiling) by the second (the area of the tile), we get the number of elements: 60 pcs.
If the ceiling has a non-standard shape, then first you need to draw its diagram on paper. Then divide the resulting figure into equal squares (taking into account their size) and calculate the required number of ceiling panels.
Layout options
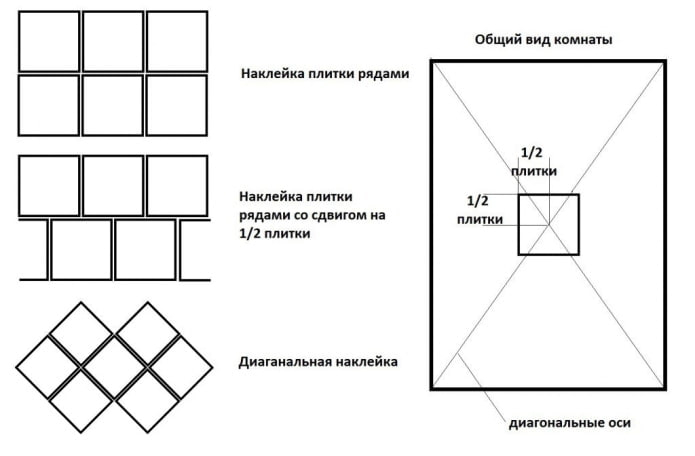
Since foam or polystyrene tiles are made in the form of squares, there are only 3 basic layout options:
- In rows (in strips parallel to the wall). This is the simplest option, as it does not require additional measurements. The panels are laid in rows, from the wall to the opposite side. It is only important to carefully ensure that the gaps remain minimal, and the main seam runs strictly parallel to the edges of the ceiling (or the applied markings). In this case, the interior acquires rigor and corresponds to the classical style.
- In rows with an offset. This type of pasting resembles brickwork. When pasting each subsequent row (parallel to the wall), it is shifted by half (or the selected distance) relative to the previous one. With this design, the interior is more interesting.
- Diagonally. In this case, the tile is turned so that its sides are located diagonally (at an angle of 45 °) relative to the walls. With this design, the interior becomes more dynamic.
Where is it better to start gluing
It is better to start installation from the central point (the center, where the chandelier is usually located) of the ceiling towards the walls, which will make the design more even and balanced. However, in the case of gluing small or narrow rooms, it is worth being guided by considerations of cost-effectiveness and aesthetics. You will have to determine on your own how to mount the panels.
Step-by-step gluing instructions
Regardless of the material from which the tile is made (foam or polystyrene), the sequence of work is the same. First, prepare the necessary materials and tools, then treat the ceiling covering and start gluing the ceiling tiles.
Step-by-step instructions:
- Prepare the ceiling covering for pasting: remove dust and paint or glue residue. Then be sure to prime it with a deep penetration compound.
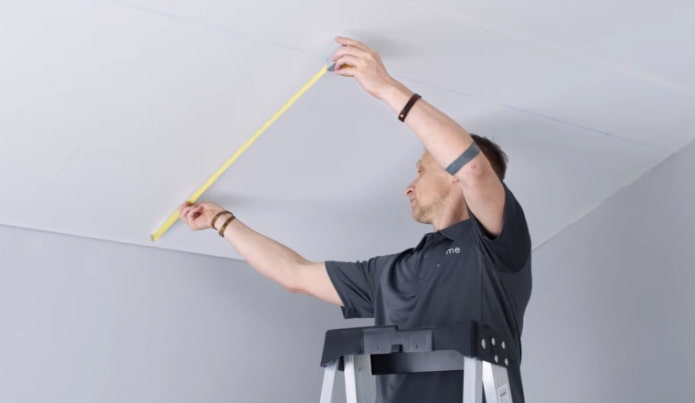
- Apply markings. If the ceiling is rectangular, draw 2 diagonals (lines between opposite corners) to mark the center (usually this is where the chandelier is located). If you are working with a complex-shaped surface, do as you see fit, but try to measure and mark it more accurately.
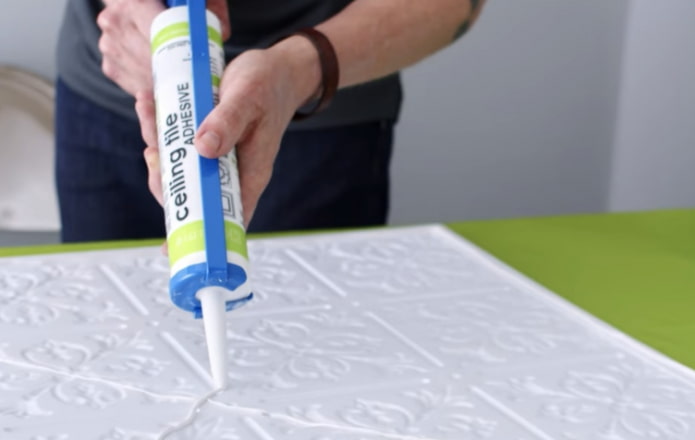
- Apply glue to the back of the first tile. You can put only dots in the center and corners, or apply the composition along the diagonals (use liquid nails and a gun). When contact pasting, also coat the areas on the ceiling, while trying to do this as accurately as possible. Apply the adhesive (liquid nails) very carefully and economically, trying to minimize consumption.
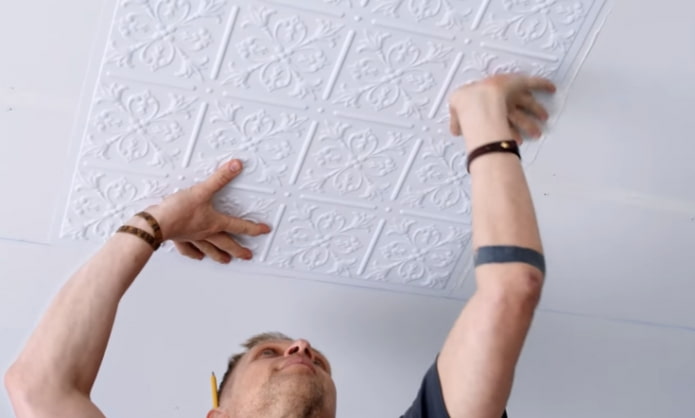
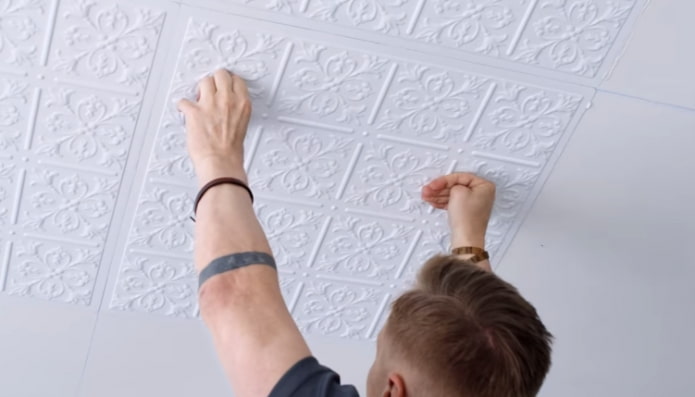
- Start gluing the ceiling tiles. Carefully apply the panel to the ceiling (in the center) and press it with your hand, hold for 30-60 seconds depending on the adhesive used.
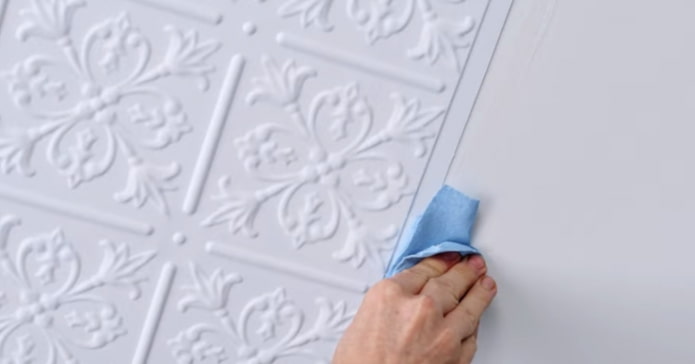
- Use a damp cloth (you can use a rubber roller or sponge) to wipe the edges along the perimeter of the front side, pressing them tightly to the ceiling to achieve better adhesion. Try to immediately remove all traces of glue from the surface of the tile, because after the mixture dries, they are difficult to remove.
- Start gluing all the whole panels one by one, completely finish the cladding.
- Along the edges, where there is little space left, you need to glue inserts of the appropriate shape (pre-cut the tiles into the required fragments, trim them accurately).
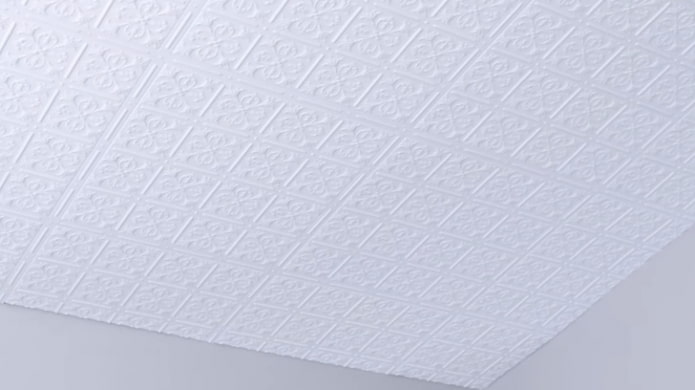
- After gluing the tiles, wait a day. If the glue has set (check with your hand) and the tiles are laid beautifully, proceed to the final finishing of the ceiling: sealing the seams (seal each seam and crack) and gluing the baseboards (or other decorative finishing elements).
What to do if the ceiling is uneven
If there are unevennesses on the ceiling surface, they must be eliminated before gluing the tiles. Remove paints and dirt, then use a spatula to fill the depressions with putty, level. Wait until it dries completely, only then proceed with the installation of tiles and subsequent finishing.
To control the result, use a building level.
How to seal the seams
Using seamless panels for cladding allows you to get a surface that looks solid. However, when gluing standard foam ceiling tiles, gaps remain that need to be eliminated (filled). For this purpose, various materials are used, including:
- sealants (acrylic, polyurethane, thiokol);
- cementing compounds;
- mounting foams;
- sealing cords;
- putty (latex or its variety).
If the gaps are very wide, first use sealants, then sealing mixtures. Deep gaps are sealed with polyurethane foam or putty, and narrow ones – with sealants.
How to glue in difficult places
If the ceilings in the room are in the shape of a regular rectangle, and the chandelier is installed in the center (exactly at the central point), then marking and subsequent installation and finishing are not difficult. But more often there is no symmetry.
If the chandelier is not located in the center, it is necessary to take more careful measurements and draw base lines. Think over the layout and only then glue the tiles.
If the ceiling surface has defects (incorrect angles) or its geometry is disrupted by protrusions, then it is necessary to cut out fragments from the tiles that will fit into the extreme sections. You should calculate the dimensions of all sides, apply them to the panel (can be made from scraps) and cut off the excess parts with a sharp knife. Then you can glue the resulting fragments into corners and hard-to-reach places, but you should do this very carefully.
Now reading:
- Hiding radiators and heating pipes: 15 effective methods and 95 interior photos.
- 10 Comfortable Veranda Design Ideas for Enjoying Summer at Your Country House
- Cornice for a bay window: photos and suitable options for bay windows
- Flower Beds That Will Please the Eye at Your Dacha All Summer Long
- 15 original storage solutions for a compact bedroom.