What to consider when planning?
First, you need to measure the area of the pantry.
- If its size is 1×1.5 m or more, the space is suitable for arranging a dressing room.
- Now let’s decide on the location of the shelves: to install them on one side, the width of the wall should be 1.3 m. For double-sided placement of shelves, you will need 1.5 – 2 m.
- A dressing room in a pantry is a closed, unventilated room. To keep your clothes, you should provide them with ventilation, and for ease of changing clothes, install lighting.
Thus, you can turn an ordinary closet into a dressing room even in a Khrushchev-era building – the main thing is to take into account all the features and carefully think through the storage system.


The photo shows a small dressing room in a former storage room, separated from the bedroom by a curtain.
Wardrobe system options
There are several types of “filling” for a dressing room, and each has its own advantages.
- Frame. A metal structure consisting of racks or chrome pipes to which shelves and rods are fixed. The base is attached to the ceiling and floor, so the frame is very durable. This is an excellent option for a compact dressing room made from a storage room, since the structure does not have “extra” side walls that take up valuable centimeters.
- Panel. A storage system consisting of wide panels that are securely screwed to the wall. It is on them that shelves and drawers are attached parallel to each other.
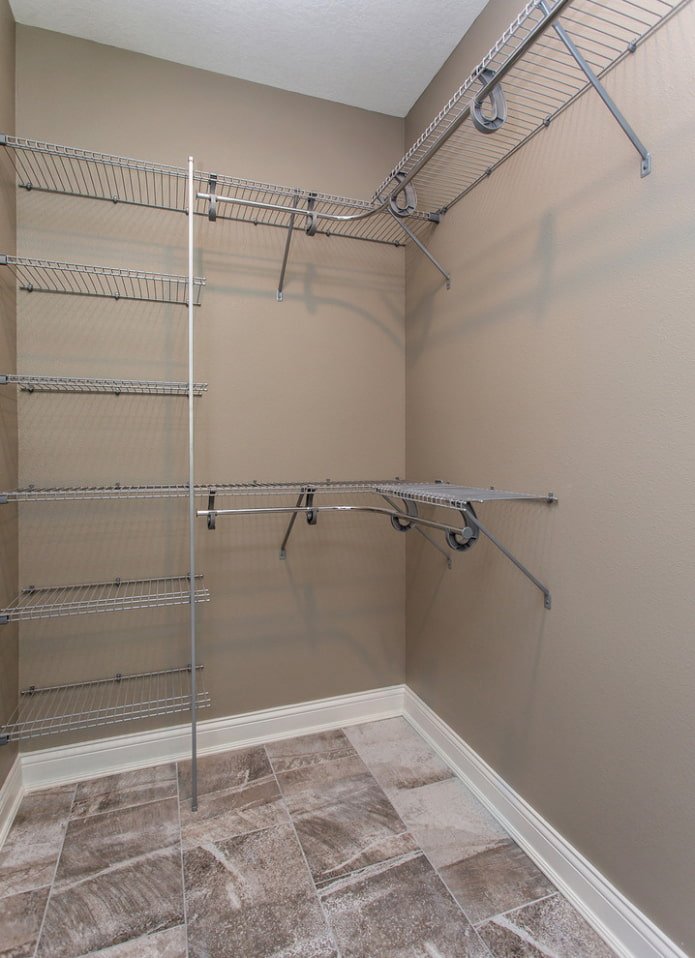
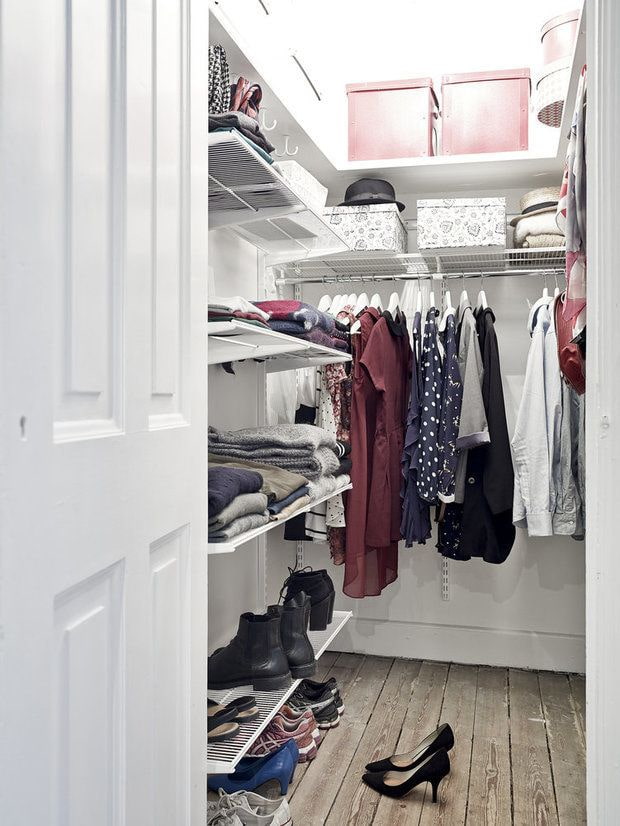
- Mesh. A modern design consisting of light metal honeycombs or gratings that are fixed to the wall using special brackets. They are mounted quite simply.
- Cabinet. One of the main advantages of such a system is the ability to assemble it yourself. It is stable and aesthetically pleasing. You can allocate a place for each group of clothes and accessories. Its disadvantage is that the side partitions take up useful space.

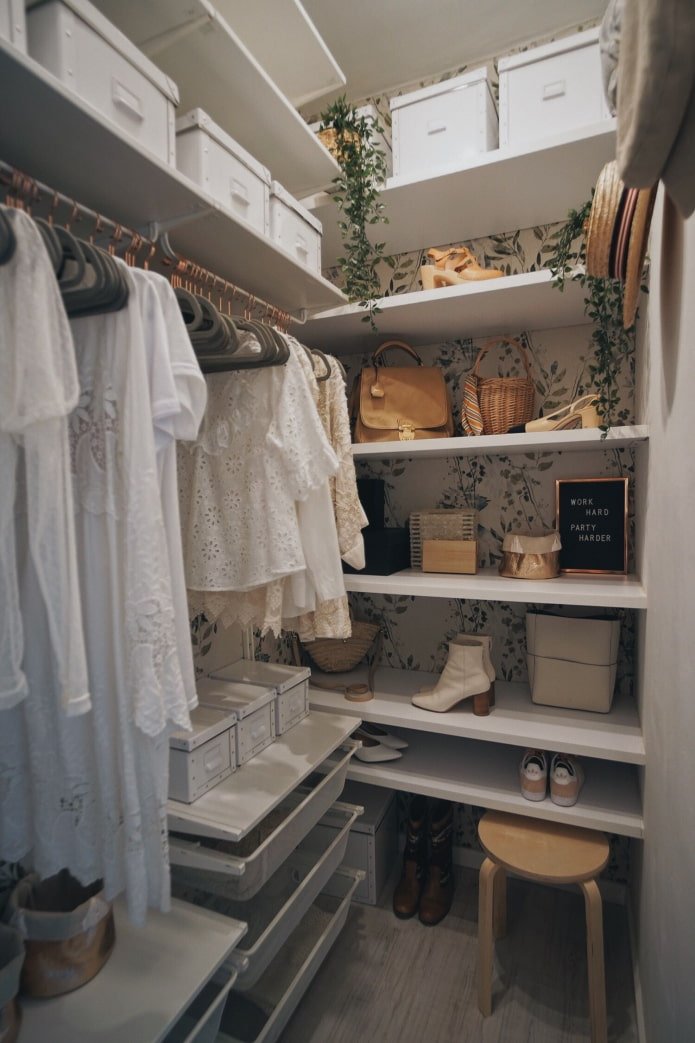
The photo shows a spacious dressing room in a pantry with a frame storage system made of light laminated chipboard.


When choosing a storage system, it is worth considering the weight and strength of the structure – will the shelves withstand everything necessary? In addition, you should pay attention to the mobility of the system – is it planned to transport it? Will it need modification?

The photo shows a frame structure in a pantry with open shelves, upper and lower rods, and a cabinet with drawers.


How to arrange a dressing room?
After calculating the area of the room and choosing the material for the filling, you need to plan the placement of shelves and hangers in such a way that it is convenient to use the dressing room.
Arrangement of storage systems
The choice of configuration is primarily influenced by the size of the pantry. The most compact (and less capacious) option is placement along one wall. With a well-thought-out layout of shelves and drawers, the small area will not be a problem, but will allow you to fit all your things and organize the perfect order in the mini dressing room.
If the pantry is long, it is best to arrange the storage systems in the shape of the letter “G”. In addition to clothes and shoes, you can also store larger items in it: travel bags, a clothes dryer, large boxes or bags with seasonal items. The width of the shelves should be such that there is a narrow space left for passage to the far corner of the dressing room.
For more spacious storage rooms, the internal organization in the shape of the letter “U” is optimal, when three walls are used.
A small symmetrical storage room allows you to arrange the shelves diagonally. The triangular (corner) arrangement is not very functional, but sometimes it is the only way out.


The photo shows an example of placing shelves along one walls.
Wardrobe lighting
A backlit dressing room made from a storage room is a completely different level of convenience than a small, semi-dark room. Thanks to the light, using the dressing room becomes much easier and more pleasant. One of the most budget-friendly options is an LED strip that turns on automatically when a person moves. LED lamps are very bright, safe for confined spaces, and easy to install in any convenient place.
In addition to strips, you can use small ceiling lights or spotlights with a swivel mechanism. The main thing is that electrical appliances do not interfere with getting linen and clothes.


Ventilation
The lack of circulated air in the dressing room threatens the appearance of mold, moths and an unpleasant odor. Therefore, it is advisable to equip the room with ventilation. The pantry usually borders on the living room, bedroom or bathroom, so for air circulation, a hole is made in the wall and covered with a grate. Air is removed through a gap under the door or a transfer grille.
A more complex method is to install special devices: air vents. For this purpose, professionals are invited during the renovation, who install a separate ventilation line into the dressing room.

Doorway design
There are several ideas for aesthetically closing the opening of a dressing room made from a storage room. The most common is a hinged door. Unfortunately, it takes up a lot of free space on the outside. If the opening is wide, two small doors can be used.
Sliding doors on profile guides will help save space. You can order a canvas to match the color of the walls or decorate it with a mirror.
The easiest way to close the doorway is to install a curtain rod and drape the dressing room with thick material to match the style of the interior.


The photo shows a dressing room converted from a pantry, the doors of which have been replaced with textiles. This budget way of decorating the opening does not prevent it from looking stylish and aesthetically pleasing.
Considering the zones in the dressing room
According to the rules of ergonomics, the interior space of the dressing room should be divided into three zones.
The top shelves are intended for seasonal items: hats, gloves. Unnecessary outerwear is also put there if the material allows it to be folded several times or packed in vacuum bags. A separate shelf is allocated for bed linen. Another one is for suitcases. As a rule, the higher the things are located, the less often they are taken out.
The middle zone is reserved for everyday clothes. Rods are hung to place dresses, blouses and suits; shelves are installed for sweaters, boxes and baskets, and drawers are for small items and accessories. It is convenient if dividers are provided for underwear.
The lower section of the wardrobe is allocated for storing shoes, bags and a vacuum cleaner. If there is not enough space for trousers in the middle zone, they can be placed below.

The photo shows a detailed description of the three functional zones of the interior space of the dressing room.


The dimensions of the shelves must be considered in advance. It happens that due to a large number of things, the standard depth and height are not suitable, then it is worth considering the dimensions of the previous storage space. Were there enough shelves for clothes? Did large items fit? Perhaps you should add some hooks or open shelves to accommodate the whole family’s wardrobe.


How to make your own with your own hands?
When renovating, you can save a lot of money if you convert a storage room into a dressing room yourself.
Tools and materials
For finishing, you will need:
- Tape measure.
- Plaster.
- Sandpaper.
- Spatula.
- Putty.
- Primer.
- Wallpaper with glue or paint with a roller and brushes.
- Floor covering (laminate, linoleum or parquet).
To create shelves, you will need:
- Wooden boards or laminated chipboard.
- End tape.
- Jigsaw.
- Screwdriver, dowels and screws.
- Metal furniture corners.
- A clothes rod and special fasteners on both ends.
- A hammer.
- Self-tapping screws with dowels, screwdrivers.
- Pencil.
- Level.
- Corner clamp.
The choice of lighting and ventilation type depends on the budget and the location of the pantry.

Step-by-step instructions
To make a dressing room in a pantry with your own hands, you need to follow a certain sequence. Let’s get to work:
- Dismantle the pantry door. Completely clean the interior, including old finishing materials. If necessary, level the walls with plaster.
- Perform final finishing. Paint the ceiling, lay a suitable covering on the floor. Paint or wallpaper the walls. It is necessary to choose modern paint compositions that do not stain clothes. Wallpaper should be washable. It is better to decorate the future dressing room in light colors. If you plan to install cabinet furniture, the finishing can be inexpensive, since it will not be visible anyway. At this stage, ventilation and lighting are done.
- Take measurements for making shelves. First, you need to plan their location, draw a sketch, and then make a detailed drawing. The number of shelves, rods and rack sizes depend on the actual needs of the homeowner, we will give only approximate figures: the height of the upper compartment is 20 cm, the middle one is about one and a half meters, the lower one is 40 cm. The length is determined based on the number of things and free space, the depth is in accordance with the size of the hangers plus 10 cm (total approximately 60 cm).
- Let’s start cutting the laminated chipboard. This material is considered optimal for making a homemade rack. It is not afraid of moisture and has high strength indicators. In addition, the boards look aesthetically pleasing, imitating a wooden surface. The cutting is done with a jigsaw using sharp saws for chipboard. It is necessary to increase the speed, reduce the feed and set the pump to 0. An even simpler solution is to cut it in the store when buying the material. We remove the roughness on the edges with sandpaper.
- We fix the side panels to the wall. To do this, we mark vertical lines on the walls of the dressing room in accordance with the drawing. We fix 5 metal corners along the line at the same distance from each other (we drill mounting holes, hammer in dowels, fix the corners with a screwdriver). We install the side panels from laminated chipboard, fixing them to the corners with screws.
- We make horizontal markings. We fix the shelves with small furniture corners: screws with dowels fix them to the wall, and self-tapping screws for wood – to the laminated chipboard.
- We continue to assemble the rack:
-
We install the rod, fixing the brackets with self-tapping screws between the two sidewalls.
-
The pantry makeover is complete.


We install the rod, securing the brackets with screws between the two side panels.
We install the rod, securing the brackets with screws between the two side panels.


The photo shows a DIY dressing room converted from a storage room.
Features of organization for a small storage room
A dressing room is considered compact if it takes up only 3 square meters. To accommodate the maximum number of things, you can simply turn the storage room into a large closet.
If desired, some of the walls of the storage room are demolished, and the room is expanded using plasterboard. Unfortunately, this reduces the area of the living room, which is especially critical in a one-room apartment. The redevelopment must be legalized in the BTI.

The photo shows a storage room-wardrobe, the modest area of which does not allow for a full-fledged dressing room.


But if you plan to arrange a dressing room instead of a storage room, you need to provide a convenient passage, reduce the depth of the shelves, and install lighting. You will most likely have to abandon built-in drawers and use a lightweight frame storage system. To use every free centimeter, you can attach additional hooks, hang textile pockets or baskets. It is also worth leaving room for a stool to easily reach the upper shelves.

The photo shows a compact dressing room and storage room located in the bedroom.


Interior design ideas
It is worth paying special attention to mirrors – they will come in handy not only in a cramped dressing room, but also in a spacious room. A full-length mirror is useful when changing clothes, and it also visually expands the space and increases the amount of light.

The photo shows a large mirror that is mounted on the inside of a sliding door, making it mobile and easy to use.


Another useful device is installing an ironing board in the dressing room. This will require lighting, a socket and a place for an iron.
Sometimes a wardrobe in a storage room becomes not only a storage place for things, but also a place for privacy, where you can tidy yourself up, choose a suitable image, tune in to the working day or, conversely, to rest. That is why people all over the world value their cozy corners so much and try to arrange them with taste.

The photo shows a folding ironing board built into a wardrobe system.


Now reading:
- Your Comprehensive Guide to Buying a Used Renault Clio
- Methods for removing adhesive from scotch tape: 10 effective methods for different materials.
- Quartz vinyl floor tiles: advantages, disadvantages and comparison with linoleum.
- Provence style living room ideas: 57 photos of interiors with a fireplace.
- Ultimate Guide to Buying a Used Porsche Panamera