Recommendations for creation
A multi-level flowerbed, as the name suggests, is not located flat horizontally, but vertically, and consists of several floors. With its help, you can plant more flowers in a limited area, create a bright, high accent.
To make a multi-level flowerbed on the site look harmonious, adhere to the following rules:
- The size of the composition should be proportionate to the dimensions of the summer cottage. On a small one, for example, it is better to place several small ones than one bulky one. And on a large one, on the contrary, tiny ones will be lost from sight.
- Plants with large leaves and buds are placed on the lower tier. The higher the flowers, the smaller they should be.
- On one floor of a multi-tiered flower bed, use seedlings of the same size.
- The height of the tiered flower bed should be such that you can easily loosen the soil, transplant the sprouts, and water.
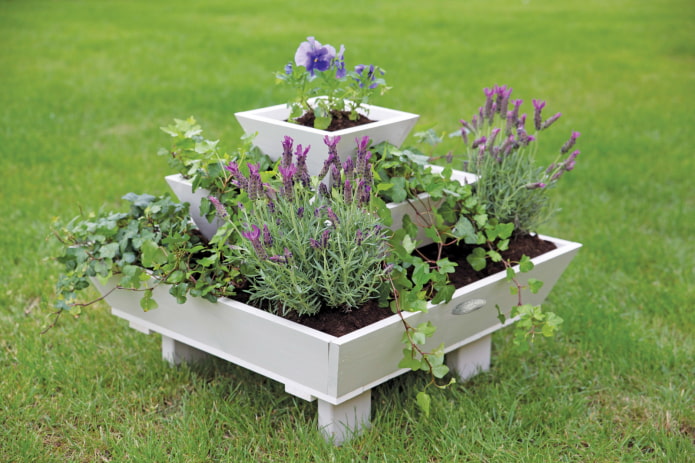
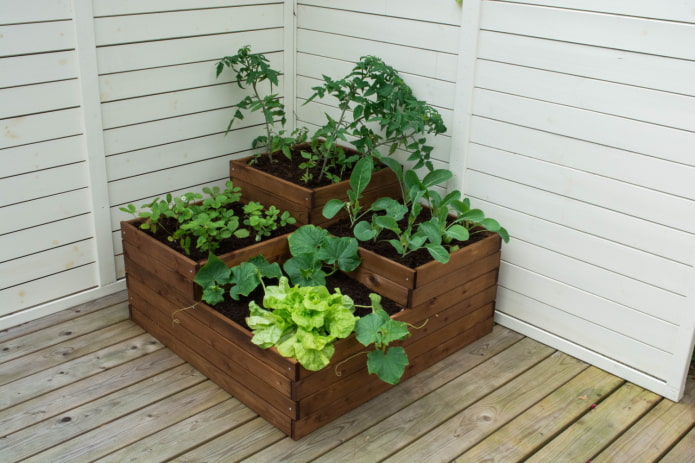
The photo shows a small vertical flower bed
- A multi-tiered flower bed in the country can be located anywhere, the main thing is that it does not get lost in the background. Place near the house, in front of the lawn, near the fence.
- If the design provides for water to flow from the upper tiers to the lower ones, plant the most moisture-loving flowers at the bottom.
- A harmonious color combination is easiest to create from 2-3 colors and their shades. Fans of minimalism will like plain white multi-tiered flower beds.
What flowers and plants can be planted?
The choice of flower seedlings depends primarily on your personal taste: some people like decorative foliage decor, some like lush small inflorescences, some like large ones. But professional designers have their own secrets that are worth listening to.
By size:
- Small flowerbed. You shouldn’t plant many different species, it’s better to stop at 1-2, but choose a rich color scheme. Petunia, viola, periwinkle, geranium, Turkish carnation will do.
- Large multi-tiered flowerbed. In a stone flowerbed, about a meter or more in size, plant a mixborder. It may include: lupines, meadowsweets, cornflowers, brunneras, astilbes, cotulas, sedums. Dilute the riot of colors with deciduous shrubs that can be given fancy haircuts.
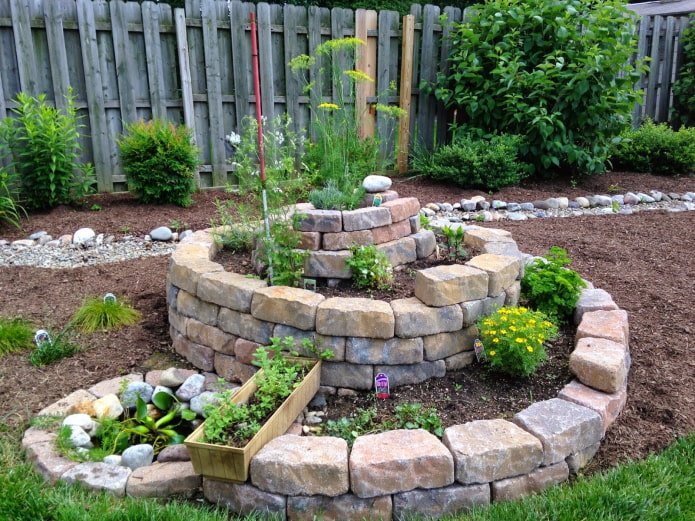
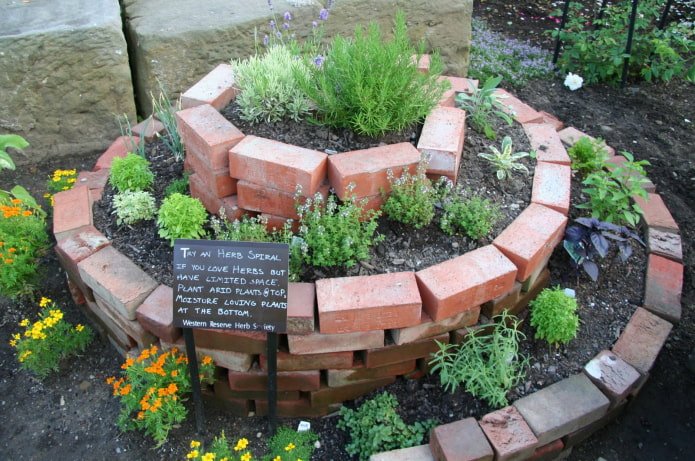
The photo shows a spiral of stones in the garden
By color:
Most species have many shades, so finding the right ones will not be difficult. Win-win combinations:
- purple with yellow;
- blue with pink;
- green with red.
Choose a palette that will match your mood:
- White – clean, romantic. Gives a feeling of peace.
- Yellow – bright, festive. Will enliven a boring landscape.
- Pink – gentle, light. Will create a dreamy atmosphere.
- Blue – relaxing. It will help your eyes to rest.
By tiers:
- Upper. Low decorative, with small inflorescences: marigolds, lilies of the valley, muscari, scilla. Or ground cover – navelwort, sedum, sandwort, periwinkle.
- Middle. If you have not a two-tier, but a three-tier or even four-tier, in the middle you need to plant something small, but with more or less large buds. Tulips, crocuses, daffodils, petunias, geraniums, and hostas are suitable.
- Lower. We have already mentioned that large, moisture-loving plants are placed at the very bottom. Geranium, iris, marsh marigold, lily.
Flowering season:
- May-June. Violet, carnation, iris, Solomon’s seal, peony, primrose, phlox.
- June-July. Verbena, morning glory, lavender, marigolds, petunia.
- July-August. Asters, gladioli, dahlias, cannas.
- August-September. Chrysanthemums, dahlias, heather, hydrangea.
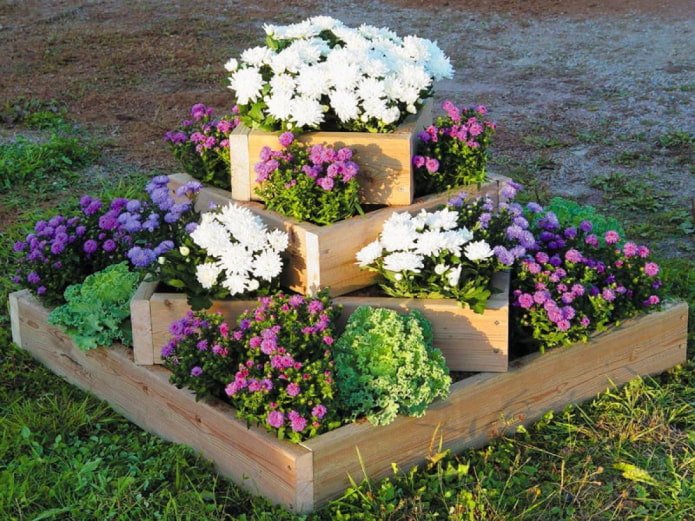
The photo shows an example of how you can decorate a flowerbed with unpretentious plants
What materials can you make it from?
Making a multi-tiered flowerbed with your own hands is actually not difficult, the first thing you need to decide what you are going to create from.
Boards
Wood is an inexpensive material that is easy to process. In addition, it is environmentally friendly and goes well with greenery. To create a multi-tiered flowerbed from boards, the wood must be protected from moisture, rot, and pests. There are special impregnations sold in construction stores that will help you cope with this.
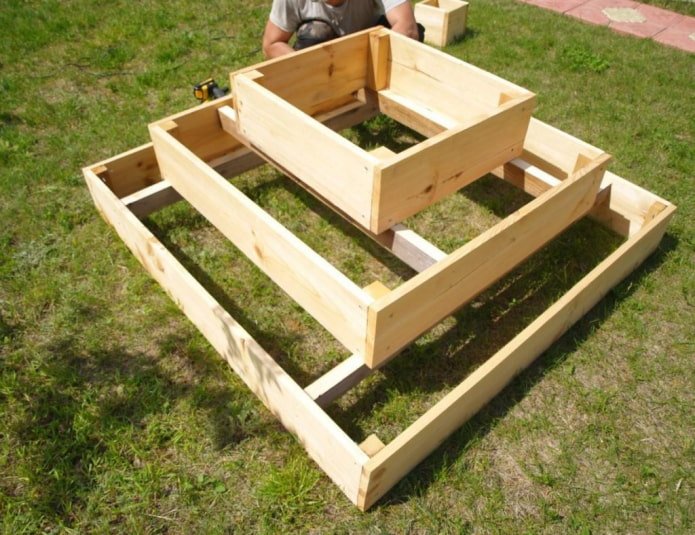
The simplest design made of boards is several boxes without bottoms of different sizes placed on top of each other, with the largest one becoming the bottom tier, the small one – the top.
But the projects can be more original: you can make a pyramid, or give the flowerbed a certain shape.
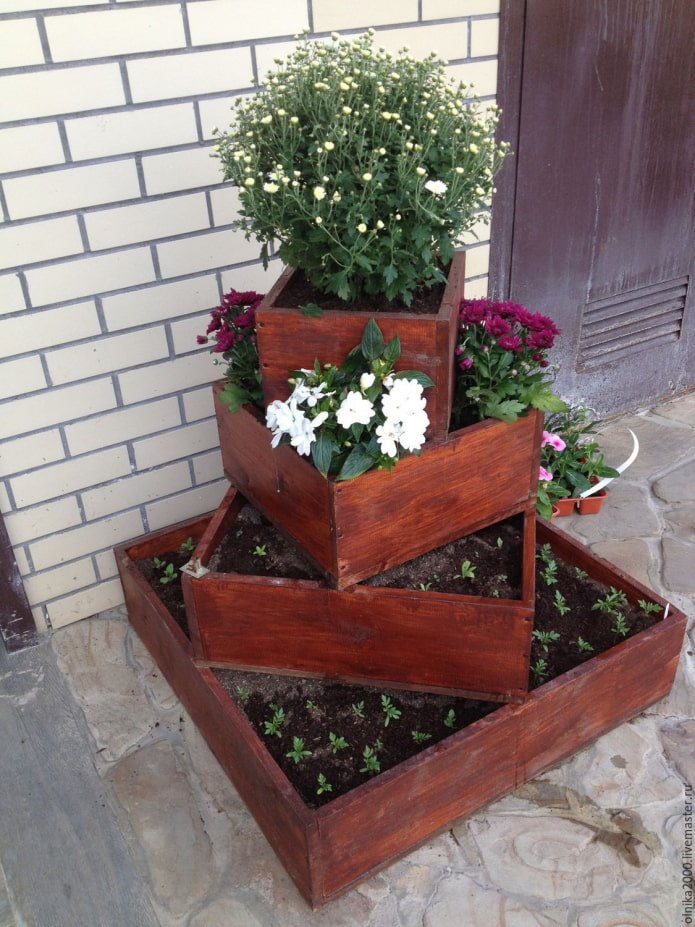
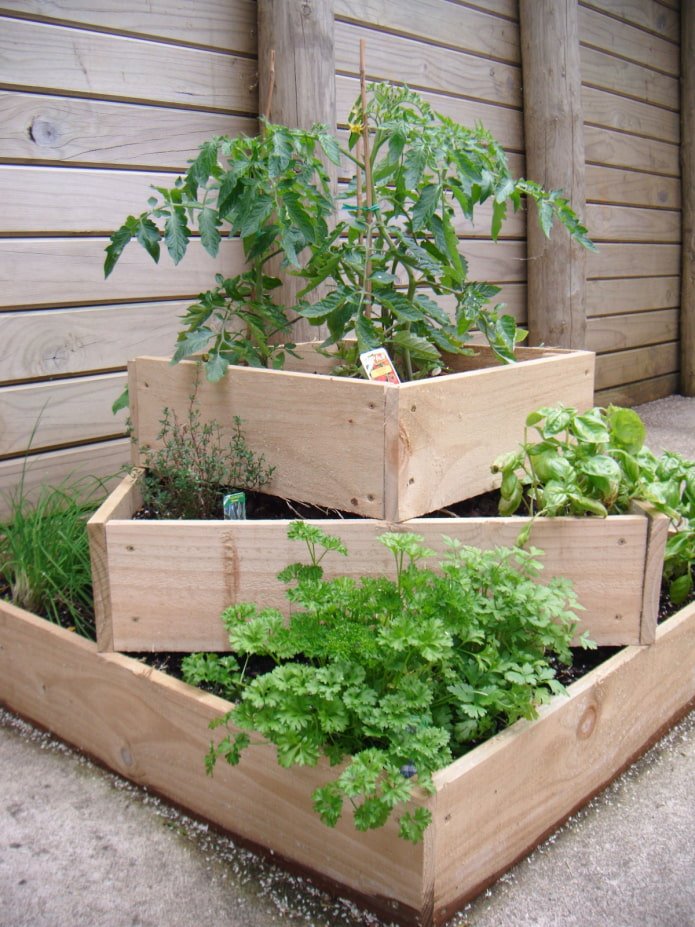
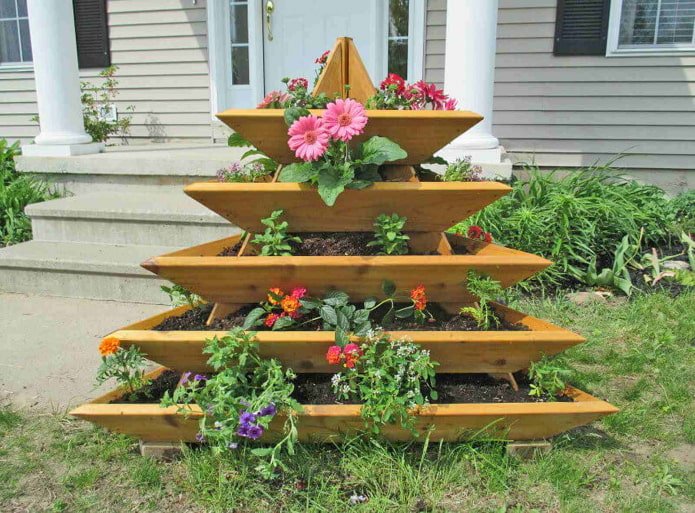
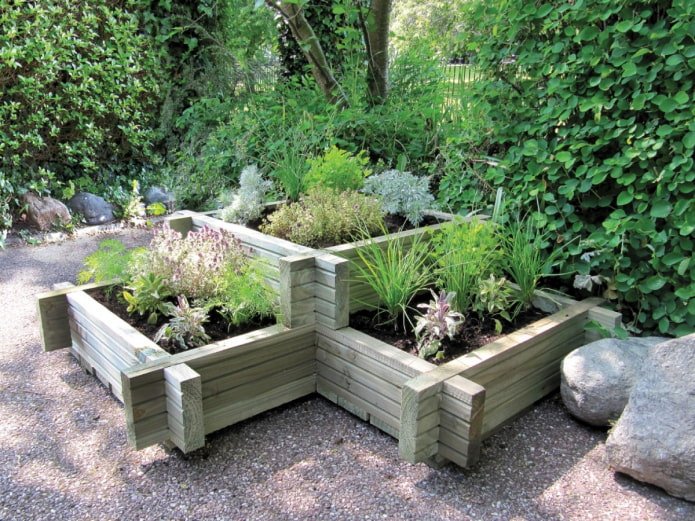
The photo shows a pyramid made of wood
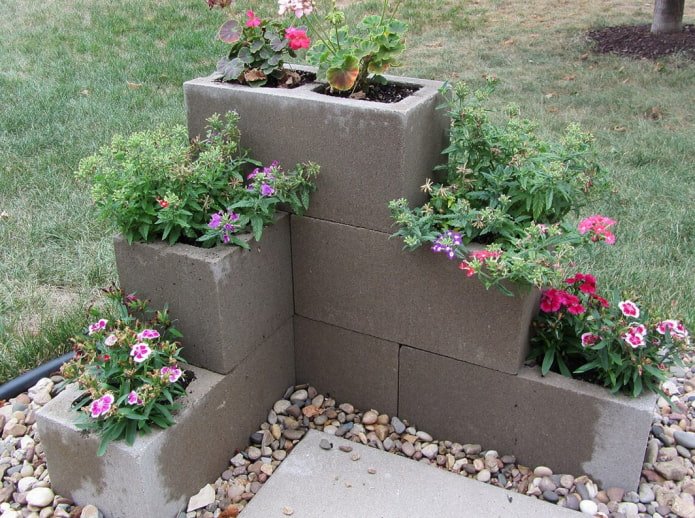
Foam blocks or brick
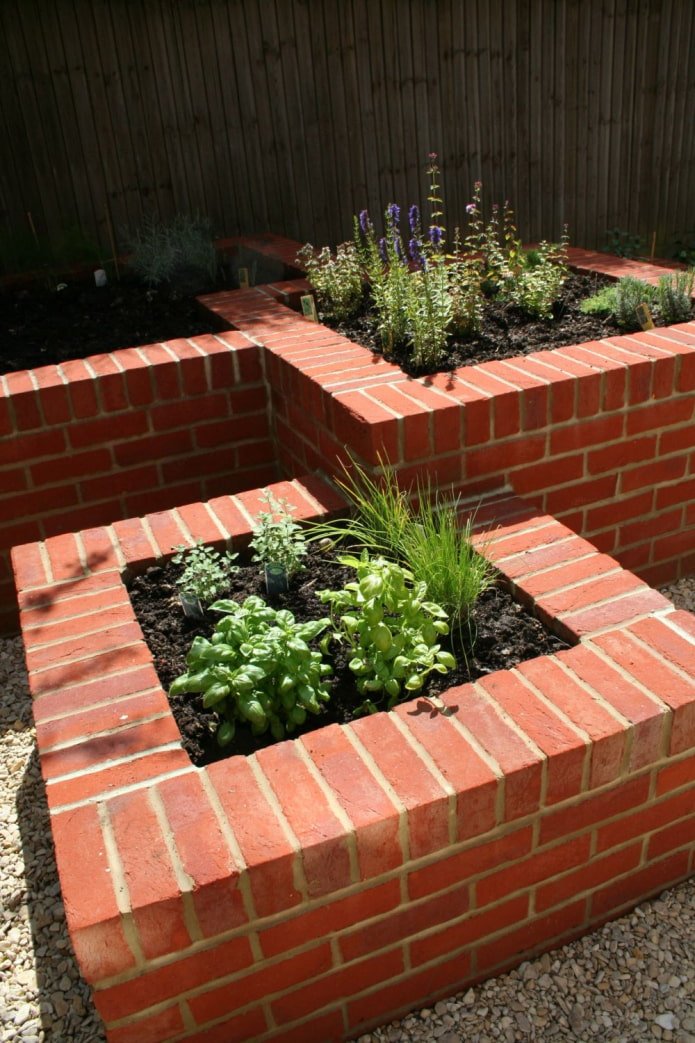
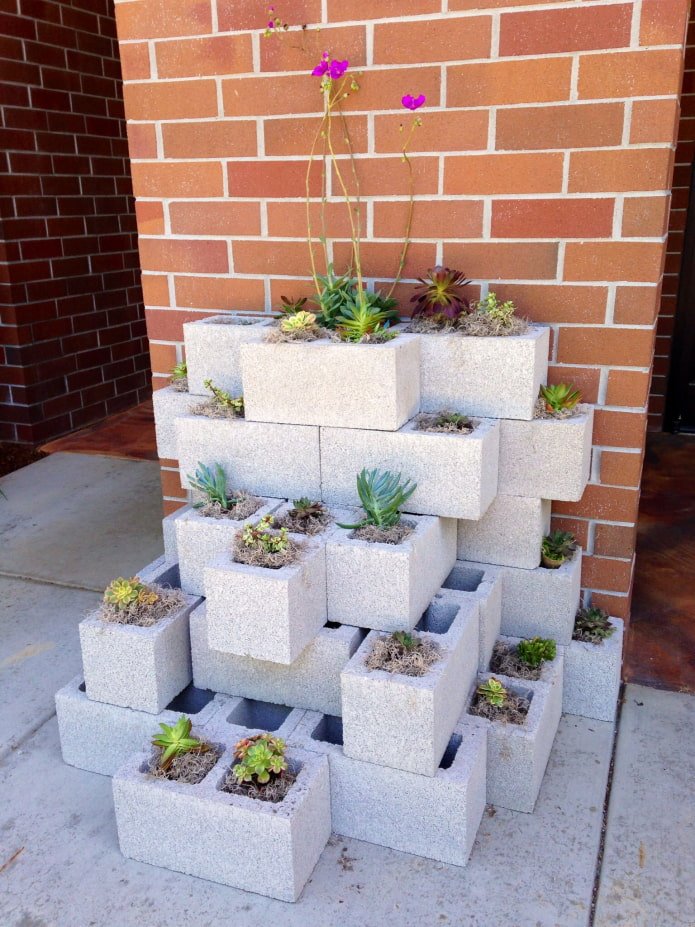
Why not make a flowerbed from building blocks, especially if you have some left over after the work? In addition, when a multi-tiered flowerbed is made from the same material as the house, it looks harmonious.
Important! Some foam blocks have large holes inside – it is convenient to plant flowers in them.
To build a small multi-tiered flowerbed, you don’t even need cement – the bricks will stay in place under their own weight. If the construction is planned to be large-scale and for centuries, it is better to fix the blocks together with a special compound.
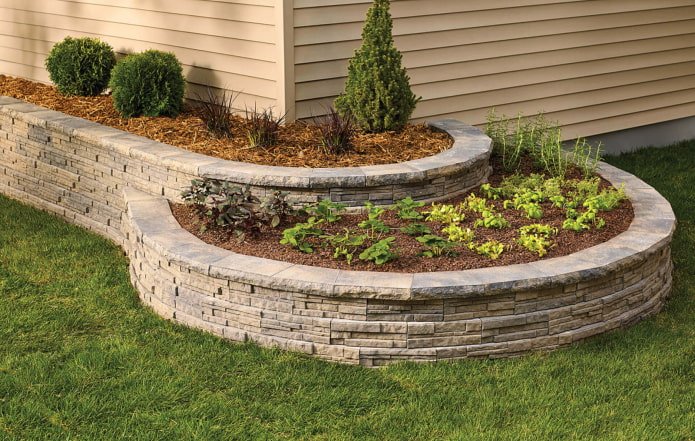
Advice! Flower beds made of stone are no less reliable and aesthetic. You can stack the stones on top of each other like bricks, or use gabions.
Tires
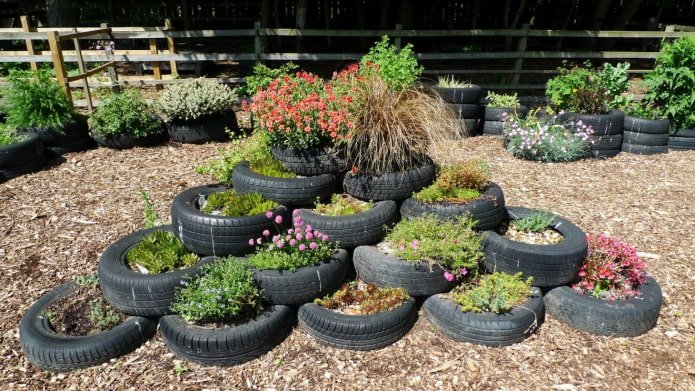
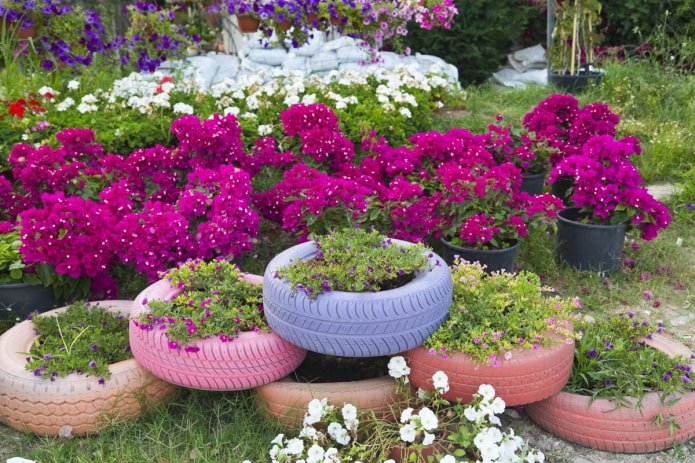
Multi-tiered flower beds are often made from old tires.
Their main disadvantage is that they are uniform in size, so they will have to be laid in a checkerboard pattern on top of each other. This is why it is necessary to install a bottom, otherwise all the soil will simply fall out. The bottom is made from plywood, boards and other materials at hand.
Advice! To increase the diameter, cut the tire at the top with a grinder or jigsaw.
Ready-made flowerbed
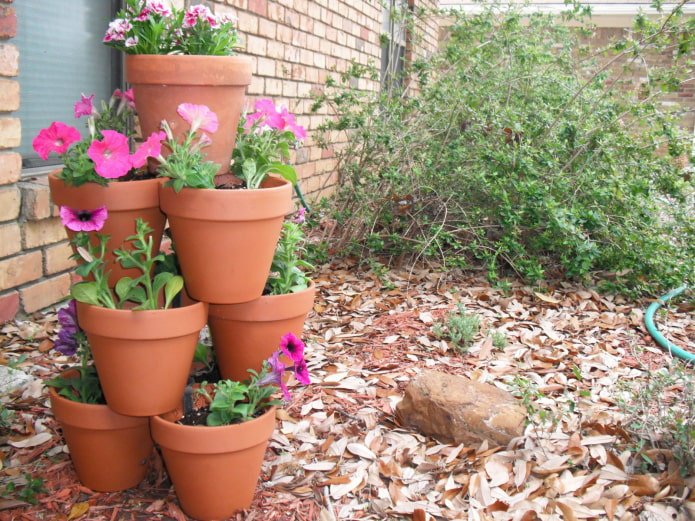
In order not to saw a tree or assemble something from blocks, organize a multi-tiered flowerbed from ready-made pots. To do this, buy 3-5 flowerpots in the store in the same style, but different sizes and install them on top of each other at a slight angle. The strength of the structure is provided by a metal pin, onto which the pots are simply put (it is better if they are plastic).
An even simpler option is to buy or order a ready-made structure, all you have to do is assemble it. They are usually made of wood, but can be found made of metal, ceramics, or plastic.
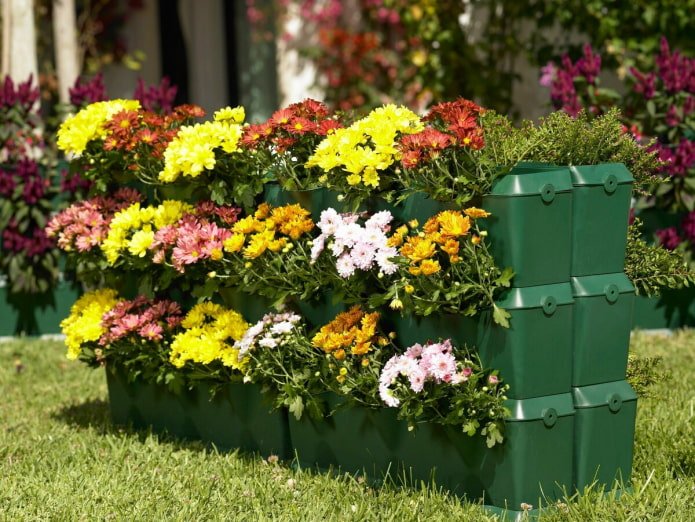
The photo shows a ready-made vertical flowerbed
From scrap materials
A multi-tiered flower bed can be made from anything! The main thing is to use your imagination and understand how to put the pieces together.
A broken clay or ceramic pot is often used as a nursery – if the bottom is preserved, fill it with soil, and from the fragments assemble steps up to the top, in which you plant the plants.
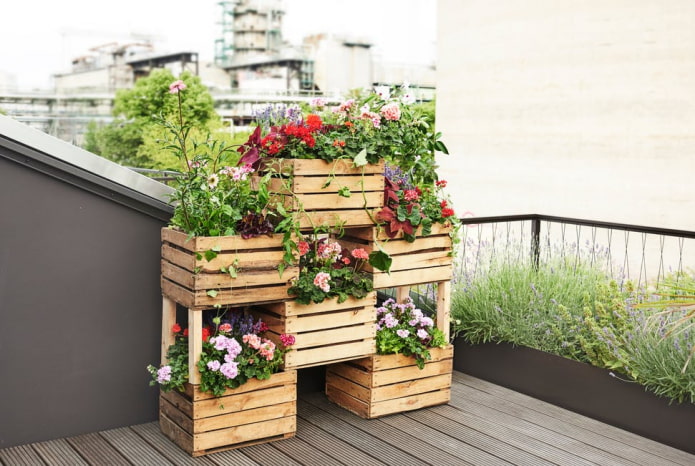
Pallets or vegetable boxes are an inexpensive but suitable option. They can be used as is, stacked on top of each other, or disassembled and created in the shape you need.
You can also decorate them using:
- vines;
- barrels;
- metal and plastic containers;
- basins and buckets;
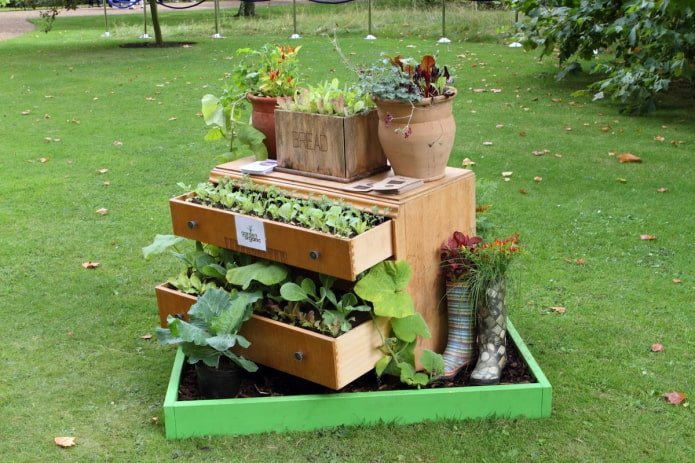
- old furniture (for example, a chest of drawers with drawers pulled out);
- plastic bottles;
- profiled sheet metal.
How to do it yourself?
A multi-tiered flowerbed is an easy-to-build structure that even a novice gardener can handle. The main thing is to have the right tools and materials. We offer the idea of designing it from wood.
Tools
The main thing you will need is the boards themselves. Other necessary materials:
- garden wood preservative;
- oil, paint or varnish.
Tools:
- tape measure;
- angle ruler;
- sander or block;
- electric jigsaw or hand saw;
- screwdriver with screws, or hammer and nails.
Step-by-step instructions
The first thing to do is come up with a shape. The easiest option to make is several squares of different sizes. But the flower bed can be of any shape – rectangular, triangular, round, irregular.
Before buying boards, decide on the depth of the tier – for this you need to estimate the size of the root system of future plants, the larger it is, the higher the sides should be.
To make a multi-tiered flower bed that will last for many years, the wood must be prepared:
- Saw off pieces of the required size (for a flowering flower bed made of wooden squares, these can be sets of 4 boards of 100, 60, 30 cm).
- Sand the surface, going along the ends and corners.
- Treat with a protective compound according to the instructions, leave until completely dry.
Let’s move on to assembly:
- Put the boards against each other with their ends, assemble the squares (or your shape) using screws, nails, corners.
- We place the largest part on the prepared soil, fill it with earth to the edges. If you are not placing it on the ground, make a bottom layer of drainage – expanded clay or polystyrene foam, so that the roots do not rot from abundant watering.
- Put the second largest square, fill it with soil.
- Repeat the third step as many times as you have levels.
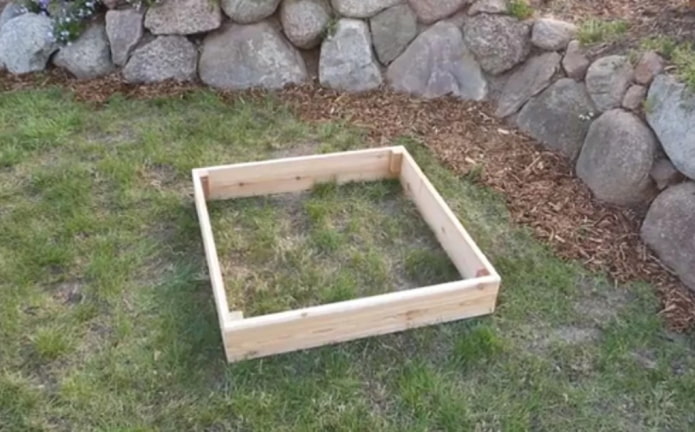
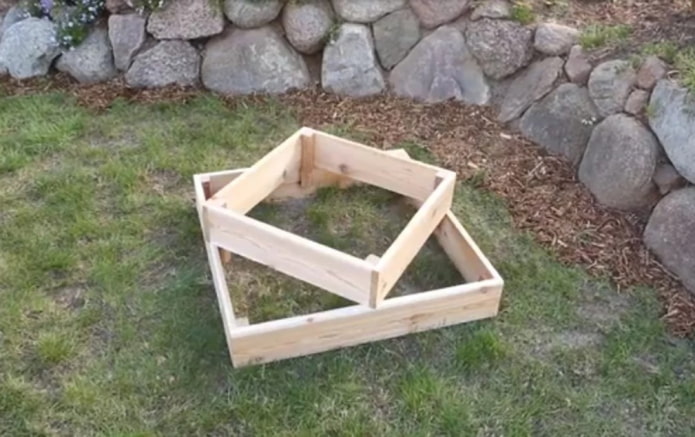
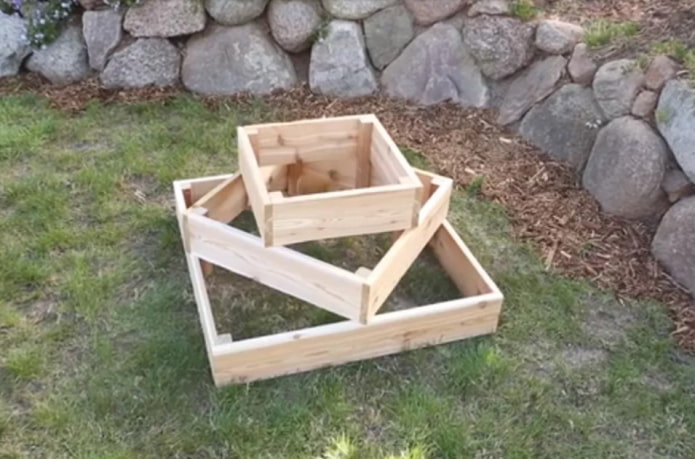
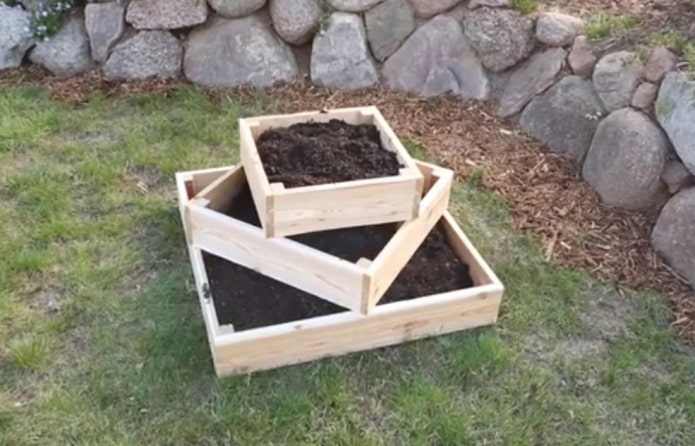
The flowerbed is ready! You can plant the plants.
Video instruction
If you don’t want to spend a lot of time on assembly, buy a border tape — you can build a flowerbed in a couple of hours:
Another equally simple and effective decoration option is from a decorative border. A multi-tiered bed from ordinary bricks is assembled according to the same principle.
Now reading:
- Bedroom in green tones: 70+ photos and modern design ideas
- Golden Kitchen Design: 42 Photos with Features and Color Combinations
- ideal floor coverings for a gazebo to make your rest comfortable.
- List of 7 Best Free Interior Design Apps for Your Dreams.
- Discover the Ford Fusion: A Blend of Style and Performance