Master class of a basket made of knitted yarn
Such a basket can store various small items: it turns out strong and roomy. A detailed description for beginners can be found in the video block.
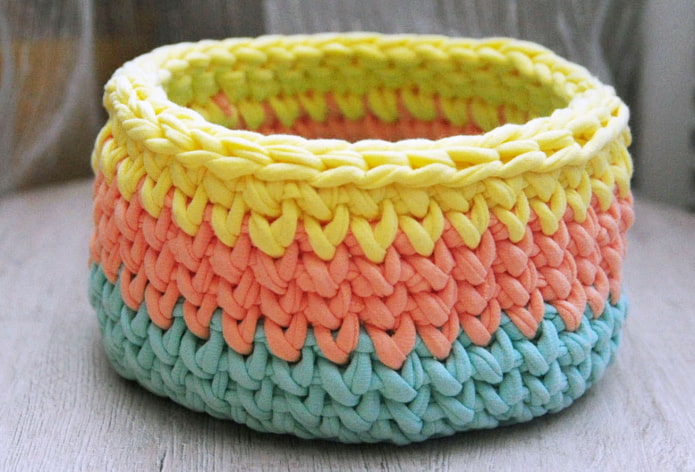
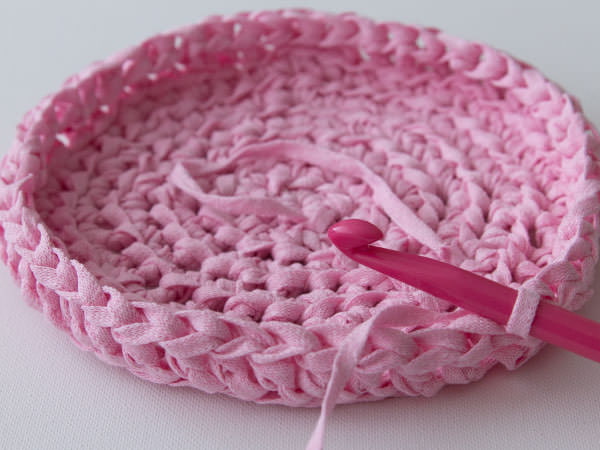
The photo shows a round interior crochet basket, knitted with a “check mark” pattern.
Materials
What you will need:
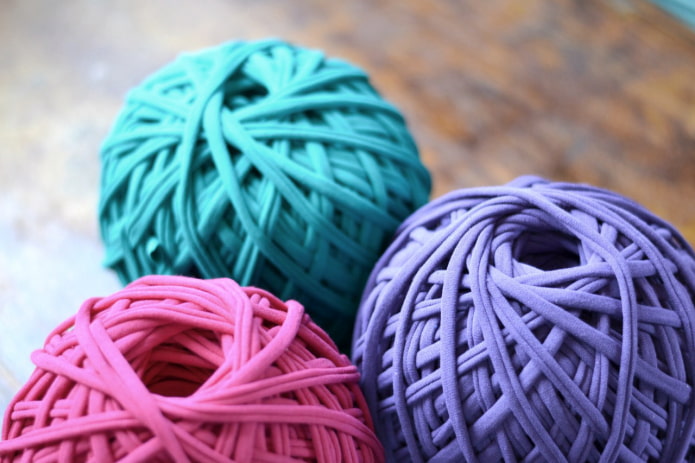
- Ribbon knitted yarn of any color that matches the interior.
- Hook No. 9.
- Needle.
- Scissors.
Step-by-step instructions
“Single crochets” will be designated by the abbreviation SC, and “air loop” – VP.
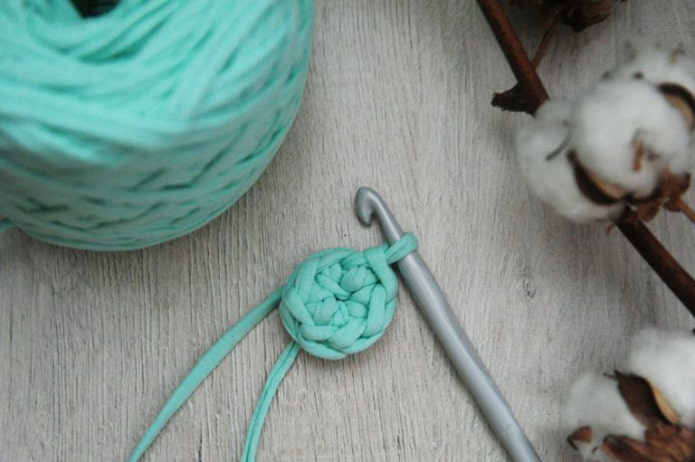
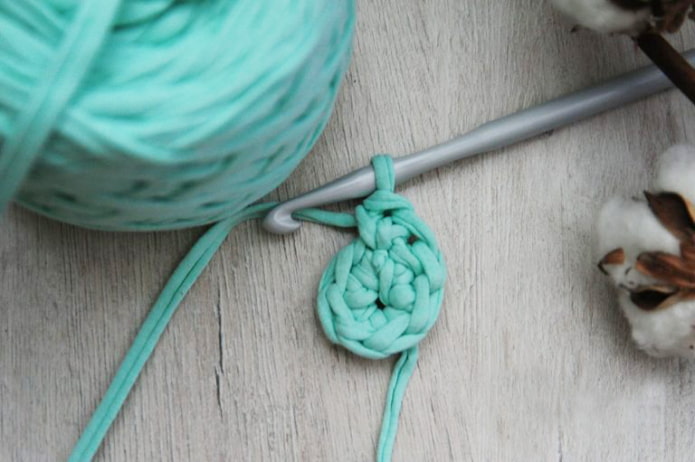
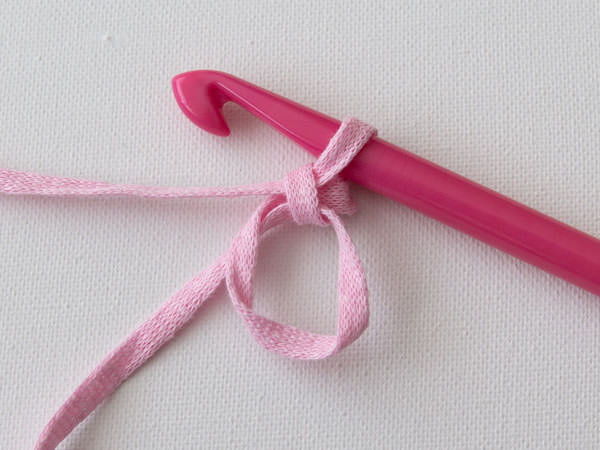
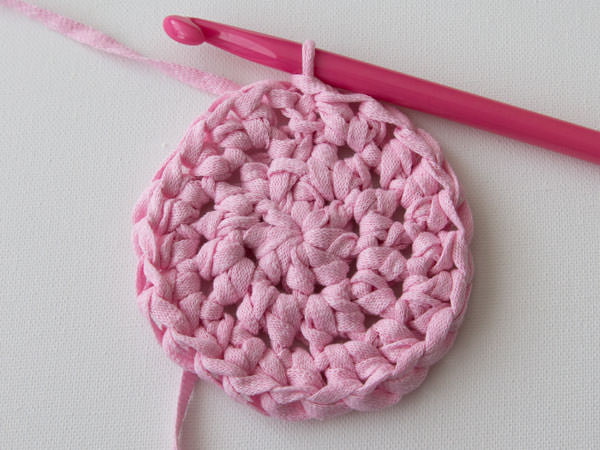
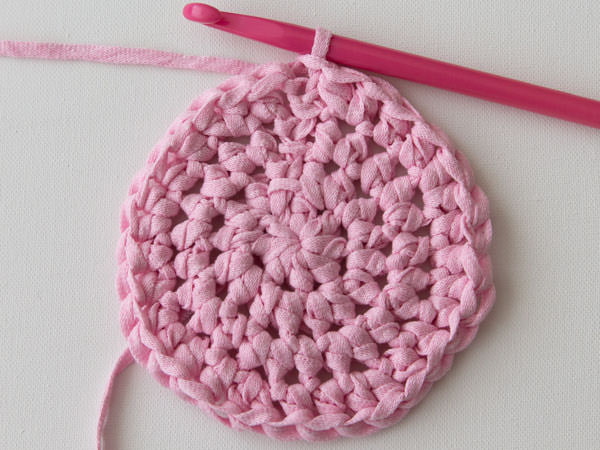
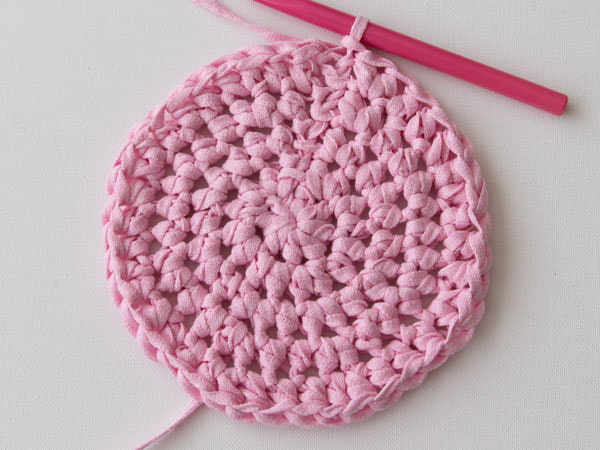
- Knit the bottom of the basket. Its base is an amigurumi ring (detailed video below). Crochet 6 SC and 1 VP around the ring.
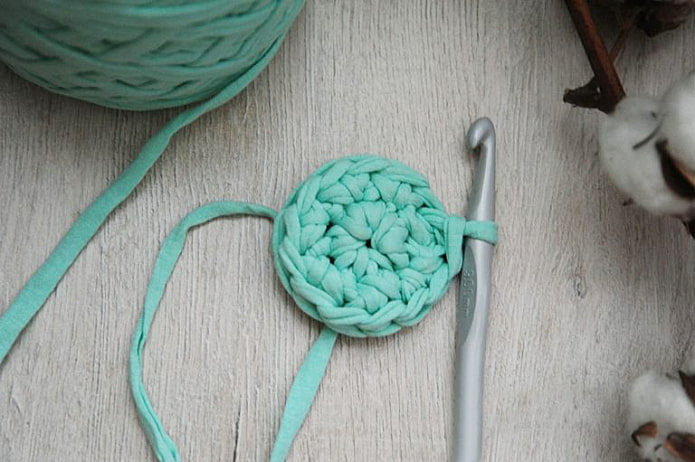
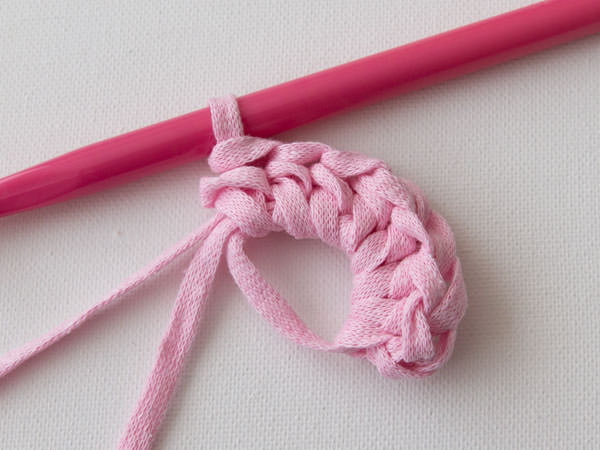
- Knit 2 SC in each loop of the previous row, and at the end create a VP.
- Knit the third row. Thread 1 SC into its first loop, and make 2 SC in the second. Finish with VP.
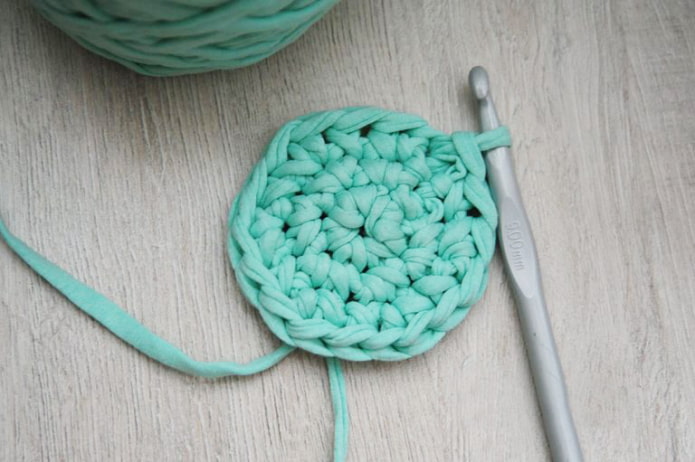
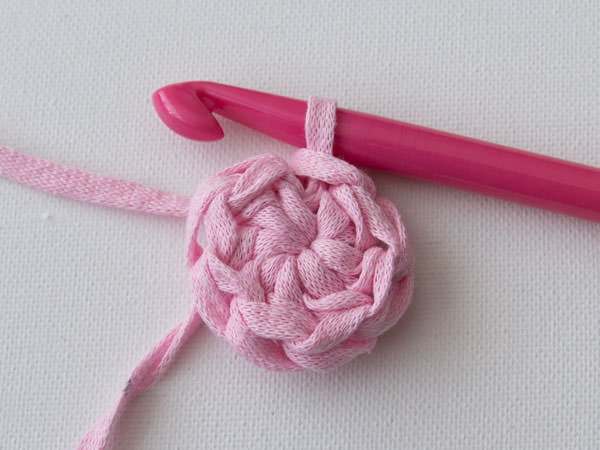
- Knit increases through 2 loops – 1 sc, 1 sc, increase (knit 2 sc in one loop of the previous braid). Finish with VP.
- Make increases through 3 loops – 1 sc, 1 sc, 1 sc, increase. Finish with VP.
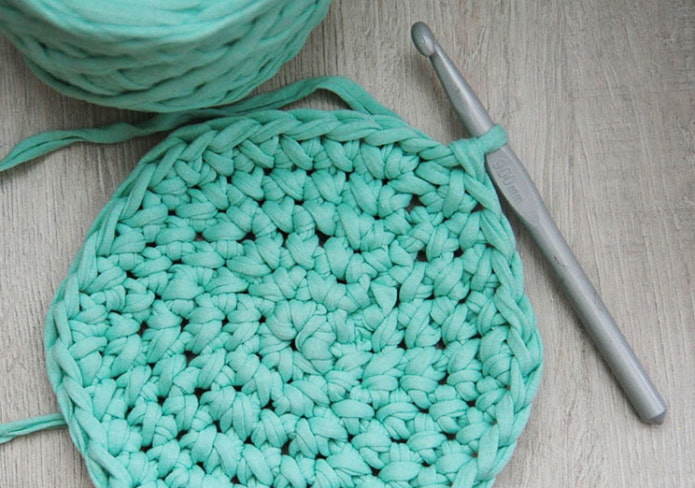
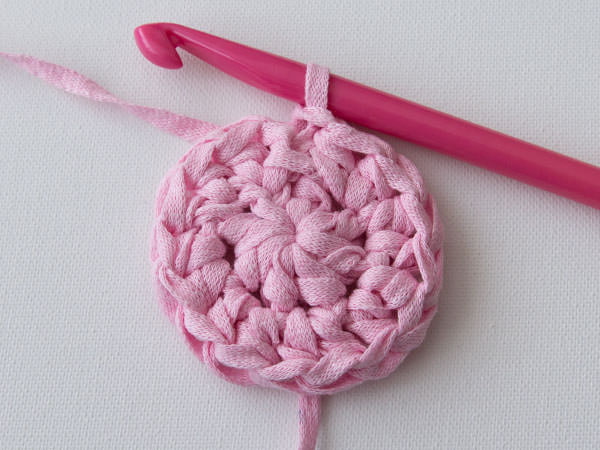
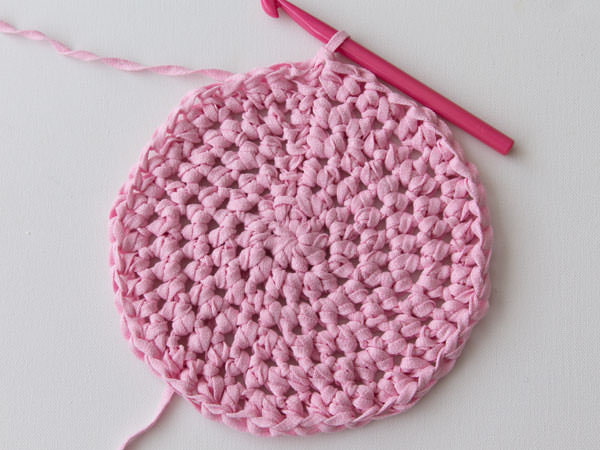
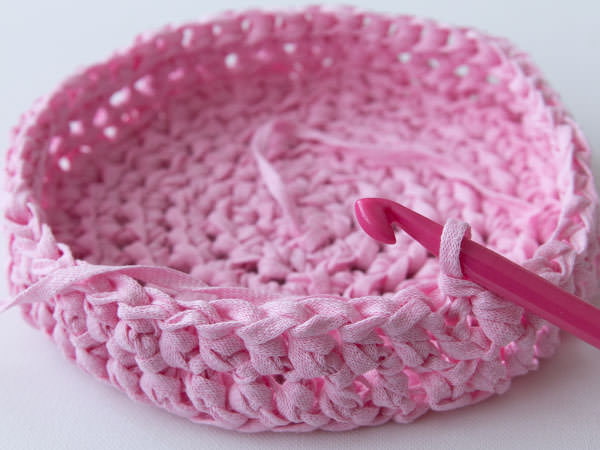
- Repeat the previous steps, but through 4 loops and finish with a chain stitch. The bottom of the basket is ready, let’s move on to the sides.
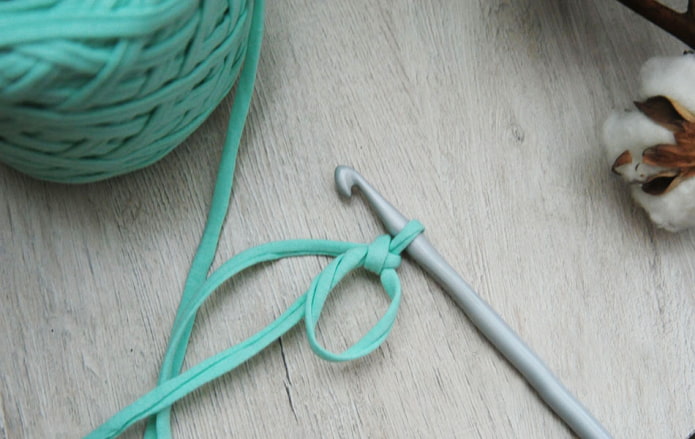
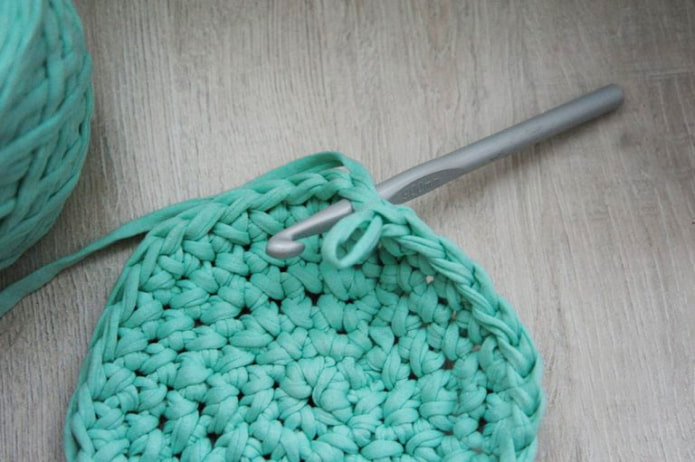
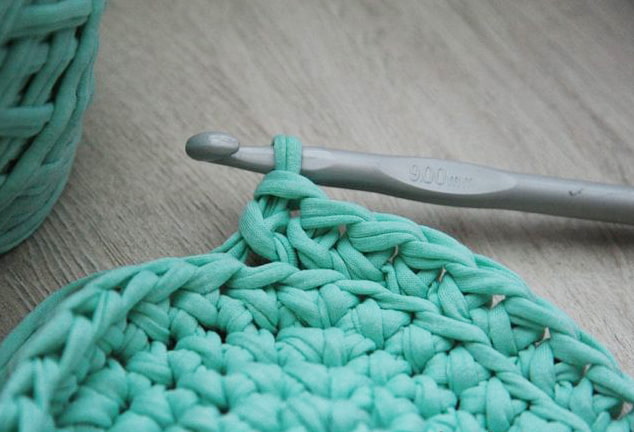
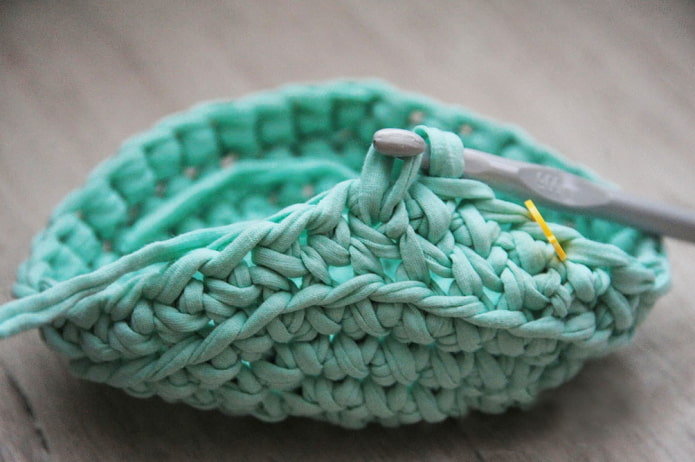
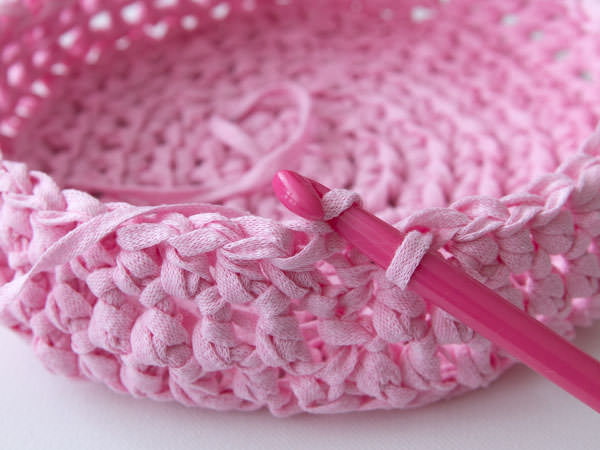
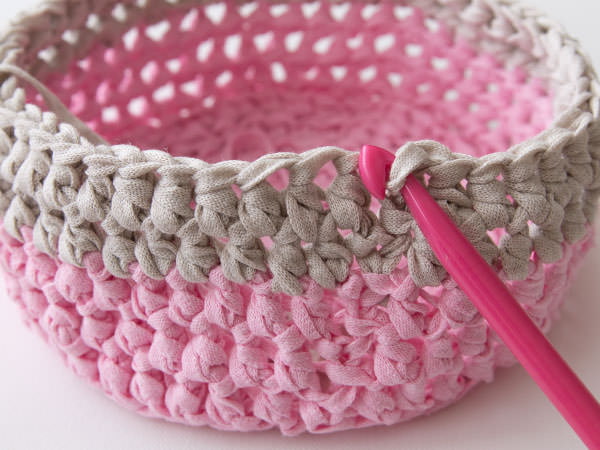
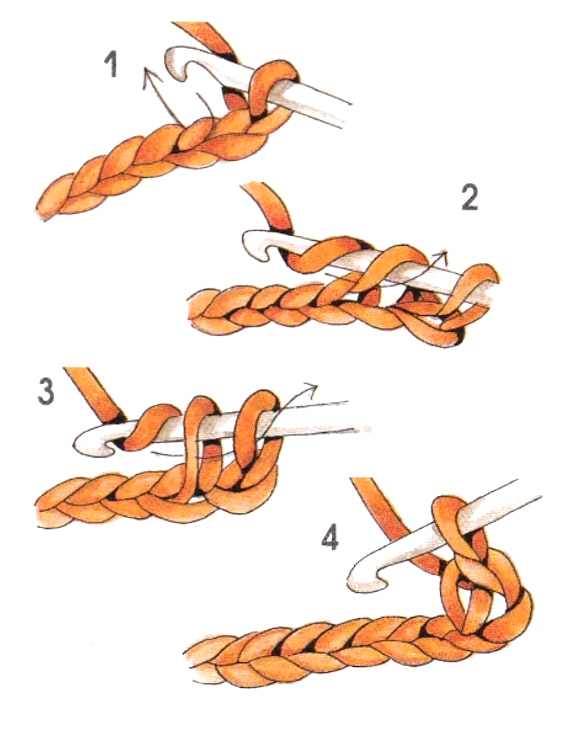
- Pass the hook inside and pull out the loop, as in the photo:
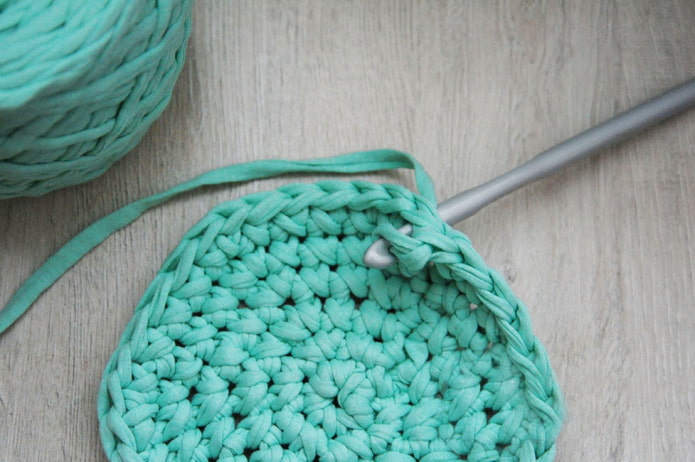
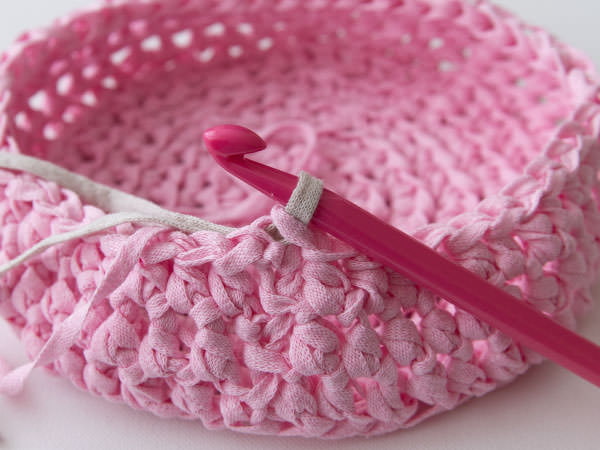
- Make a circle of sc.
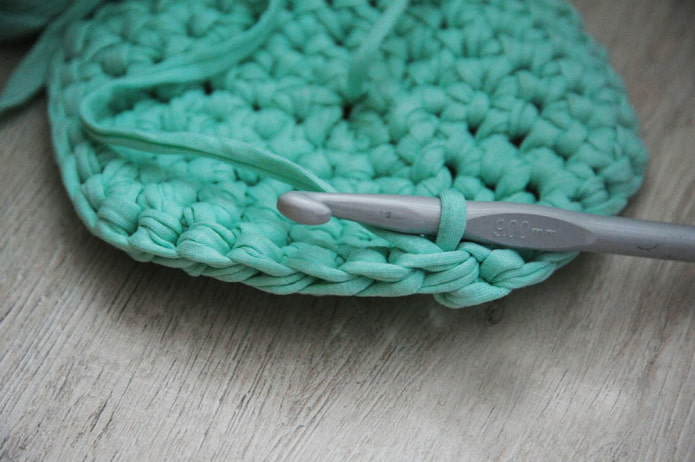
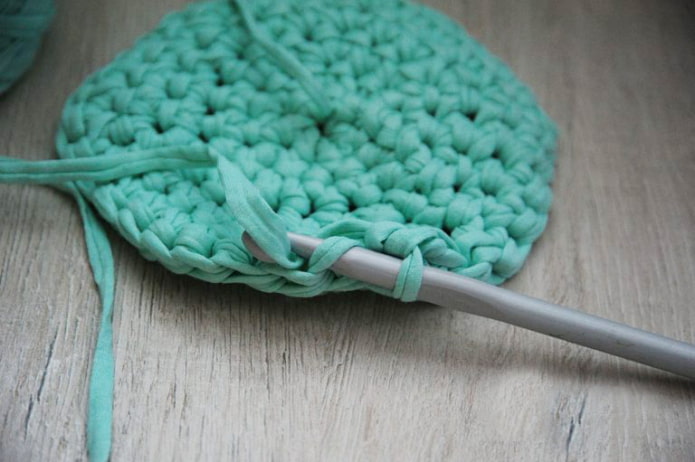
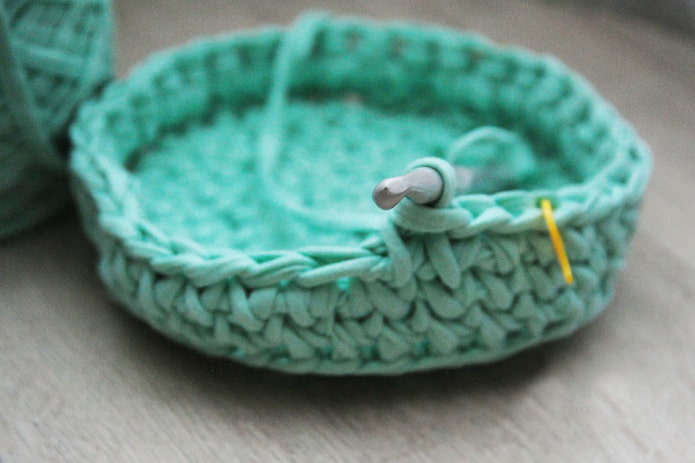
- Make the sides with single crochets, inserting the hook into the center of the column.
- Finish the last row with connecting loops when the basket reaches the desired height. We hide the tails with a needle.
How to crochet a jute basket?
A needlewoman will need such a large basket with an openwork trim to store threads and yarn, it will fit perfectly in the bathroom and will hold towels or linen, and will also help organize toys in the children’s room.
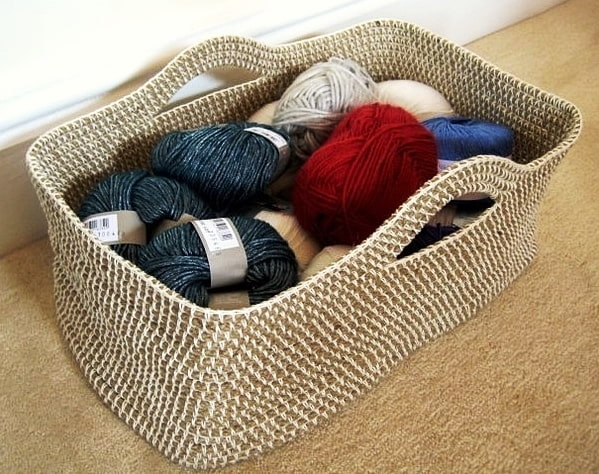
The photo shows a rectangular basket made of rope with a base of 20×40 cm.
Materials
For work, in addition to patience, you will need:
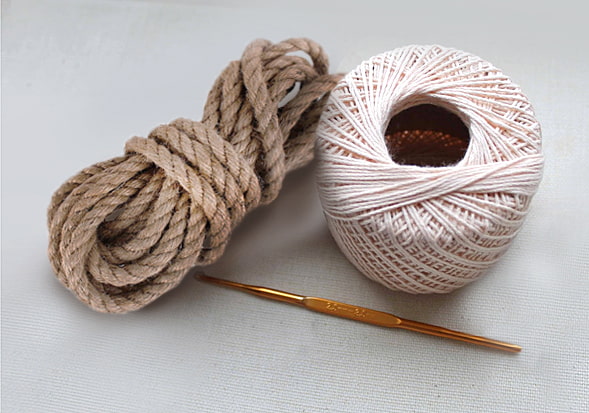
- Jute rope (also suitable twine, rope or tourniquet).
- A hook of a suitable size or a knitting needle (depending on the thickness of the rope).
- Cotton thread.
Step-by-step instructions
Let’s start knitting and weaving:
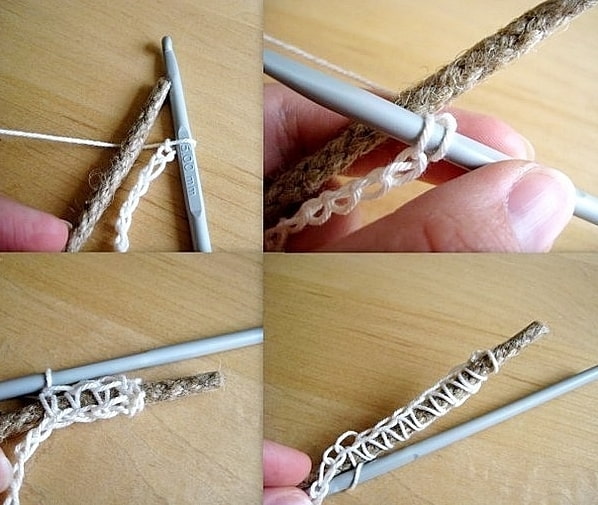
- Knit air loops (30 pcs) and put jute near the resulting row.
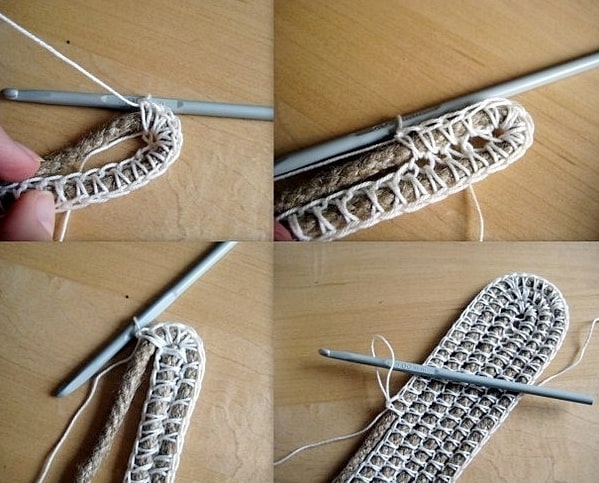
- Knit single crochets through the jute cord.
- At each turn of the rope, add 3 columns without a yarn over. Knit the bottom to the end until it becomes the right diameter.
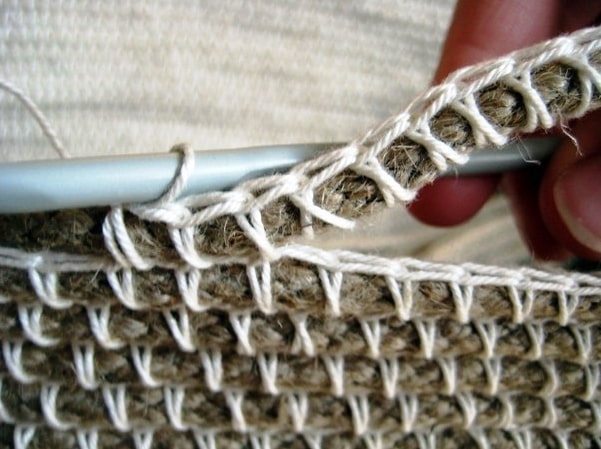
- Move to the sides. In each corner you need to knit an additional loop.
- For the handles, knit about 20 loops without knitting through the air loops of the bottom row.
- Secure the edge of the rope with several columns.
- The basket is ready!
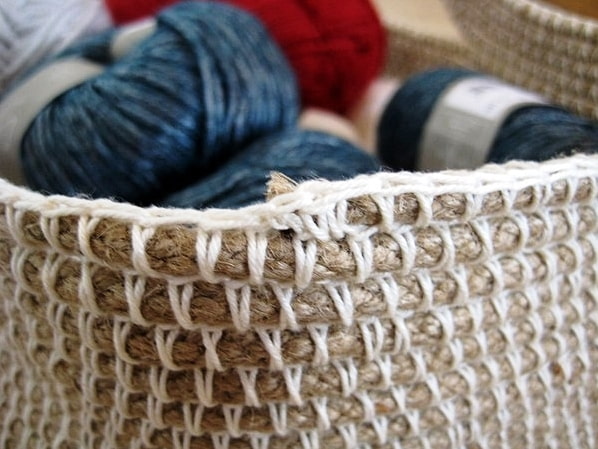
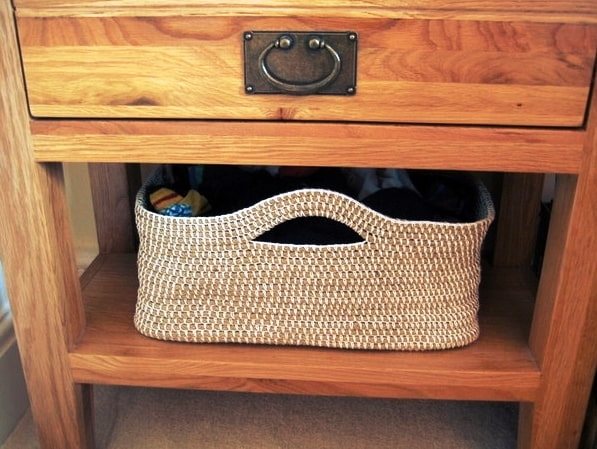
How to make a basket from a cord with your own hands?
A lightweight crochet basket made of cotton cord is suitable for various small items, and thanks to the handles it is convenient to carry with you.
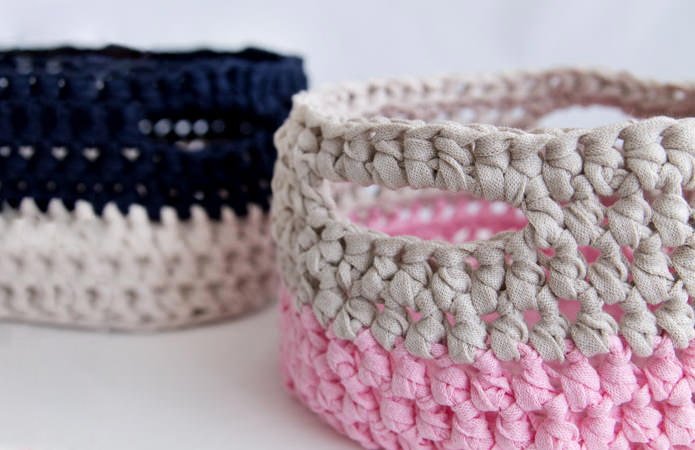
The photo shows crocheted baskets from cotton cord of two colors.
Material
The text for the section can be either short or several paragraphs.
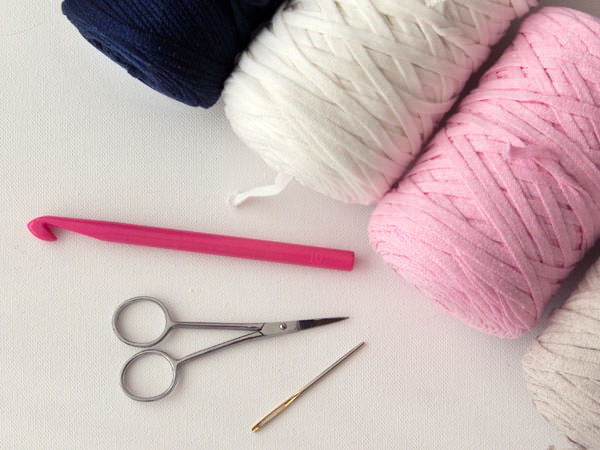
- Cotton cord.
- Crochet hook.
- Needle.
- Scissors.
Step-by-step guide
Let’s start knitting:
- Making an amigurumi ring:
- Knit 7 half double crochets and connect them with the eighth loop.
- Tighten the ring.
- Knit loops in a circle, there should be 16 of them in total.
- We make increases through one row: after the air loop, we alternate single crochets, that is, we knit one “half-column”, then two, repeat until the end of the braid. We increase the bottom to the desired size.
- We proceed to the walls of the basket. To do this, we knit a single crochet under each loop of the previous row. Repeat in a circle to the desired height.
- To change the color of the basket, knit single crochet stitches with a new cord.
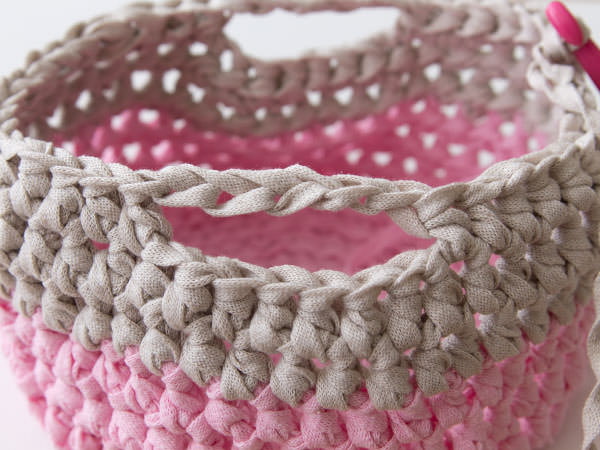
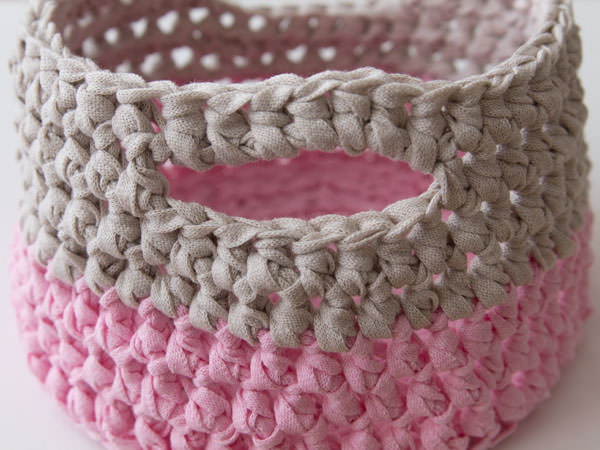
- Make the handle using 7 air loops and continue knitting in a circle.
-
Close with single crochet stitches and finish the work with a needle.
Video examples of master classes for beginners
A creative master class on crocheting a roomy square basket:
Another video about a crochet basket, this time rectangular:
Detailed instructions on how to crochet a hanging oval basket with handles:
A selection of patterns
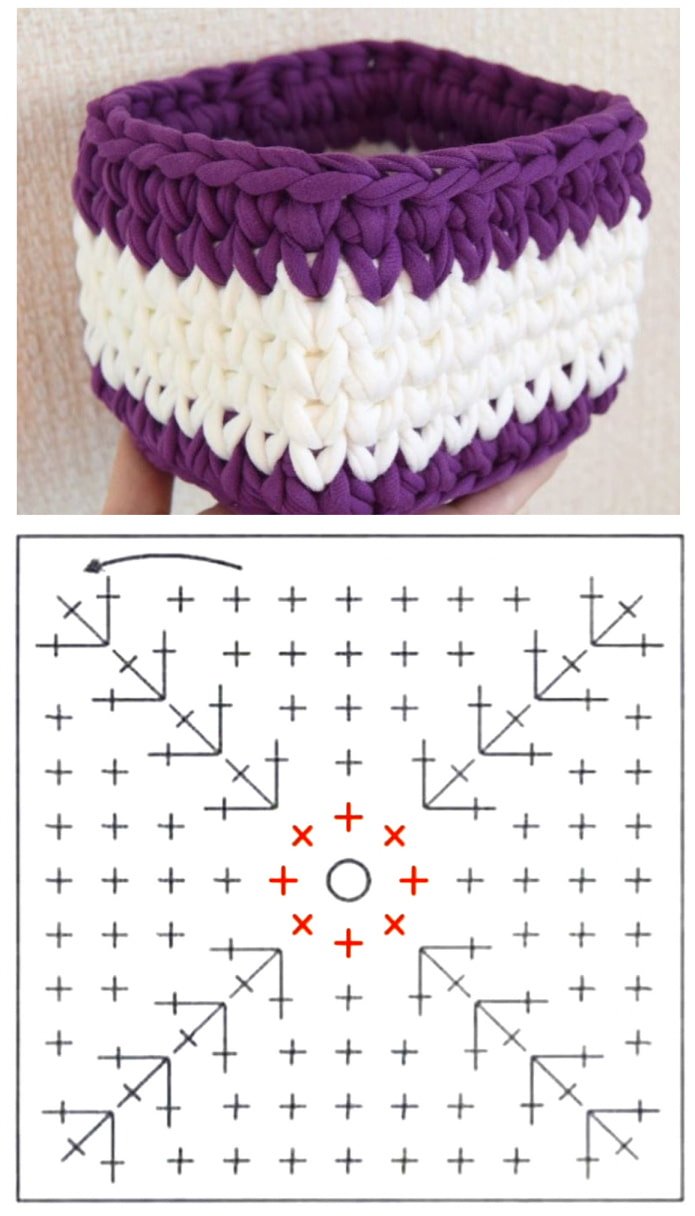
For convenience, you can use patterns for crocheting a round, square and rectangular basket. Also provided are crochet patterns for single crochet stitches and amigurumi rings.
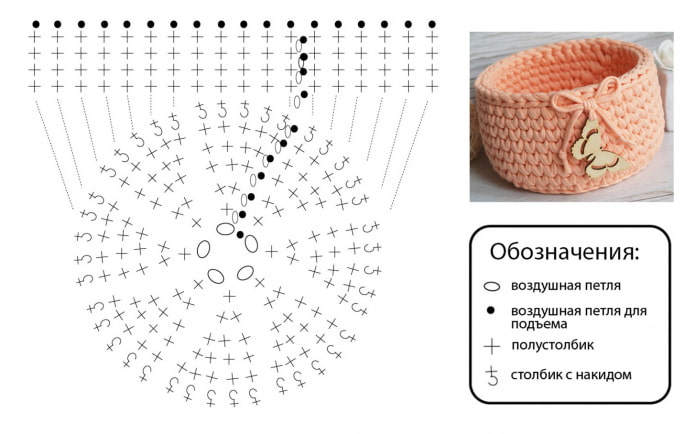
The photo shows a simple pattern for a round basket made of knitted yarn.
8 single crochet stitches are highlighted in red. The bottom is knitted according to the square pattern, and the sides are “check marks” located one above the other.
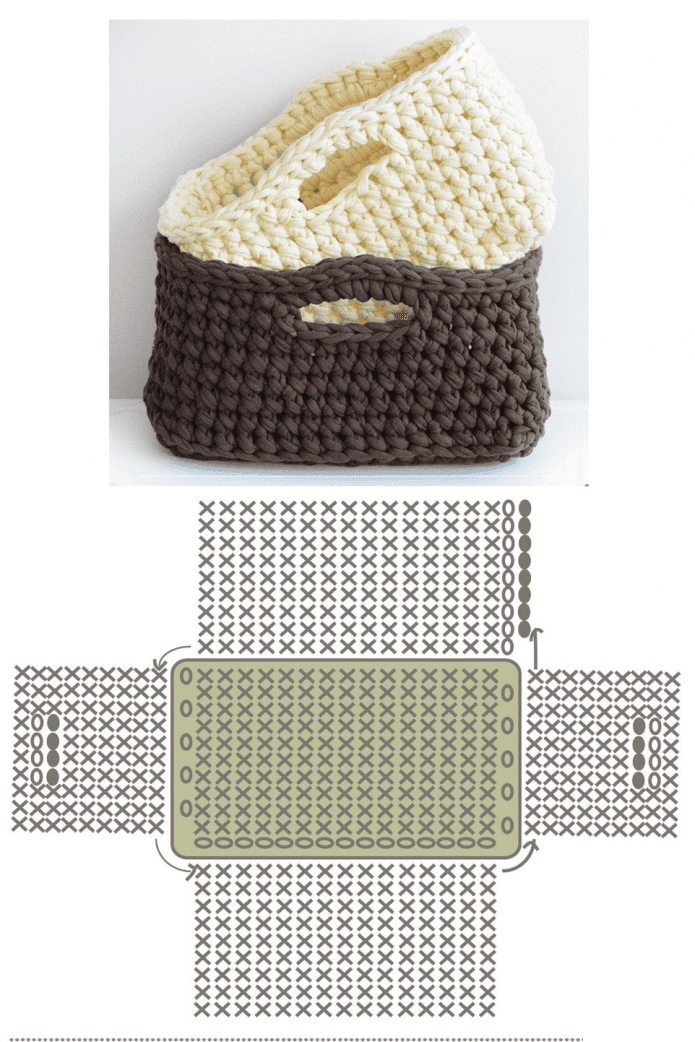
Photos of crocheted baskets in the interior
Crocheted baskets will not only decorate the interior, but will also be useful in the household. In the bathroom, you can store cosmetics, cotton pads and sticks in them, and the product, supplemented with a lid, will bring even more order to the environment. A basket with a handle can be hung on the toilet door and toilet paper can be hidden inside. And in the children’s room, a large basket will easily fit favorite toys.
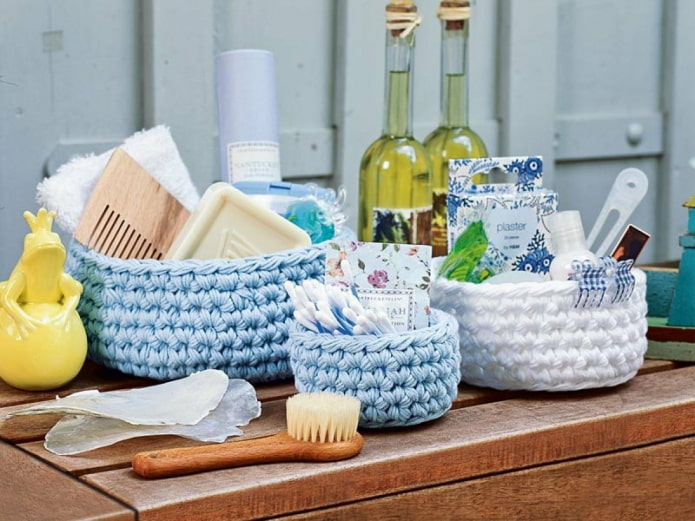
The photo shows knitted baskets that decorate the shelf in the bathroom.
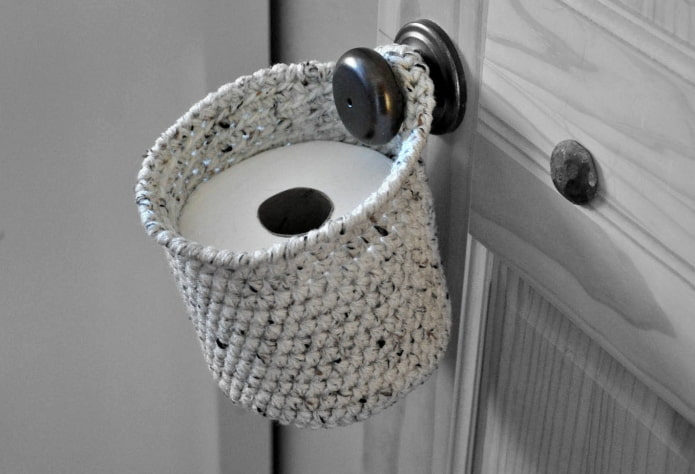
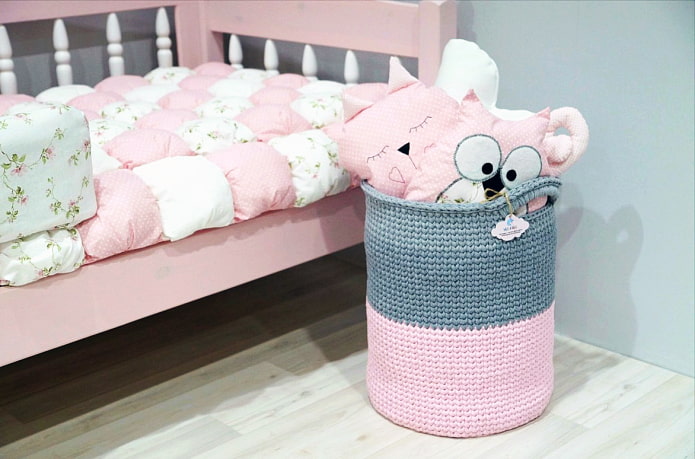
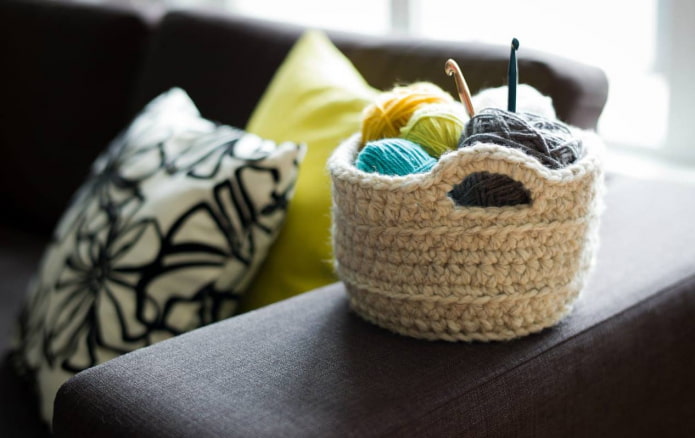
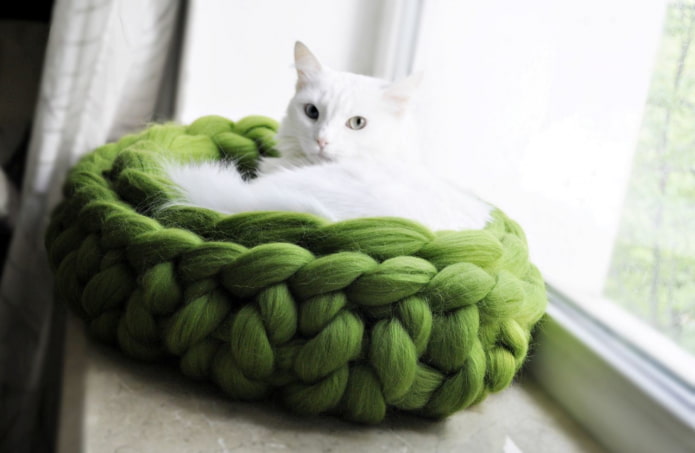
Crochet baskets, will find their application in the kitchen and living room. You can put flowers in them, keep magazines or books at hand. In addition, it is easy to knit a cozy nest for a pet from thick knitted yarn.
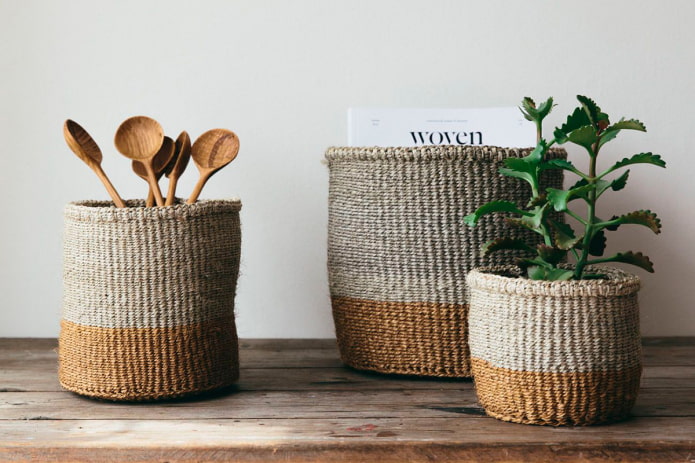
The photo shows baskets made of twine, which will perfectly fit into a marine or eco-style.
Now reading:
- Your Complete Guide to Pre-Owned Renault Trafic Vehicles
- Removing Scratches From Laminate: 12 Best Methods and Prevention Tips
- How to eliminate the noise of the ebb tide? – 5 effective methods for the silence of drops.
- Purple sofas in the interior: more than 50 photos and ideas for rooms and corners.
- effective methods for protecting windows on the first floor from prying eyes.