Pros and Cons
You can buy an epoxy table from a professional, make it to order, or create it yourself. A description of its features will help you learn more about epoxy resin furniture, but ultimately the determining factor for most people is its aesthetic qualities and exclusivity.
Types of Epoxy Tables
The variety of models allows you to choose a table for every taste, while each product has its own characteristics. Natural materials are most often used, the presence of which makes the furniture unique.
Epoxy Resin Table with Backlight
Luminous table models equipped with LED strips have a magical effect. Instead of diodes, some craftsmen prefer to use a phosphor. The substance is mixed in a ratio of 1 to 3 (a spoonful of luminophore to three spoonfuls of epoxy resin), then the composition is poured into the recesses of the wooden tabletop. The entire surface can also be covered with resin, or slabs of wood can be connected with a transparent composition. At night, the fluorescent glow gives the interior a magical mood.
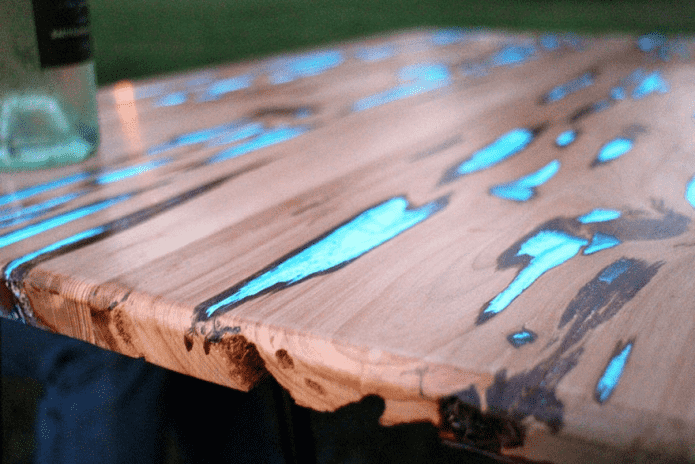
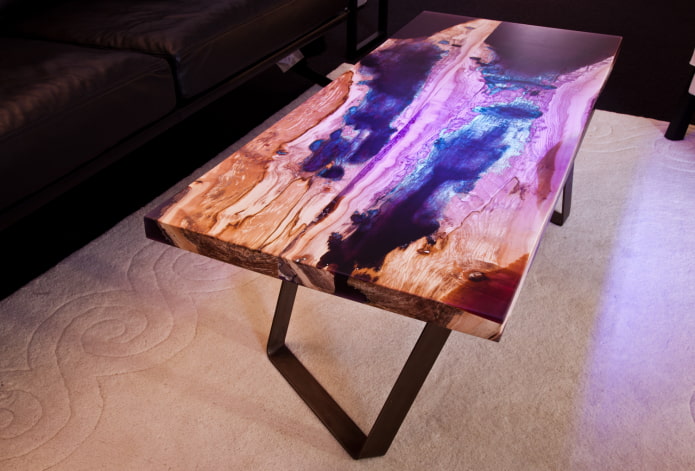

The photo shows a table with epoxy resin backlighting. The solution with a phosphor fills the cracks, turning the uneven tabletop into a bright exclusive piece of furniture.
Table made of epoxy resin and stone
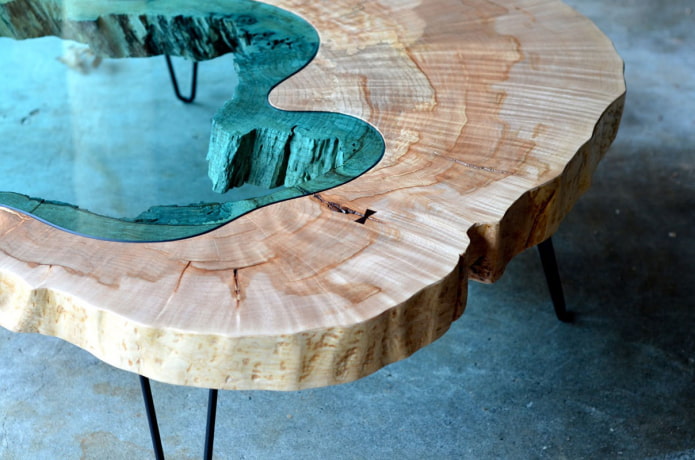
The base is a slab or plate of natural stone. Such a massive product looks expensive and impressive, but has a high cost and weight. The stone base gives stability to the tabletop, so the tables are heavy and low. Polishing the surface reveals the full beauty of the product: picturesque differences in the stone, its texture and pattern.
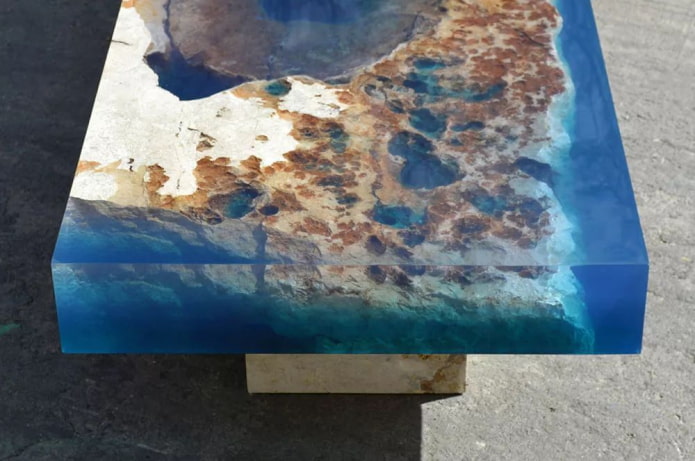
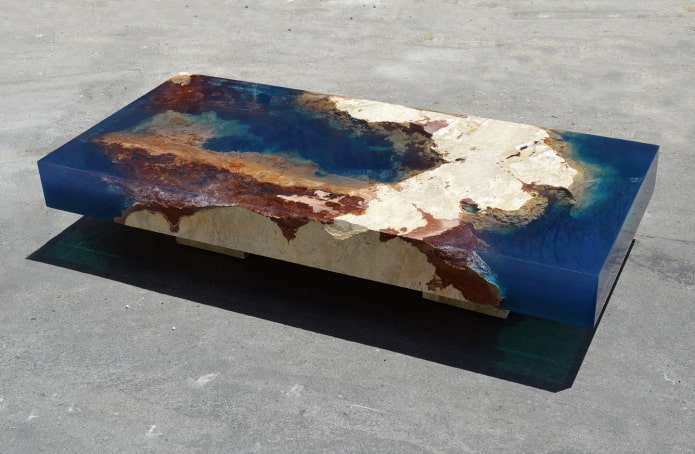
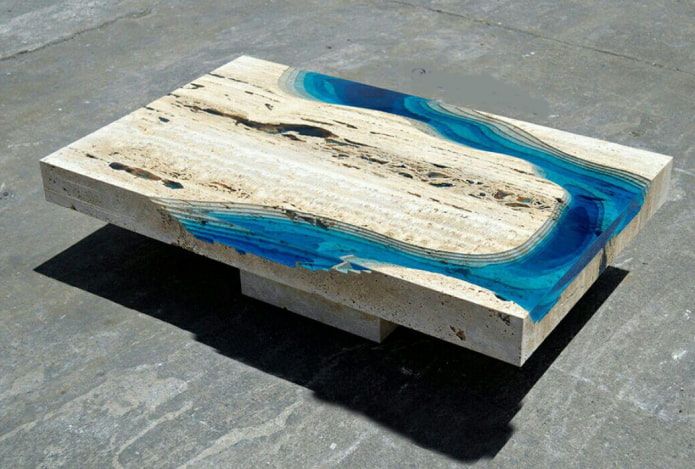
The photo shows a low table made of stone. Epoxy resin poured in a wave shape gives the cold stone softness and sophistication.
Wooden coffee table made of epoxy resin
Wood has many advantages and is an ideal solution for the production of furniture with epoxy resin. It is a flexible material that can be given any shape. Wooden blanks are durable, lightweight, and easy to work with. But most importantly, the raw edges of the cuts are easily filled with liquid resin, creating picturesque patterns.
If the epoxy resin tabletops do not have a wooden base, the structures cannot withstand high loads. Only small decorative tables are made this way.
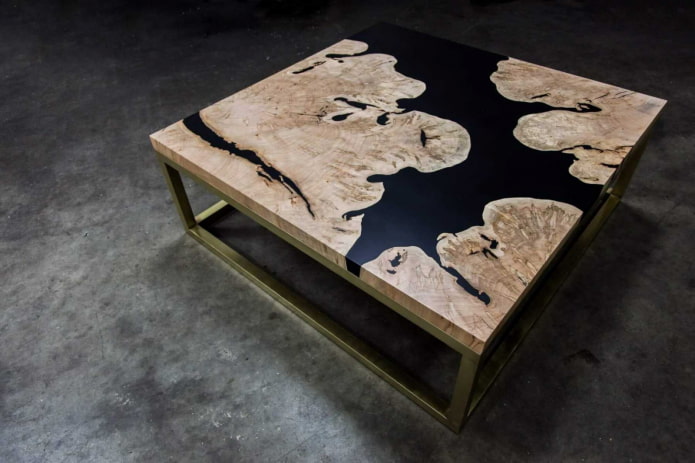
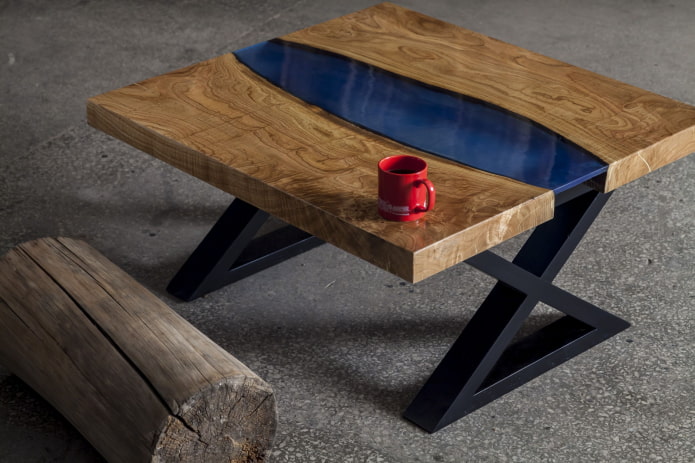
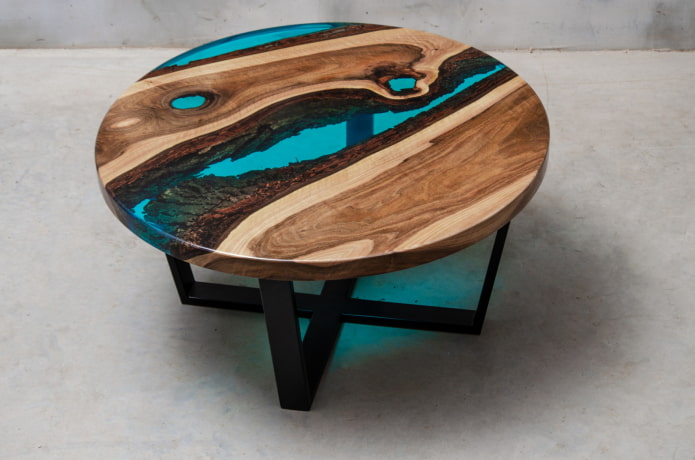
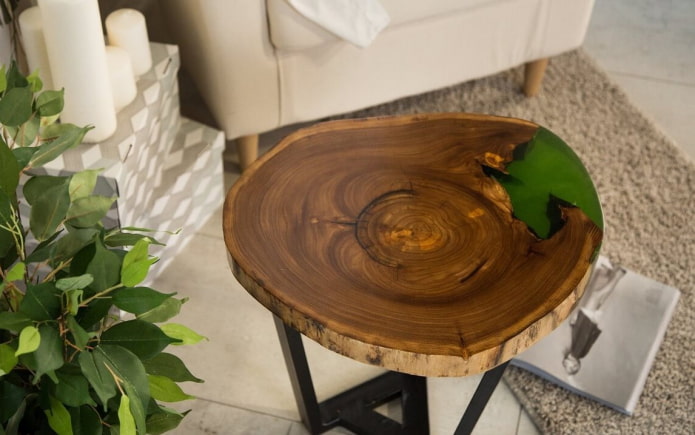
The photo shows a round coffee table made of epoxy resin and wood on a metal frame. support.
Epoxy resin river table
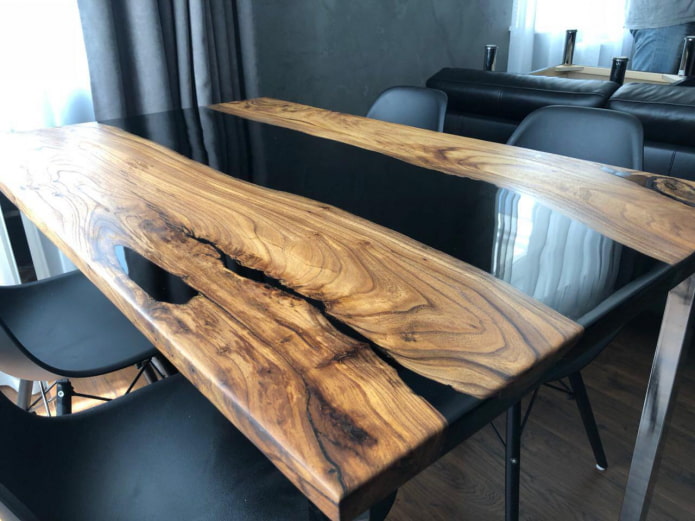
The basis of the structure is two wooden slabs, between which the solution is poured. Most often, oak, ash, elm are used. The hardened composition repeats the unevenness of the slab, imitating a river and two banks. The resemblance to water is achieved not only due to the shape, but also the transparency of the composition, to which blue dye is often added.
Recently, the river table has become very popular, and for good reason: the glossy surface looks mesmerizing, and the cuts reveal the texture of natural wood. The table can be placed in the kitchen, living room or office. This luxurious piece will decorate any setting and will fit harmoniously into loft, art deco, fusion and eco-styles.
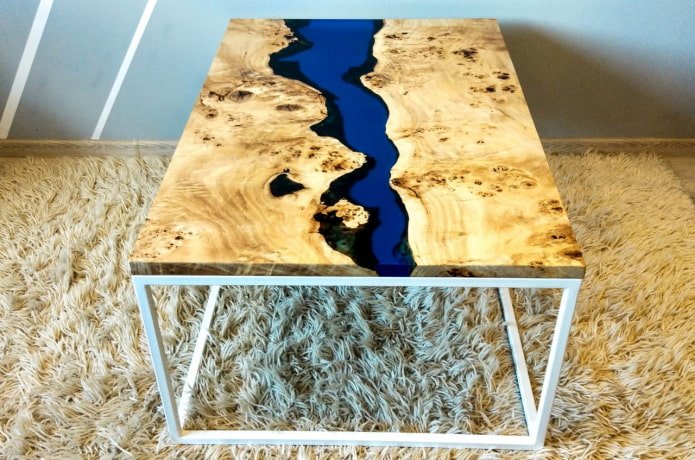
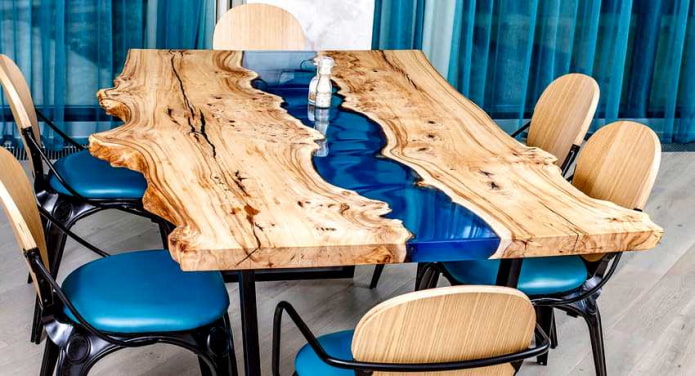
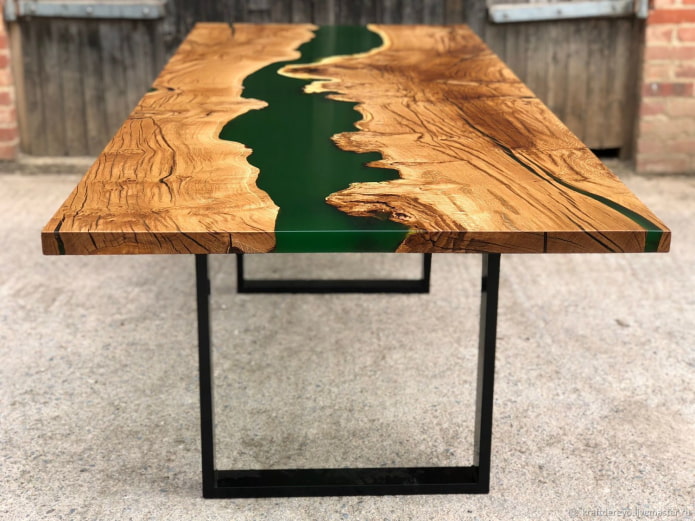
The photo shows a rectangular table made of a slab and epoxy mixture with the addition of green dye.
Table made of saw cuts and epoxy resin
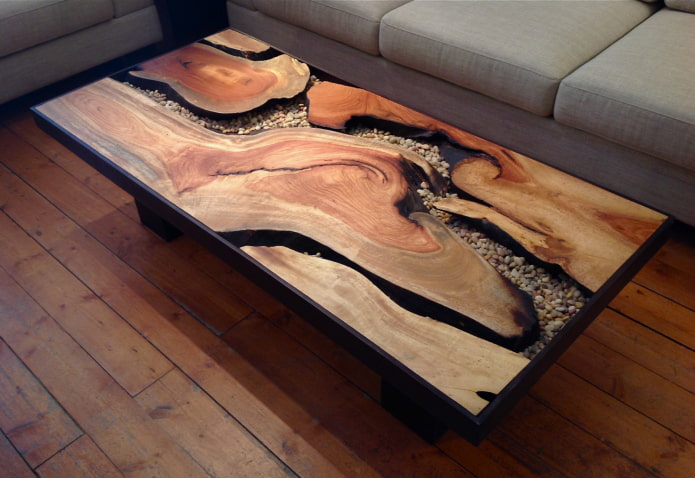
The frame of the structure can be made not only of boards, but also of a wood saw cut. Usually, the blanks have cracks, unevenness and even through holes. Thanks to the poured and hardened resin, these disadvantages turn into advantages, giving the product a unique design. For a small table, a wide cut of 6-8 cm thick is suitable: the figured edges will give the structure a special shape, and the transparent composition will add elegance to the product.
Small cuts from logs or stumps are also used as decoration: oval and round parts of various sizes are laid out on the base and filled with a liquid composition.
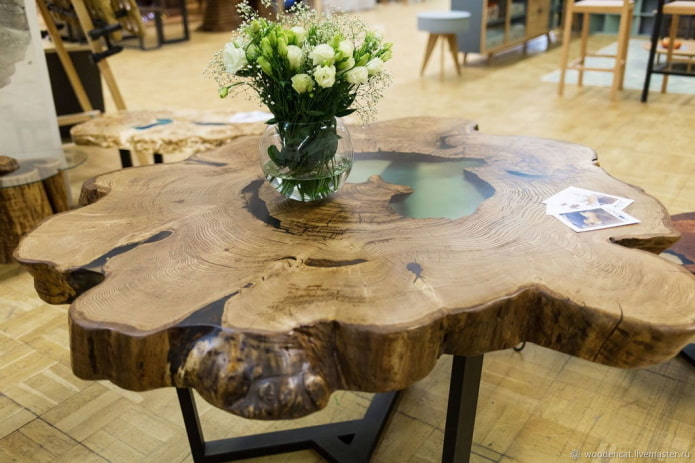
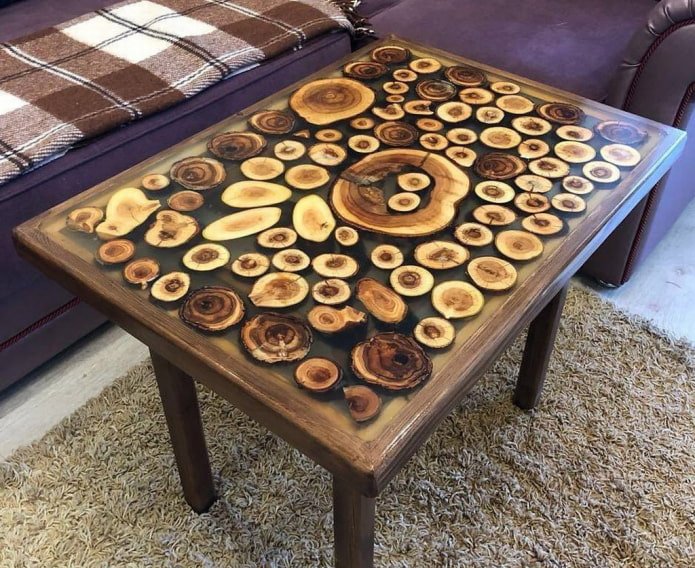
The photo shows a saw cut from a hollow log, which was given a second life, creating a magnificent coffee table.
Epoxy table with decorative filling
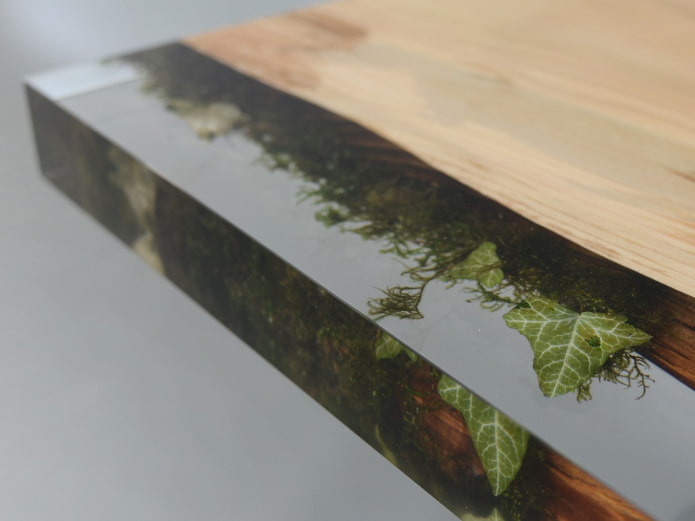
With the help of resin, new furniture is created and old one is restored. All kinds of elements of the plant world are used as decoration for inserts: moss, flowers, leaves, cones.
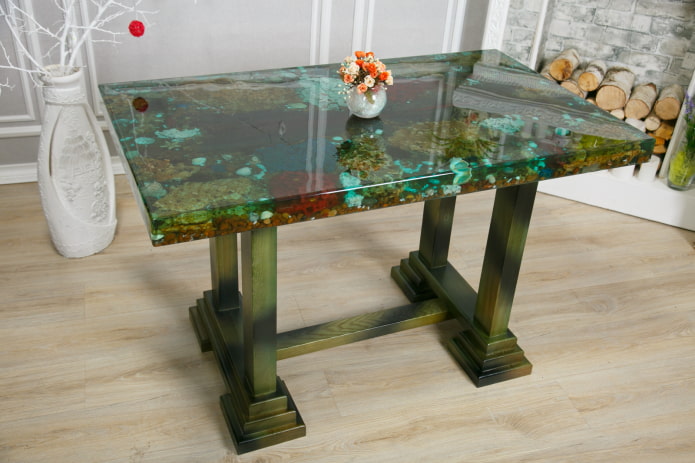
Epoxy, similar to frozen water, is an ideal material for maintaining a marine theme: shells, pebbles, artificial algae are suitable as filling. Hand-painted masterpieces deserve special attention. To create a three-dimensional image, the resin is poured in stages, and the paint is applied between the layers.
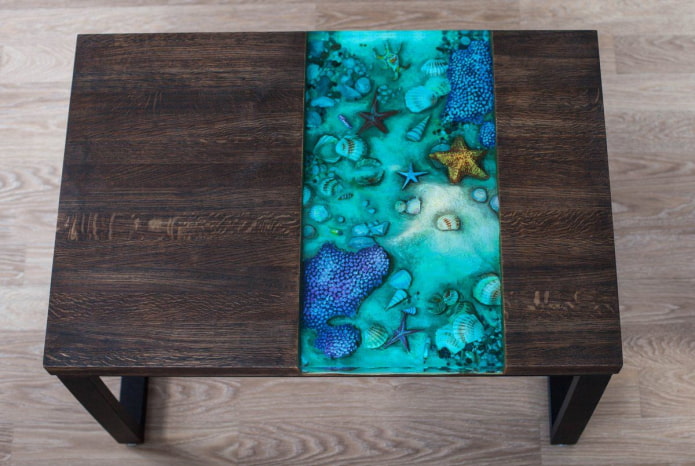
The photo shows an unusual table, which consists of laminated chipboard and an insert with imitation of the seabed.
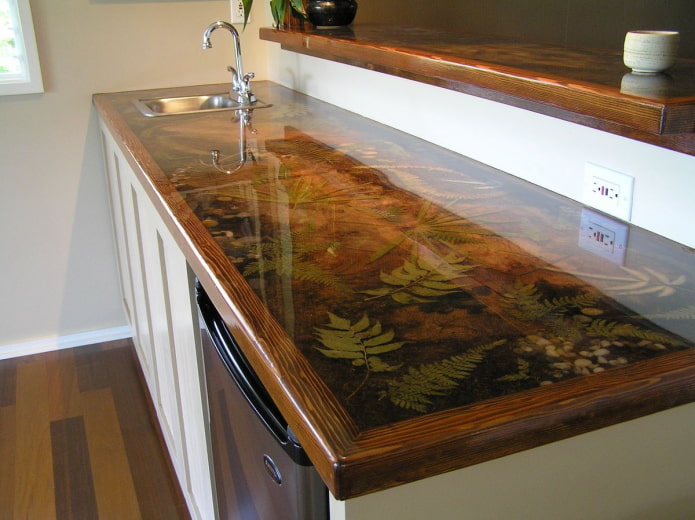
An even more interesting option for table design is to use photographs. To decorate an old tabletop, you need to clean it from dirt and sand it, then distribute the photos over the surface. You can take personal photos and create a collage, or print out ready-made images. The photos should be secured with glue, and the table should have temporary sides (formwork). You should start pouring the resin from the center to the edges, evenly distributing it with a spatula.
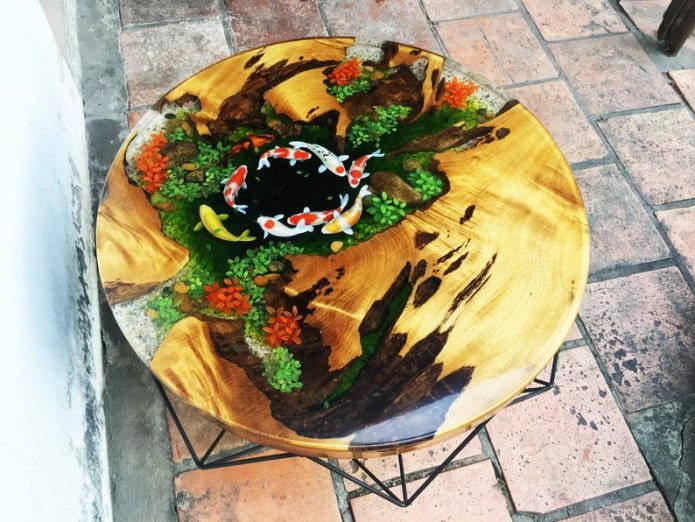
The photo shows a decorated tabletop made of epoxy resin with a painting in the form of fish.
With the addition of dye to the resin
Often, when making tables from epoxy resin, professionals use special coloring agents: the color helps to give the product a special character, make it more memorable and emphasize the author’s idea. The white surface of the hardened resin, similar in color to milk, looks original and allows you to fit the table into any interior. Black dye gives the product severity and makes it even more respectable. Furniture with multi-colored stains becomes the highlight of the house, and the unique pattern provides it with exclusivity.
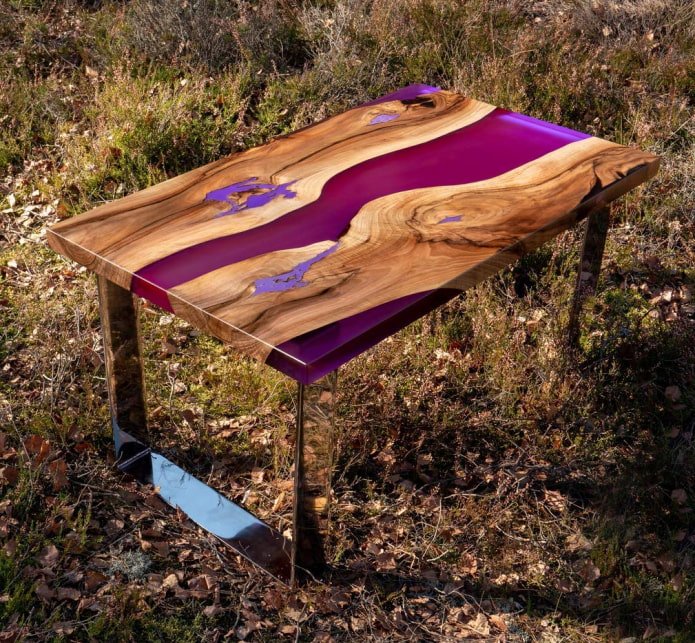
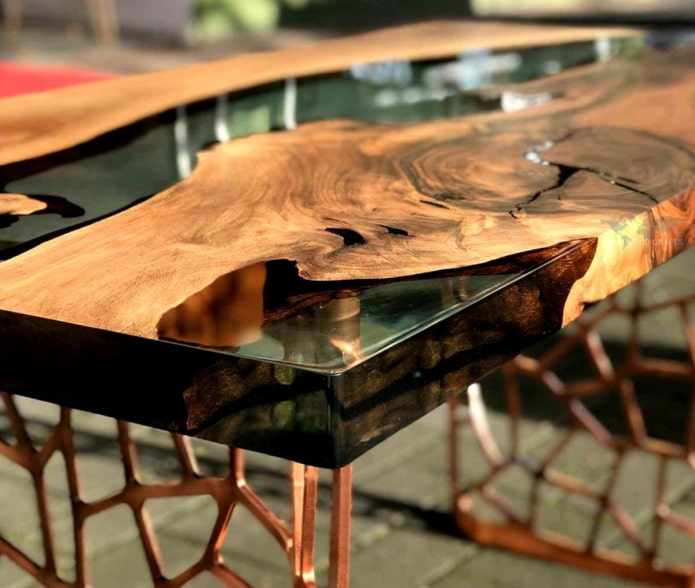
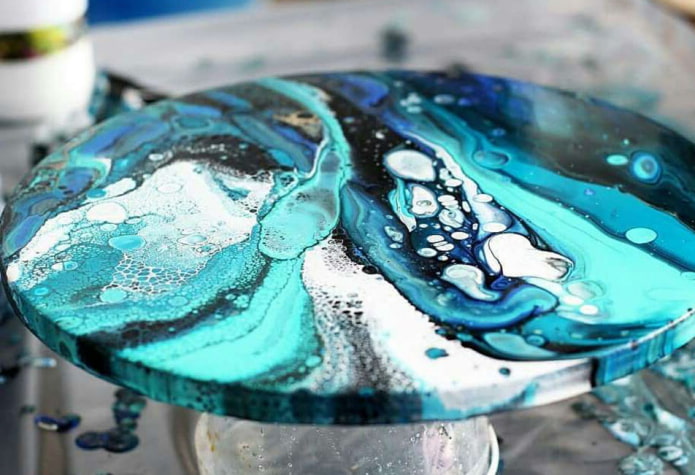
The photo shows a table painted with multi-colored colors using a special technology with a hair dryer.
How to make a table from epoxy?
We have compiled detailed instructions on how to make a table from wood and epoxy resin, and looked at several popular products for pouring tabletops.
What is needed for manufacturing?
To create a structure from epoxy resin, you will need:
- Slabs or rough boards with uneven edges.
- Epoxy resin (its amount depends on the size of the structure).
- Jigsaw.
- Sanding machine.
- Sandpaper of varying degrees of graininess.
- Brush.
- Furniture stapler.
- Packaging film.
- Gloves, respirator, safety glasses.
Which epoxy resin is better to use?
First of all, it is necessary to choose the right source material. When making tables from wood and epoxy resin, specialists choose expensive compositions, since excessive savings can lead to irreparable consequences. A cheap mixture becomes cloudy and yellow over time.
The most popular brands are:
- Crystal Glass. High-quality flowing resin, which is convenient to use for decorating. Due to these properties, it easily fills irregularities, penetrates well between small objects (shells, pebbles, herbarium).
- QTP-1130. When hardened, it becomes similar to glass, best suited for pouring in a thin layer. Country of origin Russia.
- PEO-610KE. High-quality resin of average cost, remains transparent even with prolonged exposure to sunlight.
- CHS Epoxy 520. When purchasing, you can immediately purchase a hardener, which is mixed with the main composition according to the instructions. The composition allows you to fill layers up to 5 cm without cracking.
- “Art-Eco”. Transparent composition of domestic production. The same company produces colors that can be used for a more interesting result.
What thickness of epoxy resin should be used for tables? A liquid product that flows freely from a stick perfectly impregnates wood, filling all the depressions. But you need to be more careful when sealing the form so that the mixture does not leak out of microscopic holes. Semi-liquid consistency is suitable for filling tables and connecting wooden parts, but thick resin is appropriate only for restoring solid wood furniture and creating jewelry.

Step-by-step instructions
When creating a table from epoxy resin, it is important to follow the technology. Procedure:
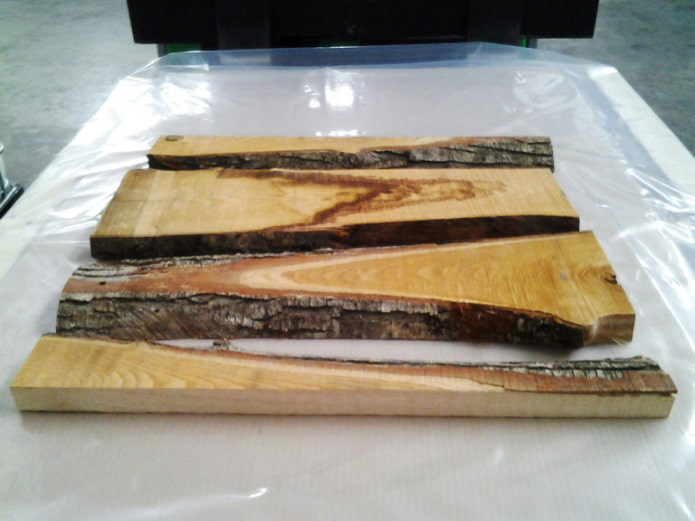
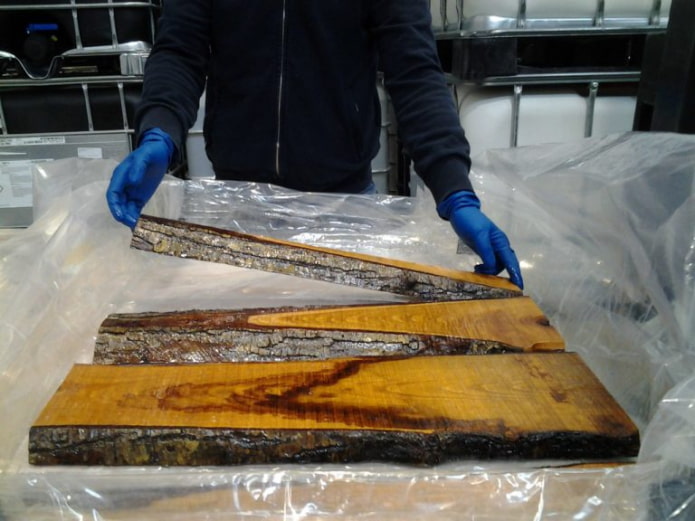
- First of all, you need to select slabs: this can be a slab with a convex side, several cuts with unevenness or rough boards. The wood must be dry.
- At the next stage, it is necessary to process the blanks: we remove the unevenness that formed during the cut with a jigsaw. We cover the boards with a thin layer of epoxy using a paint brush. The composition impregnates the wood, sealing the pores: this will subsequently help protect the poured tabletop from bubbles.
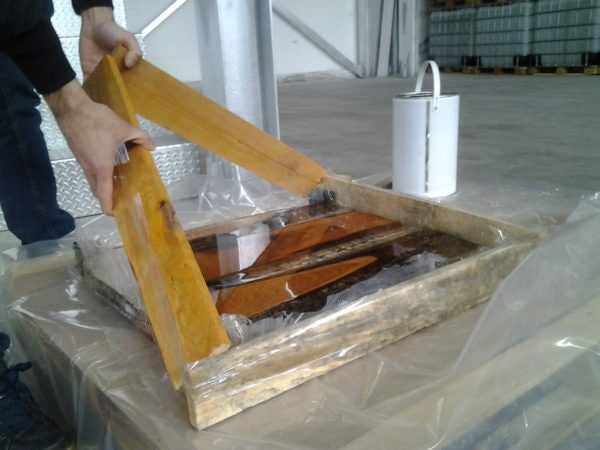
- After processing the wood, we make a form for a homemade table. Sliding formwork can be made of chipboard, plywood or wooden slats. The dimensions of the form should correspond to the future table. Carefully fix the film. It is best to choose a special material that does not wrinkle and is easy to peel off.
-
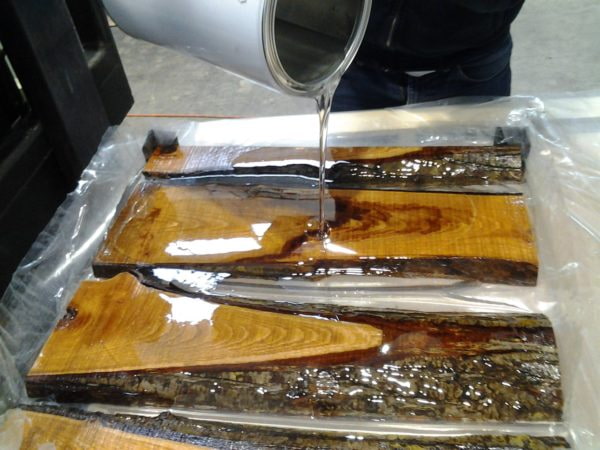
Prepare the epoxy resin according to the instructions. This requires two containers. Mix the solution slowly, add color if desired. After heating it in a water bath to 30-40 degrees, pour in the hardener. Bring the mixture to homogeneity, then carefully pour the blanks with a thin stream. You need to pour in one point. First, fill the space between the boards, and after hardening, completely fill the table area. If necessary, level the surface with a spatula. Blow out the bubbles with a hair dryer.
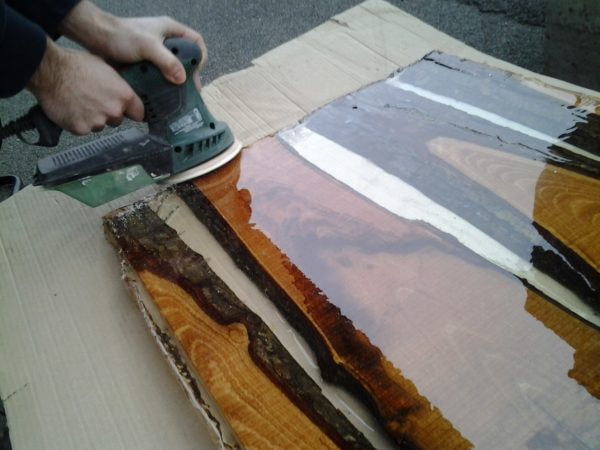
- The resin hardens best in a warm room. The process usually takes about two days. After that, remove excess resin and unevenness by sanding. For protection, cover the tabletop with polyurethane varnish.
- Fix the legs for the epoxy resin table. Suitable wooden supports are made of oak, larch, beech or metal supports made of aluminum or steel.
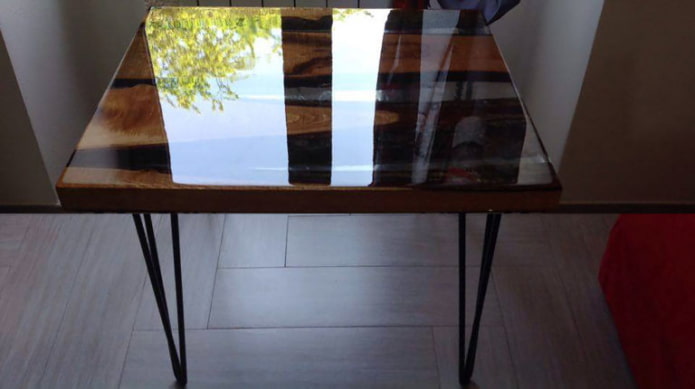
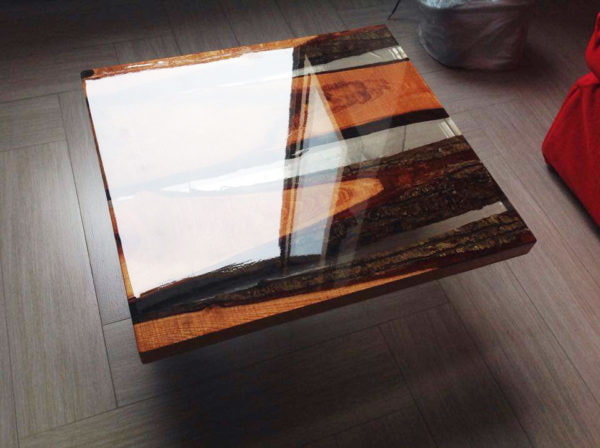
- A square table made of epoxy resin and wood is ready:
Prepare the epoxy resin according to the instructions. This requires two containers. Mix the solution slowly, add color if desired. After heating it in a water bath to 30-40 degrees, pour in the hardener. Bring the mixture to homogeneity, then carefully pour the blanks with a thin stream. You need to pour in one point. First, fill the space between the boards, and after hardening, completely fill the table area. If necessary, level the surface with a spatula. Blow out the bubbles with a hair dryer.
Prepare the epoxy resin according to the instructions. This requires two containers. Mix the solution slowly, adding color if desired. After heating it in a water bath to 30-40 degrees, pour in the hardener. Bring the mixture to homogeneity, then carefully pour the blanks in a thin stream. You need to pour in one point. First, fill the space between the boards, and after hardening, completely fill the area of the table. If necessary, level the surface with a spatula. Blow out the bubbles with a hair dryer.
DIY video instruction: a master class for beginners
It is quite difficult, but interesting to create unique furniture at home – you need work skills with wood and the availability of tools. How to make a table from epoxy resin is shown in detail in this video tutorial:
Ideas for tables in the interior
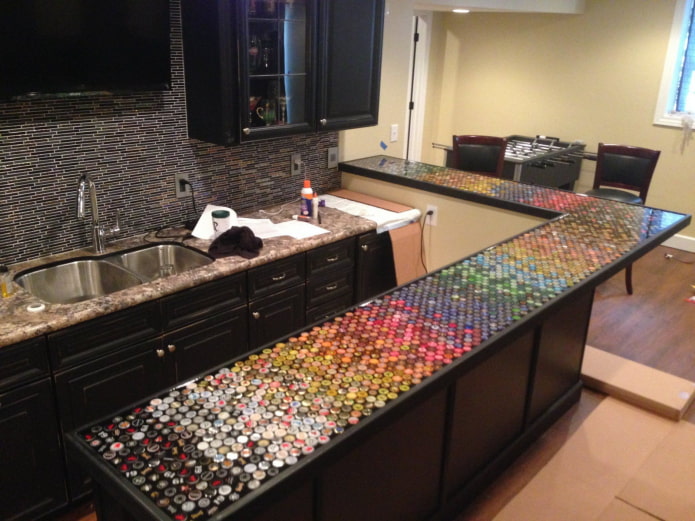
Furniture made of epoxy resin is not only beautiful, but also durable, and is not afraid of moisture. The tabletop can serve as a kitchen work surface or a place for computer equipment. Resin can also help to immortalize a valuable collection, as in the example with a bar counter, the surface of which is decorated with multi-colored beer caps.
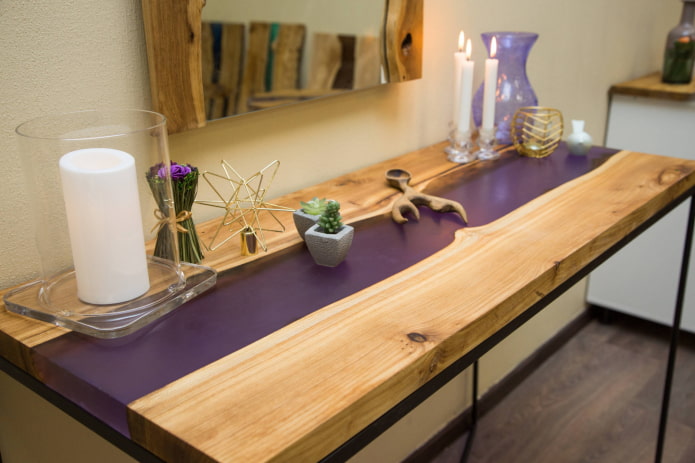
The photo shows a narrow high table with a transparent insert that will decorate any hallway.
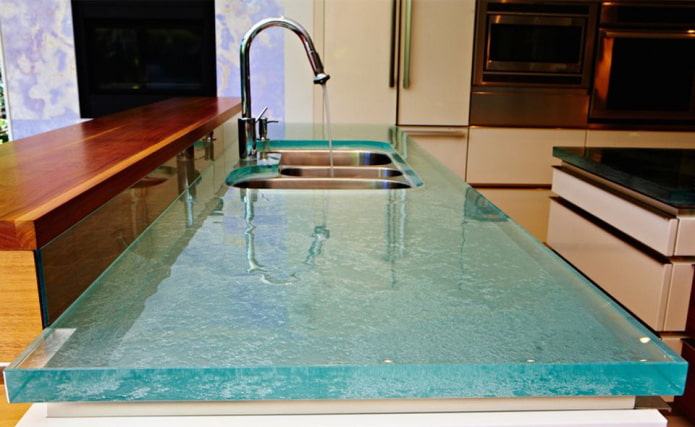
Tables made of epoxy resin look light and airy: if there is little space in the kitchen, a transparent surface will help to visually unload the space.
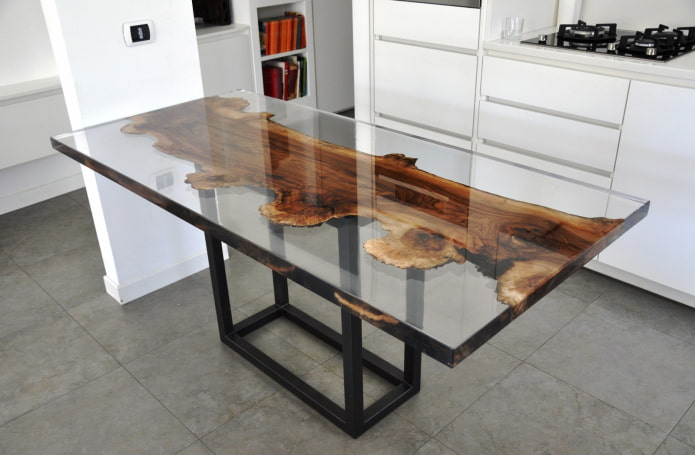
The photo shows a comfortable and attractive dining table on a metal support.
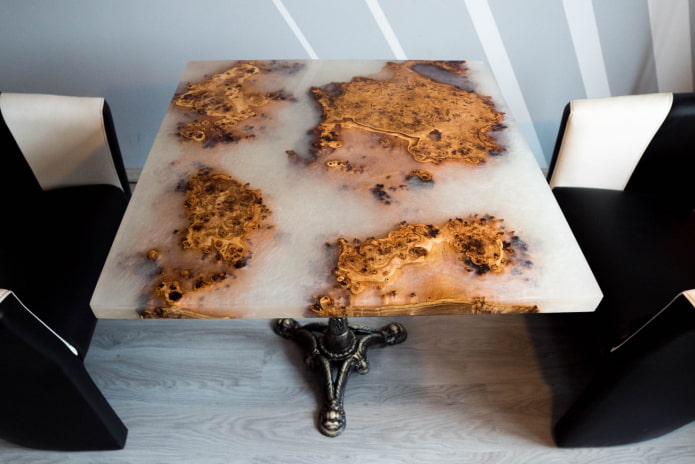
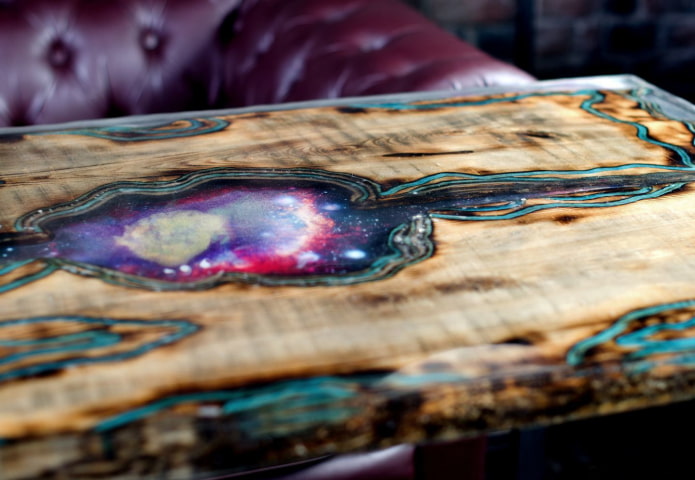
Some masters do not stop there and they come up with new types of tables. Of particular value are “space” tabletops. They are created using several types of color, mixing dyes directly during pouring and creating intricate patterns with a hair dryer.
Now reading:
- Neoclassical interior: more than 100 photos and key features of the style.
- Installing PVC panels on walls and ceilings: preparation and detailed steps
- Narrow Corridor: 45 Photos of the Hallway and Stylish Design Ideas
- Mint Kitchen: 40 Inspiring Photos and Design Solutions.
- Discover the All-New Mercedes SL: Luxury Redefined