Why do cracks appear?
Cracks in wooden floors are a common occurrence. They form when the boards dry out and “walk” during long-term use. There may be several reasons for this:
- the beginning of the heating season, which causes sharp changes in humidity;
- the selected material does not correspond to the climatic conditions of the region;
- incorrectly laid boards.
Effective ways to seal cracks
There are many methods for sealing cracks in a wooden floor: filling the gaps with putty or adhesive mixtures, covering with foam or sheet materials, etc. To choose the most effective method, you should consider factors such as the type of wood, the complexity of the work, the requirements for aesthetics, the cost of materials.
Puttying
The most common and easiest way to seal cracks in the floor is puttying. It does not require special skills and knowledge. To do the job well, it is recommended to use a sealant-putty as a filler. This mixture does not shrink and, unlike traditional compounds, is capable of expanding when drying, filling all the free space.
To carry out the work, you will need:
- wood sealant-putty;
- masking tape (scotch tape) with an adhesive base;
- metal spatula;
- rubber spatula (plate).
Step-by-step instructions:
- Pre-wash and dry the floor.
- Seal the edges of the cracks with tape to prevent contamination of the clean surface.
- Fill the holes with putty, using a metal spatula.
- Give the seam a beautiful shape using a silicone plate. It can be made flat or a small depression can be marked.
- Remove the masking tape and dry the floor.
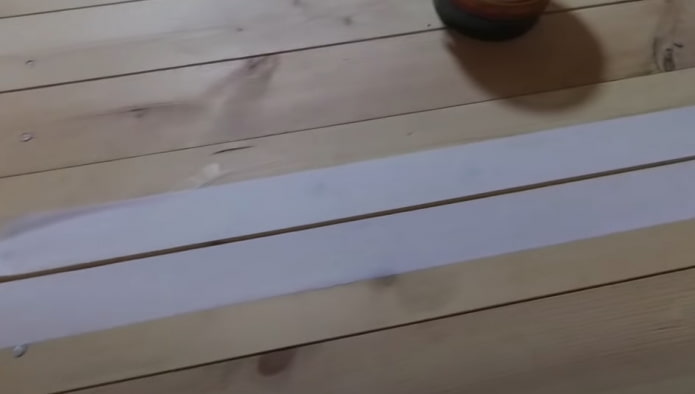
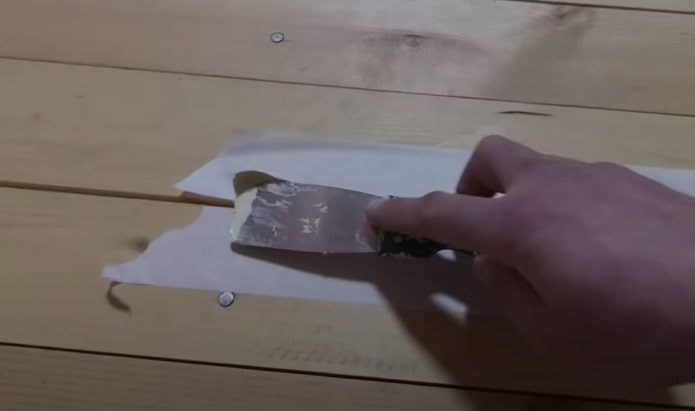
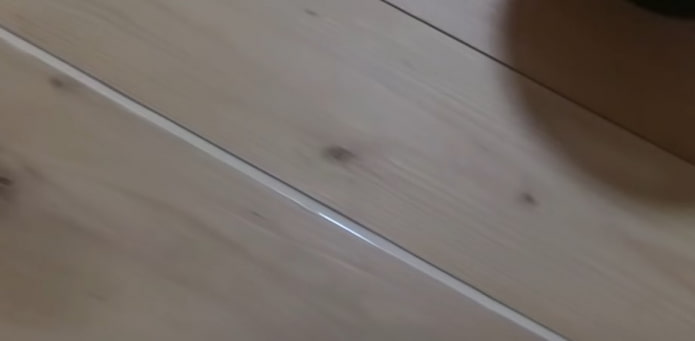
Any paint can be applied to the sealant-putty. However, it is better to select a mixture in advance, the shade of which repeats the color tone of the floor.
Sealing with a homemade composition based on glue and sawdust
You can make a crack filler yourself based on sawdust and PVA glue. The composition will be no less high-quality and beautiful than a professional sealant.
Necessary materials:
- wood sawdust;
- PVA glue;
- fine-grained sandpaper;
- plastic or rubber spatula.
Sequence of work:
- Pour boiling water over the sawdust. Then leave it to swell for 4 hours. Then mix with glue until a viscous homogeneous mass is formed.
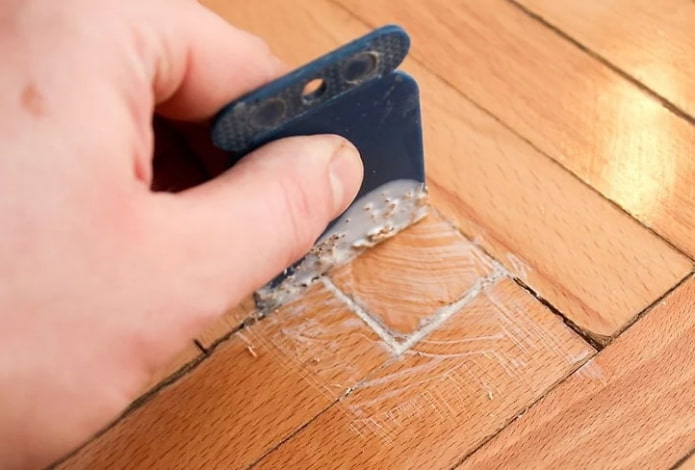
- Fill the cracks with the composition using a spatula.
- Wipe the surface with a damp cloth, leveling the seam.
- Wait for the mixture to dry completely, which will take from 24 to 48 hours, depending on the temperature and humidity inside the room.
- Sand the sealed cracks with fine-grained sandpaper.
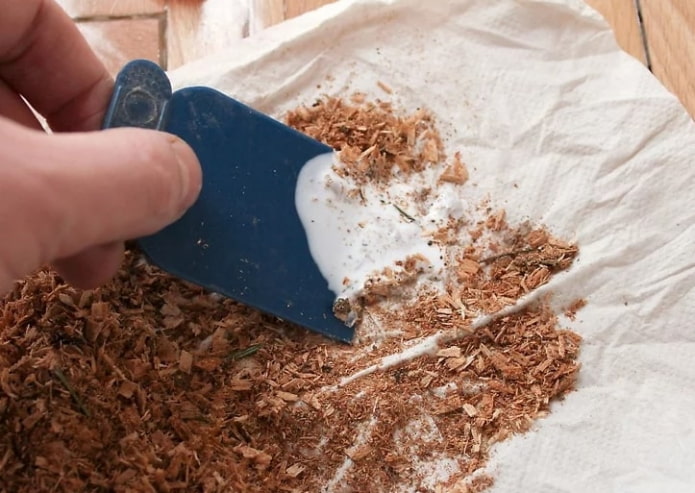
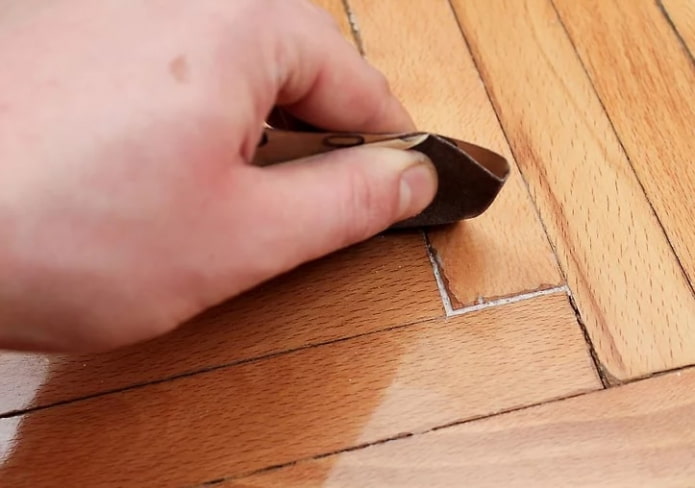
If desired, the treated seam is painted with an acrylic composition using a thin brush. Then the surface is thoroughly dried and, if necessary, varnished.
Using a mixture of paste and paper
The fastest and most inexpensive way to seal cracks is to fill the gaps with a mixture based on paste and paper. However, copper sulfate is usually added to such a mixture, which prevents the appearance of insects and mold. All these components are readily available.
To carry out the work you will need:
- coarse flour paste (avoid using starch);
- paper;
- copper sulfate;
- fine-grained sandpaper.
Step-by-step instructions:
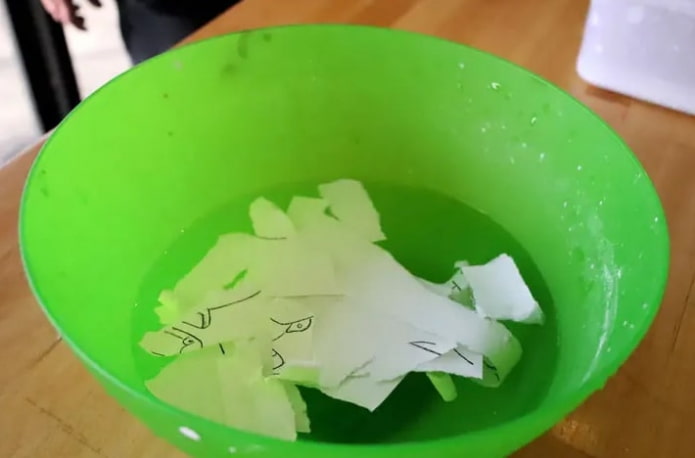
- Tear the paper into small pieces and soak in water for several hours.
- Mix the paste and copper sulfate in a ratio of 10:1.
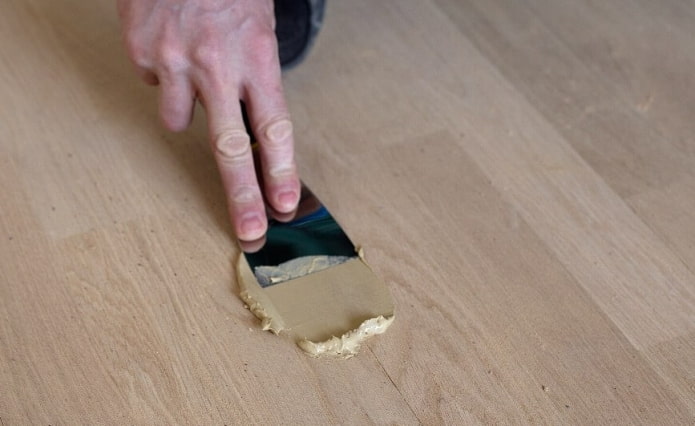
- Add squeezed and crushed paper to the composition. Mix the components thoroughly until a thick paste is formed. Seal the cracks with paste and then dry them well.
- Sand the surface with fine-grained sandpaper.
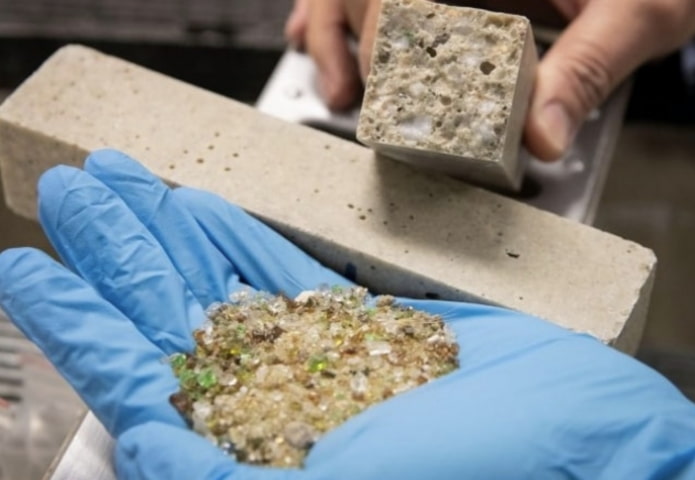
Sealing large cracks with a mixture of broken glass and cement
This method is applicable when the floor has been gnawed by mice. A mixture based on cement and glass chips helps to get rid of such animals.
Necessary materials:
- sand-cement mixture;
- glass;
- wood putty.
Sequence of work:
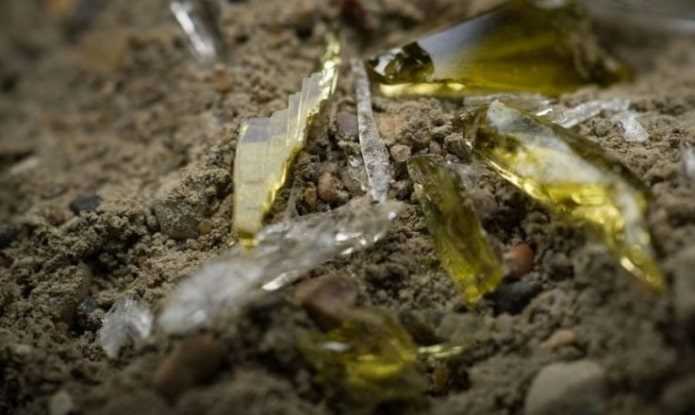
- Crush the glass into small fractions. The smaller the fragments, the stronger the composition will be. On average, their large sides should not exceed 2-3 mm.
- Prepare a mixture of cement and broken glass, independently adjusting the proportions.
- Fill the cracks with filler, then carefully level the seam. Wash off any remaining mixture from the floor.
- Leave to dry for 12-24 hours depending on the air temperature.
- Spackle the seams.
Sealing with a thermal insulation tourniquet
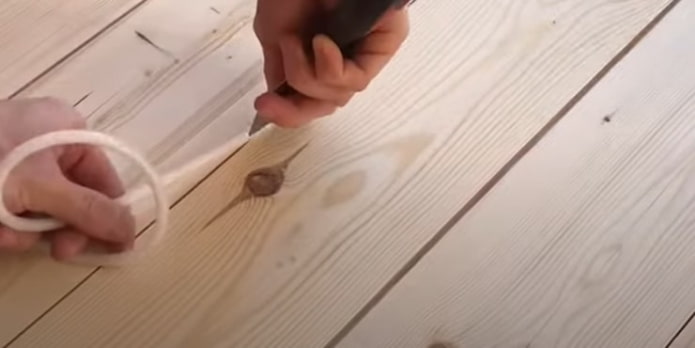
If the cracks are very deep, then applying the filler is difficult: a large amount of mixture and a lot of effort will be required. Therefore, first the craftsmen seal the thermal insulation bundle, and then fill the holes with a sealant.
When carrying out the work, you will need:
- thermal insulation bundle with a suitable cross-section (from 2 to 10 mm);
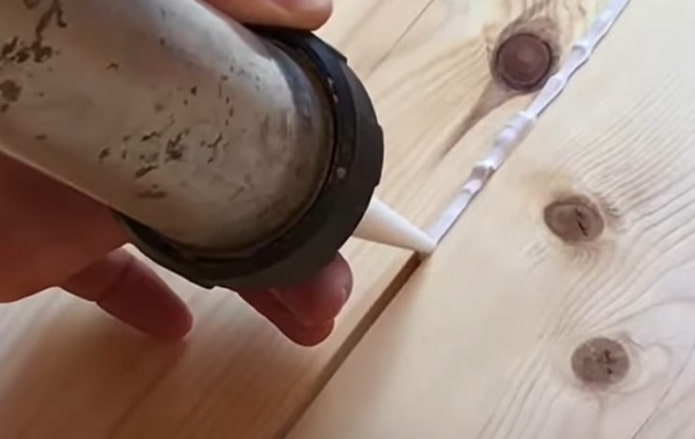
- acrylic sealant;
- clean water;
- soap solution.
Step-by-step instructions:
- Seal the elastic thermal insulation bundle into the cracks, carefully pushing it with the blunt side of the knife. Cut off the excess edges.
- Moisten the surface by spraying water with a spray bottle. Then wipe the floor with a dry soft sponge, collecting excess liquid.
- Fill the cracks with sealant.
- Slightly moisten the seam so that when removing the top layer, the composition does not stick to the wood.
- Smear excess sealant with a spatula.
- Wipe the surface with a sponge soaked in soapy water. The movements are made perpendicular to the seam so that the sealant mixture reliably adheres to the adjacent boards.
- Let it dry again.
- Wipe the surface dry.
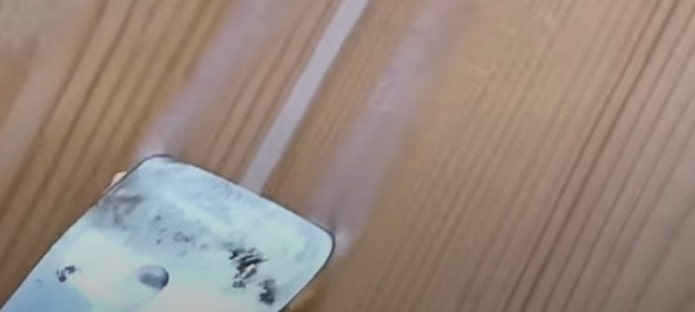
Filling with epoxy resin
This is a very simple, fast, and reliable method. A cord or rope is driven into the gap, after which epoxy glue is poured in. This composition is very hard, is not afraid of moisture, is easy to sand, and can withstand heavy loads.
Required materials:
- synthetic heat-insulating cord;
- epoxy glue;
- fine-grained sandpaper.
Sequence of work:
- Dilute the epoxy glue according to the instructions on the package. If a single-component composition is used, it is used immediately.
- A cord is driven into the gap. If there are shallow cracks in the floor, this step is skipped.
- A makeshift border is made around the perimeter of the gap with a thin stream of glue. This must be done so that the composition does not spread over the entire surface.
- Pour the composition into the gap. It is important that the glue completely fills the free space.
- Leave for a few minutes.
- After the resin has completely dried, sand the floor surface.
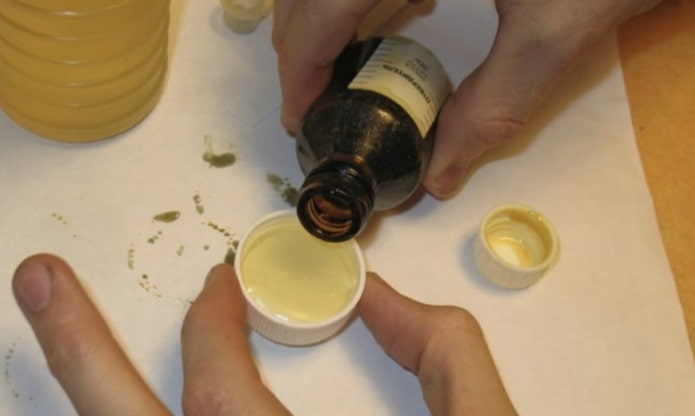
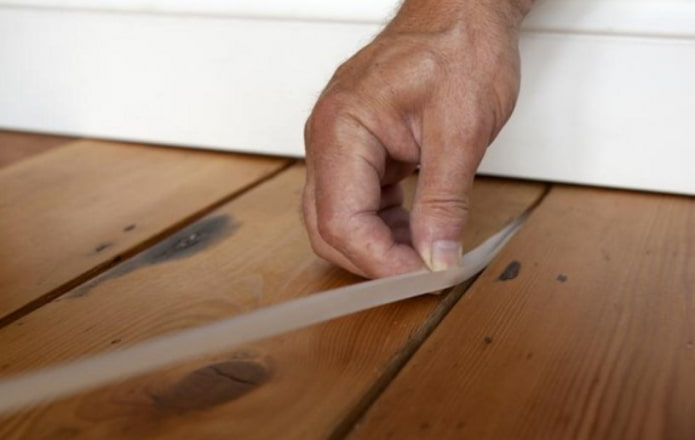
Stuffing with tow
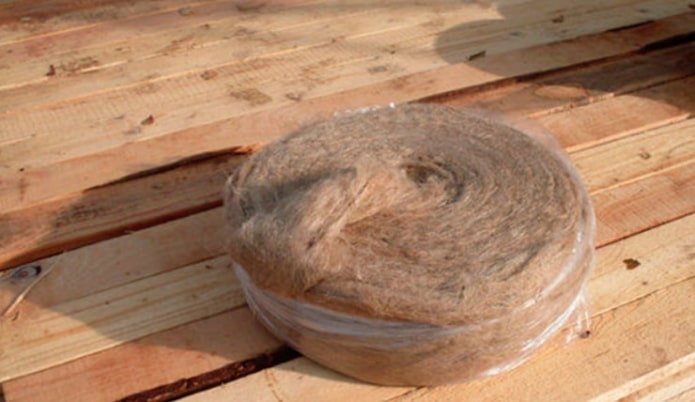
Stuffing the gaps with tow is a very old and reliable method for any construction work. The material used easily fills the gaps, providing water resistance and good thermal insulation.
When carrying out the work, you will need:
- plumbing flax (tow);
- adhesive composition;
- wood putty;
- acrylic paint.
Step-by-step instructions:
- Prepare light, moisture-resistant tow. If there is a choice, then we take a material with antimicrobial properties.
- The material is impregnated with wood glue and tightly tamped into the gaps.
- After the glue dries, the seams are puttied and left for 24 hours.
- The surface is sanded and painted.
Foaming cracks
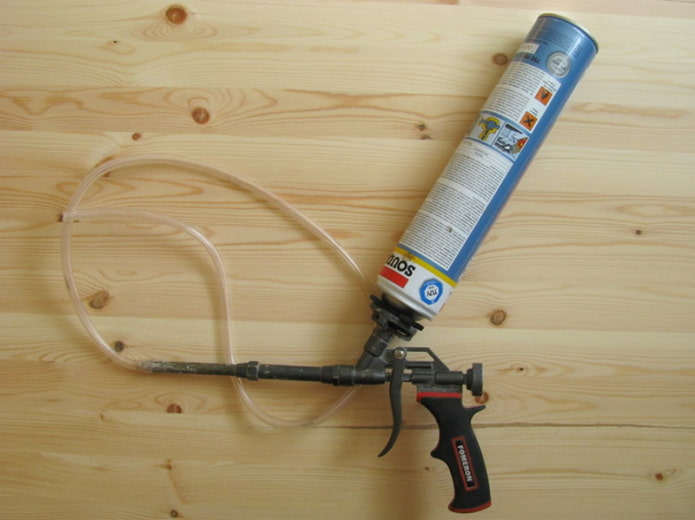
Mounting foam is widely used to eliminate voids, gaps, joints in wooden structures. It penetrates all hard-to-reach places and completely fills the space. Therefore, such a composition is often used to eliminate cracks in plank floors.
Necessary materials:
- mounting foam;
- acrylic paint or varnish;
- universal knife.
Sequence of work:
- Prepare the tools.
- Fill the cracks with foam using a smooth, even movement. It is important that the material fills the space only by 30-50%, since it will expand.
- The cracks around the pipes are also foamed.
- Wait for the material to dry completely.
- Carefully cut off excess foam with a knife.
- The seams are plastered or painted, otherwise the material may be destroyed by solar radiation (ultraviolet).
Filling with hard wax
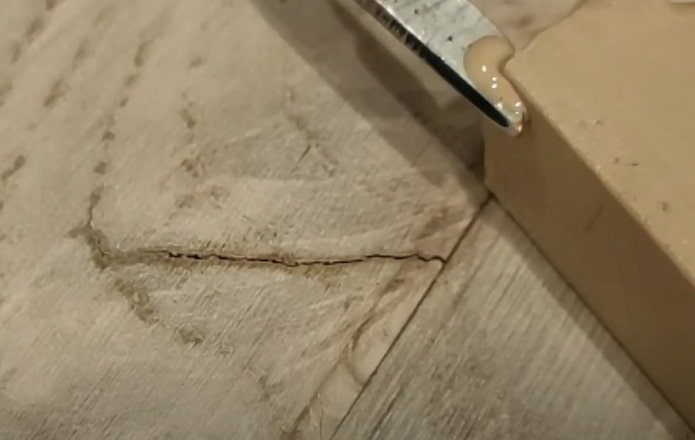
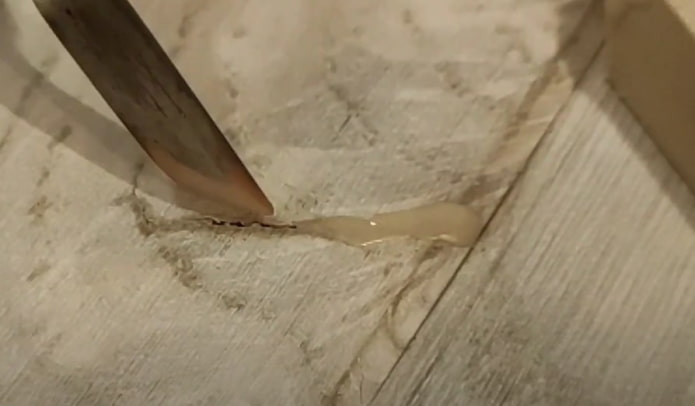
Wax is considered a universal product used in furniture restoration. It is also used as a filler when sealing cracks in the floor, and the surface can be untreated, painted, varnished. But to make the seams as beautiful as possible, it is better to take hard wax. It is not easy to work with, but the result is worth the effort.
To carry out the work you will need:
- hard wax;
- fine-grained sandpaper;
- microfiber cloth;
- chisel.
Step-by-step instructions:
- Before applying the substance, the floor is washed and dried well.
- Preheat the wax (its melting point is +80°C).
- Use the chisel to grab a small amount of the flowing composition, which immediately fills all the free space in the gap.
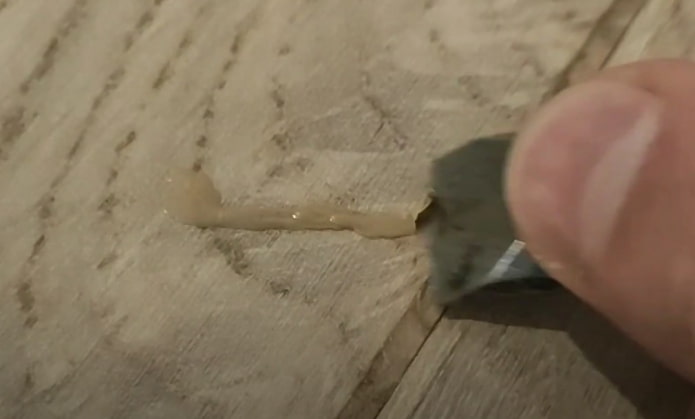
- Wait for the filler to harden completely, which will take from 4 to 12 hours depending on the temperature and humidity. Soon you will notice that the substance becomes matte.
- Carefully cut off excess wax with a spatula.
- Sand the surface with fine-grained sandpaper and wipe with a microfiber cloth.
Sealing with slats (wedges)
Wide gaps at joints are easy to close with wedges. Each insert is made individually, after which it is hammered into the gap. The slats completely cover the space, but do not exert excessive pushing load on the adjacent boards.
Necessary materials:
- wooden slats of a width equal to the depth of the cracks;
- PVA glue;
- hammer or mallet.
Sequence of work:
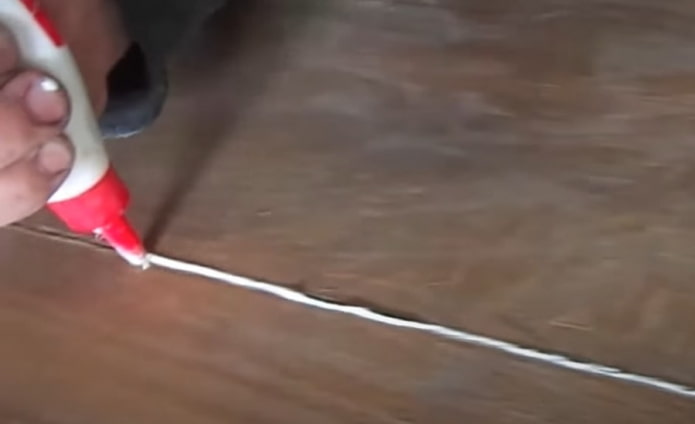
- Wedge-shaped inserts are planed from the slats, the sharp sides of which easily enter the joint.
- The seams are filled with glue.
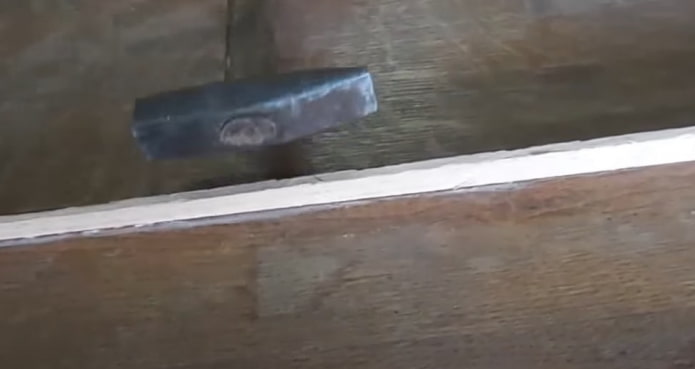
- The slats are inserted and carefully hammered in using a hammer or mallet. When sealing the inserts, special attention is paid to ensuring that the sharp ends do not break. Leave for several hours until the adhesive is completely dry.
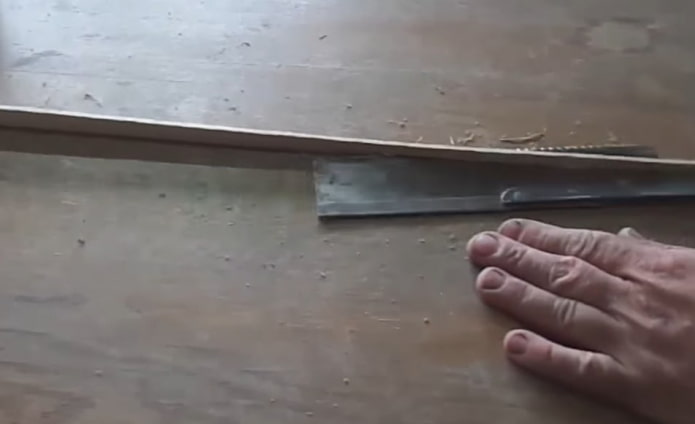
- Saw off the protruding parts of the wedges.
- Use a plane to plane off the remains, then sand the surface.
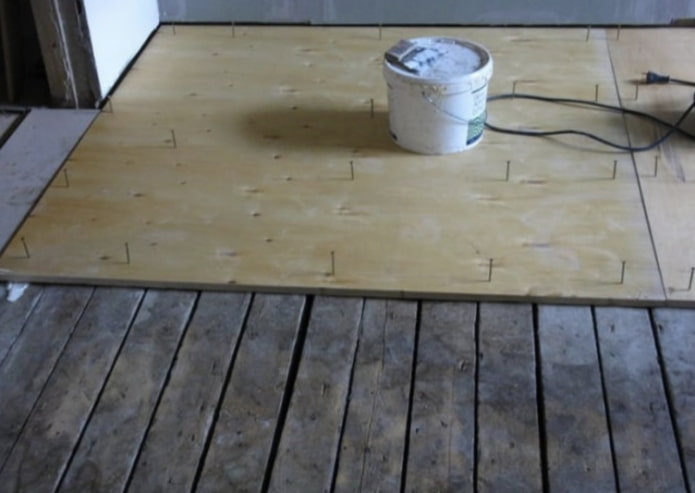
Floor covering with sheet materials
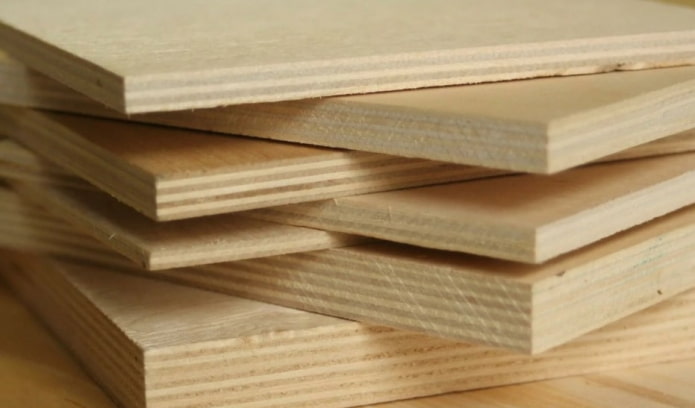
If there are too many deep cracks and holes on the floor, the use of fillers may be impractical due to the high consumption. One solution to the problem is to cover the surface with sheet materials, for example, using plywood sheets.
To carry out the work, you will need:
- sheet plywood;
- self-tapping screws;
- water-resistant primer;
- acrylic paint.
Work procedure:
- Cut the material to size and dry it well so that it does not deform later.
- Lay the plywood on the dried floor (without using glue or mastic). Secure with self-tapping screws, screwing them in sequentially (in a chain) and countersinking the heads.
- If necessary, fill the seams. Then the floor is treated with a moisture-resistant primer, after which a layer of acrylic paint is applied.
Removing and replacing floorboards
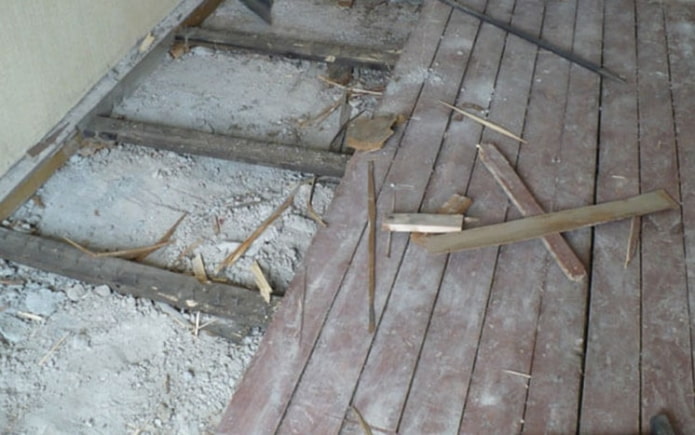
This is a proven method that allows you to get rid of all the defects made during floor installation. Damaged boards should be detached and replaced with new ones. This method is also applicable to laminate, but in this case it is recommended to use the search for relevant links on the Internet.
Necessary materials:
- bars and boards for new flooring;
- a mixture of cement and sand;
- floor paint.
Floor repair technology:
- Remove the skirting boards along the entire perimeter of the room.
- Carefully remove the old boards.
- Now you need to remove the logs.
- Then you should pour a new screed.
- Finish with finishing materials.
Features of sealing the gap between the wall and the floor
If the gap is formed by the wall and the wooden floor, this often indicates a serious structural problem. Probably, the floorboards were laid in violation of technological requirements. But regardless of the reason for the current situation, it is necessary to eliminate the gaps.
Before sealing the gaps, remove the baseboards, clean off the remains of paint and filler. The surface is thoroughly washed, completely dried and sanded. Only after the measure has been taken, the gaps are sealed with a moisture-resistant compound.
How to prevent cracks from appearing?
To prevent cracks from appearing and to make a durable covering, you should strictly follow the technology of laying a wooden floor. The main rules for carrying out work are:
- selecting the optimal ratio of the thickness of the boards and the gap between the joists;
- leaving a gap between the floor and the wall along the entire perimeter of the room;
- installing shock-absorbing pads at the joints of the floor elements;
- treating the material with moisture-resistant and antifungal solutions.
You should also ensure good ventilation and maintain a constant level of humidity inside the room. This makes it possible to prevent the appearance of a gap between the boards with a probability of 99% even with active use of the covering.
Now reading:
- Hyacinths: 21 photos and everything about the rules of care, forcing and planting flowers.
- stylish solutions for hiding a gas pipe in the kitchen without breaking the law.
- Hallway Design: 113 Images for Interior Inspiration
- Light green wallpaper for walls: more than 80 photos in the interior of the living room, kitchen and bedroom
- Gray in the interior: more than 90 photos and examples of interesting solutions.