Cold welding
Cold welding is most often used when laying household linoleum end-to-end. This is a specialized thick polymer glue that firmly bonds vinyl (PVC) pieces. A big advantage of this method is the smooth rounded joint.
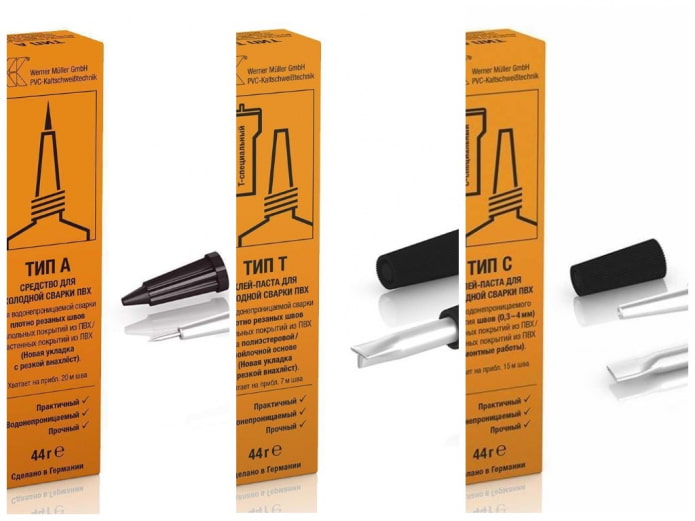
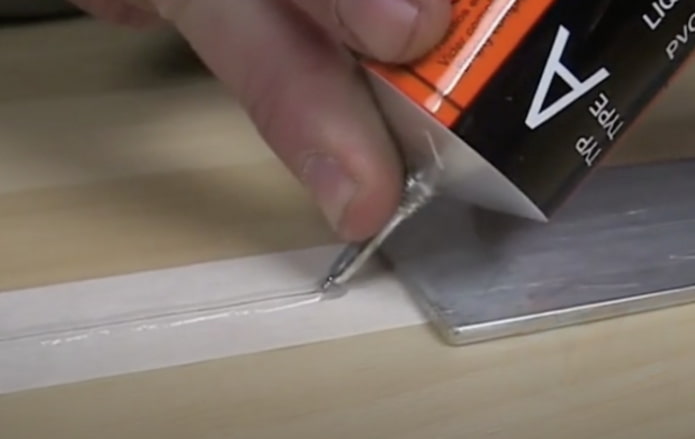
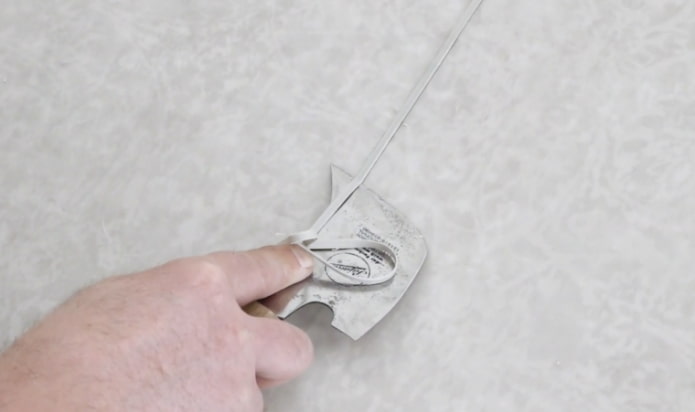
It is contained in tubes and squeezed into the joints (connections) using a long needle (see photo below), after which it quickly hardens.
It contains strong solvents, so gloves should be used when gluing, and the linoleum itself should be protected with masking tape.
Cold welding glue is available in several varieties:
- Type A. This glue is contained in a tube with a special needle, with the help of which it is evenly distributed in the cavity of the seams. Suitable for gluing pieces of foamed linoleum (including felt-based sheets). When cutting, leave a minimum gap (no more than 2 mm), or better yet, overlap the sheets. Consumption: 20 running meters.
- Type T. This glue is supplied in tubes with a flat nozzle. Suitable for joining combined or polyester bases. When cutting, you can leave a visible gap. Consumption: 7 meters.
- Type C. As a rule, this glue has a thicker consistency and is used primarily for repairs. The glue is distributed in the cavity when joining wide seams (up to 4 mm). Consumption – up to 15 meters of joint.
Now let’s consider in detail the stages of gluing using the cold welding method. For work we will need: glue, a knife, a long ruler, a pencil, double-sided and masking tape.
Step-by-step instructions:
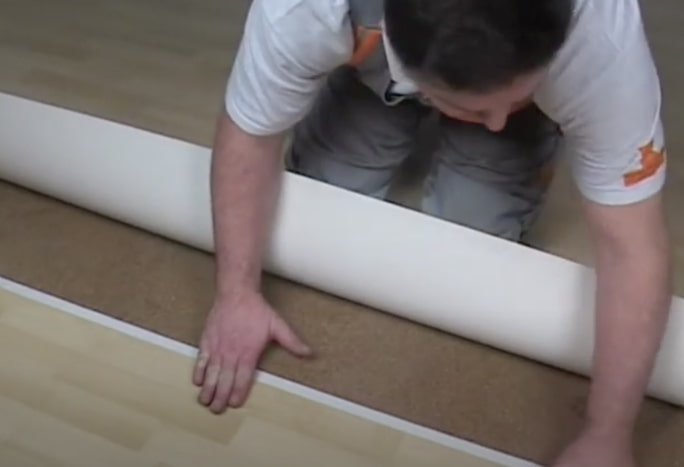
- Clean the floor covering from dirt and distribute the linoleum throughout the room.
- Place both pieces overlapping each other. The overlap size is approximately 4-5 cm.
- Next, using a ruler and pencil, draw a straight line so that the cuts are even.
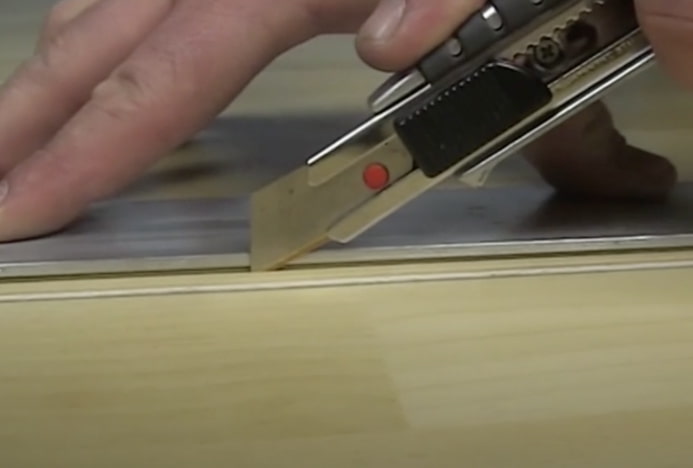
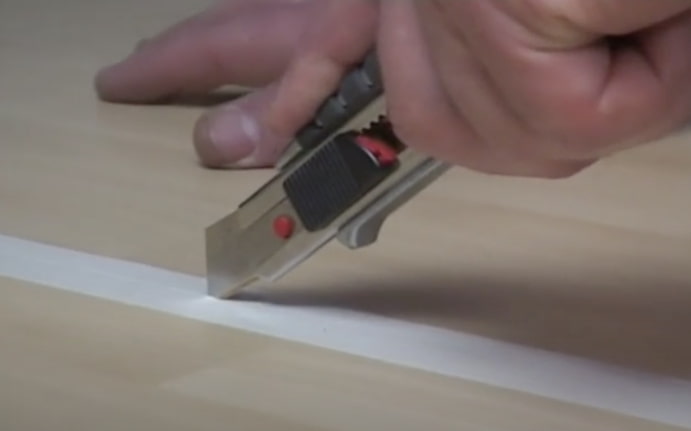
- Take a knife and cut both pieces strictly along the line and remove the remains. It is important that the knife is firmly fixed and the blade itself is very sharp.
- Move the pieces of linoleum aside and glue double-sided tape in the center of the future seam on the floor.
- Glue the left and right pieces to the tape one by one and carefully distribute them so that there are no gaps.
- Glue masking tape over the seam and make a slit for the glue in the center between the pieces of linoleum. This manipulation will help protect the edges from unexpected damage from drops of glue.
- Insert the needle into the tube and begin to smoothly apply glue directly to the seam itself so that a little glue is visible on the surface.
- Wait 15 minutes and carefully remove the masking tape. Next, try not to step on the seam itself for 2 hours.
Hot welding
The hot welding method is based on welding in a cord based on polyvinyl chloride (PVC). In this case, you will need specialized equipment:
- U-shaped rustication,
- welding (construction) hair dryer,
- sharp crescent-shaped knife with a nozzle (sled).
The work requires certain skills in working with molten vinyl cord: laying it in joints. Therefore, gluing seams in this way is difficult to carry out at home. It is better to entrust the connection of linoleum to an experienced professional.
Stages of gluing using the hot welding method:
- Cut with a sharp knife and lay the linoleum sheets evenly with a slight overlap. Trim at the joints, tightly adjoining the pieces. Before gluing, leave for 24 hours and then start working. It is necessary to wait 24 hours because there is a risk of shrinkage of the coating.
- Using a U-shaped cutter (rustication), make a groove 3.5 mm wide and 1.5 mm deep along the line of the future seam (at the joint). To make it even, use a ruler.
- Welding is carried out. A straightened cord is inserted into the prepared groove using a special welding (construction) hair dryer. The degree of heating of the material depends on its color, but is usually +350 … +400 ° C. This is enough to firmly glue the base.
- While the cord is melted, its excess is cut off using a metal crescent-shaped knife and a skid (a flat limiting attachment).
- After the material has cooled and hardened, the remaining glue is cut off from the joints “to the finish”, i.e. level with the linoleum surface. If this is done immediately, then as it cools, the cord will decrease in size and will be drawn into the groove. Then the seams will be uneven, with gaps and breaks.
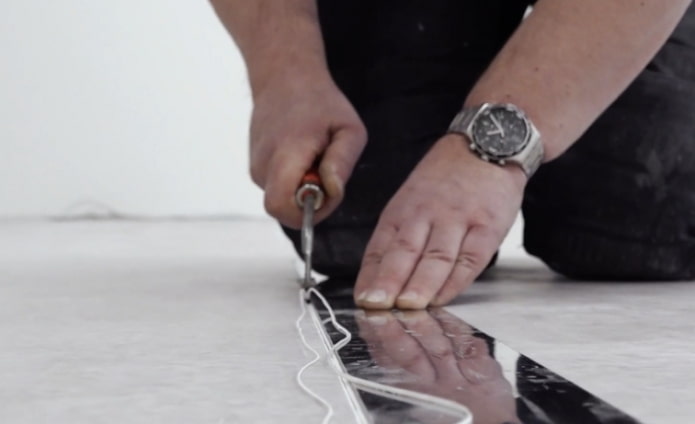
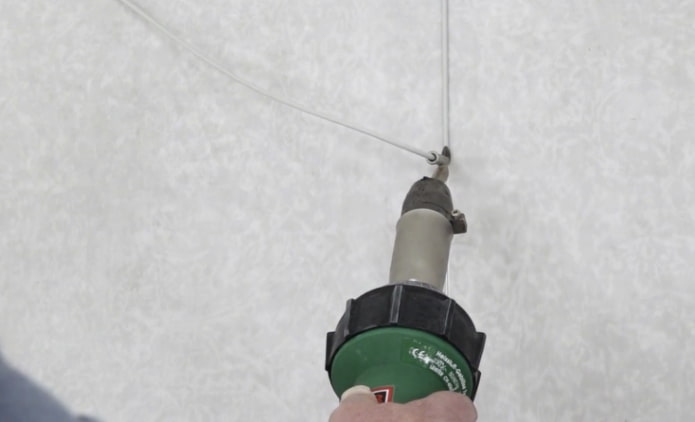
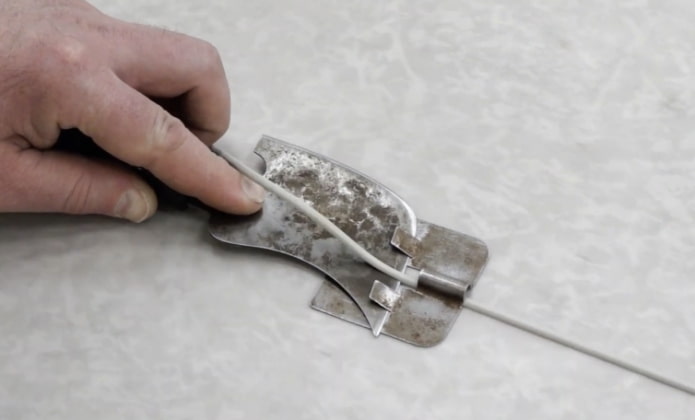
For clarity, watch the video:
Double-sided tape
Using double-sided masking tape (tape) as an adhesive base is the simplest option, allowing you to connect pieces of linoleum to form beautiful, but not very strong seams. This solution is suitable for temporary fastening, but with long-term use, the seam will most likely come apart. You need to buy strong masking tape.
Stages of gluing with tape:
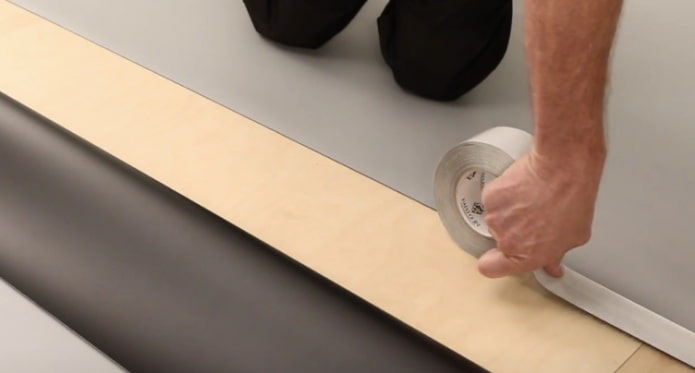
- Cut the linoleum and lay it on the floor. Cut the edges with a sharp knife so that they fit tightly together.
- Before gluing the sheets with tape, bend back the edges of the linoleum and make sure they are clean. If there is dust on the surface, wipe it thoroughly with a clean dry cloth.
- Apply double-sided masking tape (tape). The edge should fit tightly to the joint line.
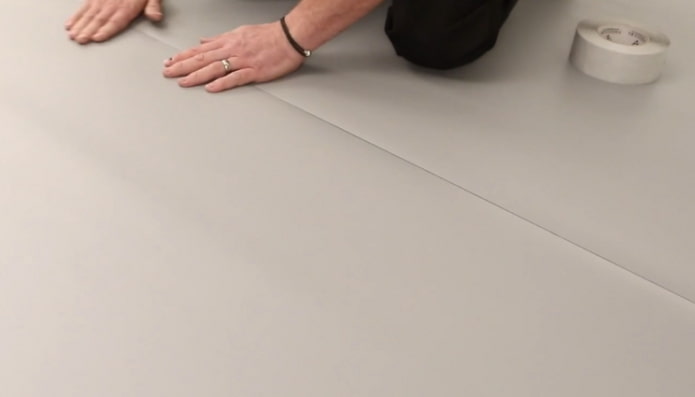
- Unfold the sheet and place it over the tape.
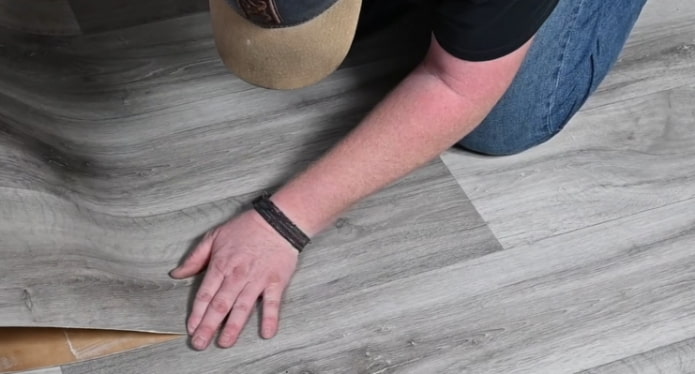
- Smooth it with your palm. Try to make sure the edges fit tightly and form an even joint.
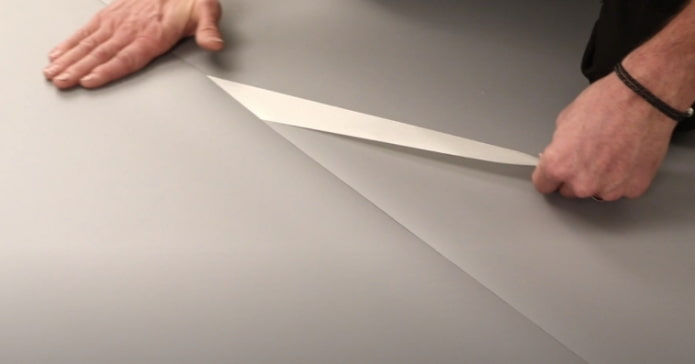
- Remove the paper layer of masking tape, smoothing the edge of the covering with your hand.
- Repeat the same steps for the adjacent piece of vinyl flooring. Bend back and wipe the edge of the linoleum, then stick it with tape and align the joints.
Overlay threshold
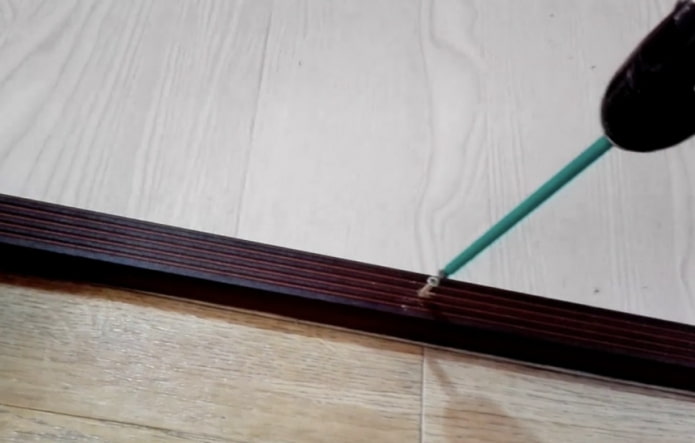
During renovation, a situation often arises when 2 different types of flooring are located at the junction or large gaps have formed between them. In this case, a transition threshold (joining strip) is applied, which hides the defects and fixes the edges of the linoleum.
This method is perfect for connecting the seam between linoleum and tiles or laminate.
Stages of work:
- Mark the length of the threshold and saw off the excess parts with a hacksaw for metal. Apply to the joint area and make sure the strip has the correct dimensions.
- Mark and drill holes in the places where the strip is attached to the floor (at the joint).
- Hammer dowels into the holes.
- Carefully sweep dust from the floor with a wide soft brush.
- Apply the threshold, focusing on the holes.
- Fasten with self-tapping screws.
Glue
This method reliably ensures adhesion to the floor and between the sheets. Joining linoleum seams with glue is only suitable for a flat surface and in the absence of visible cracks. There are several types of adhesive compositions – mastic and polymer compositions. But most often they use mastics, so let’s look at detailed instructions for it:
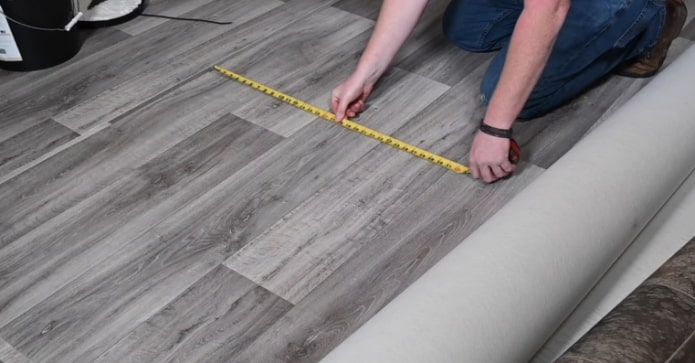
- Measure the area of the base that needs to be covered with household linoleum.
- Unroll the roll and apply markings taking into account small allowances.
- Cut off the marked pieces of linoleum.
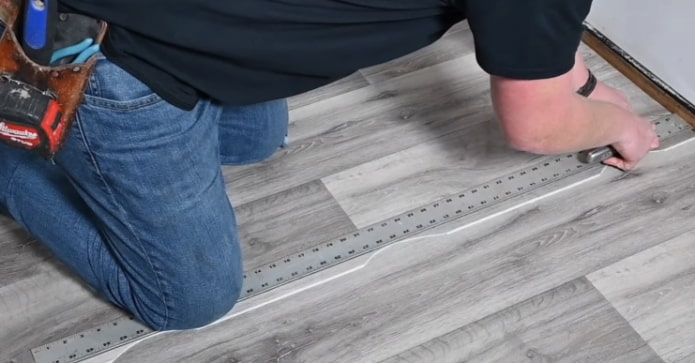
- Cut out notches along the joint line to ensure better visibility when cutting the seam.
- Lay the sheets overlapping and align according to the pattern. Then trim off any excess pieces along the wall and/or stairs. When joining, try to make an even edge so that large gaps do not form.
- Cut along the seam using a ruler and a sharp utility knife. Try to make the edges as even as possible so that they fit tightly together.
- Remove any trimmings so that they do not interfere with further work.
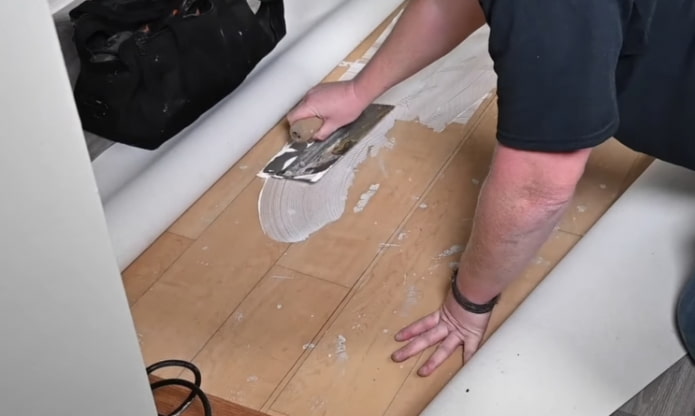
- Fold back the edges of the linoleum pieces and secure them by placing heavy objects on top.
- Apply mastic to the floor using a notched trowel.
- Wait until it dries a little and becomes sticky. Lay down the linoleum, carefully smoothing the covering with your hands. When joining, make sure the surface is even.
- Glue the canvas especially carefully at the joints.
- Distribute the mastic in the cavities between the seams.
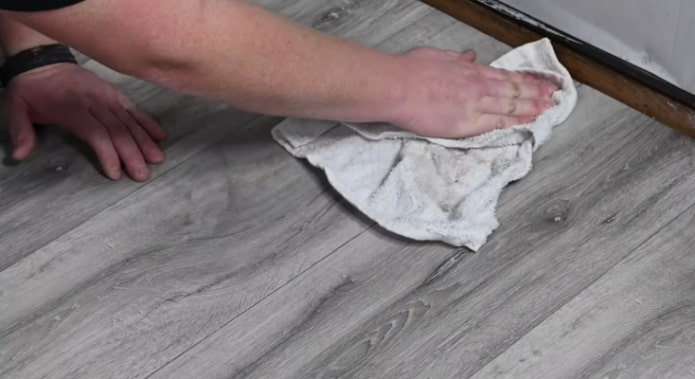
- Remove excess with a clean, dry cloth.
- Wait until completely dry (the curing time is indicated on the packaging).
What to do if the joint has come apart?
Despite the fact that linoleum has a long service life, over time the seams of the covering come apart. This is facilitated by active use of the base, frequent washing of the floor with household products (especially if they contain aggressive chemicals), regular temperature changes in the room.
Do not be upset if the seams come apart, you can glue the linoleum again. There are several ways to repair the base, the choice of which depends on the characteristics of the canvas. For example, all commercial and semi-commercial coatings can be joined using both hot (using special equipment) and cold welding. These connection methods are equally effective. However, when restoring household flooring, only cold welding glue is used, since exposure to high temperatures will destroy the structure of the sheet.
See how to fix swollen linoleum.
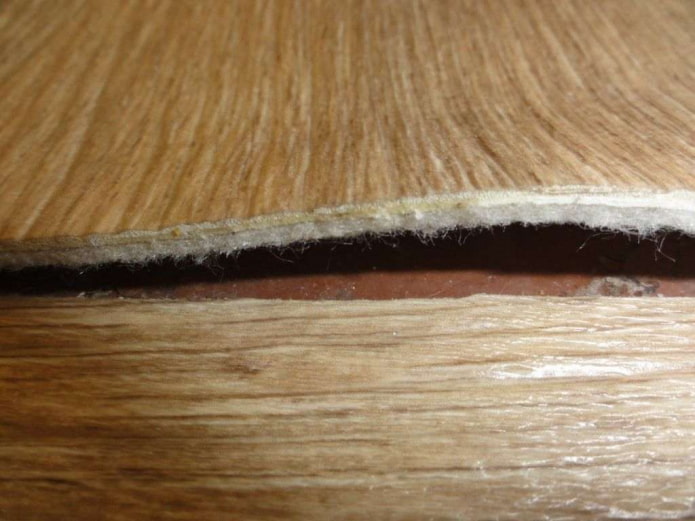
Before welding linoleum, you should thoroughly clean and degrease the areas near the joints. Be sure to remove dust, and dry thoroughly after washing. If a large gap has formed between 2 pieces of sheet, then a patch of linoleum of a similar texture, shade and the desired width is applied. It is cut out with a sharp knife. The pieces are glued using acrylic glue, then they start welding the linoleum.
Gluing linoleum with a hot or cold welding compound is not always advisable due to the complexity of the repair or the high cost of the sheet. Therefore, there is an alternative option for filling the seams: using “liquid nails”. This is a glue for linoleum, which has a low price and is easy to use. You can also use tape to fix vinyl floor coverings.
Now reading:
- Beveled mirrors in the interior: 40+ photos and stylish design ideas.
- effective methods for combating condensation on pipes for a long-term solution to the problem.
- Doorways without doors: 40+ stylish photos and interior design ideas.
- DIY Ideas for Inexpensive Kitchen Countertops.
- Top 5 34 sq.m. apartment design projects with photos