Pros and Cons
Hanging a railing in the kitchen is not a difficult task, but first of all you need to weigh all the pros and cons.
- A large selection of sizes, colors and accessories.
- For any kitchen, both in style and in size.
- The kitchen space becomes more functional.
- Everything you need is at your fingertips.
- The ability to free up the work surface.
- The set and arrangement of elements are easy to change.
- Easy to install yourself.
- The room looks cluttered if you place too many things on the railing.
- Over time, grease and dirt accumulate.
Arrangement options in the kitchen
Rails can be placed in three ways:
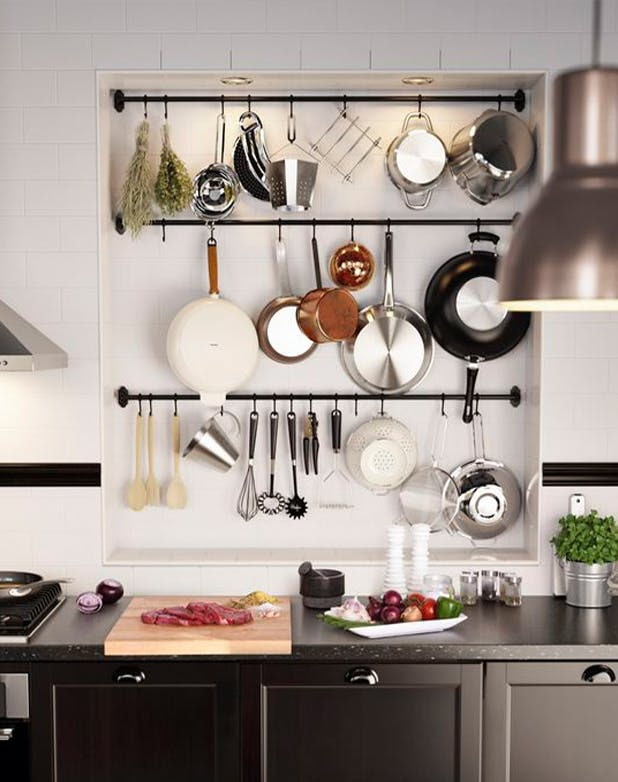
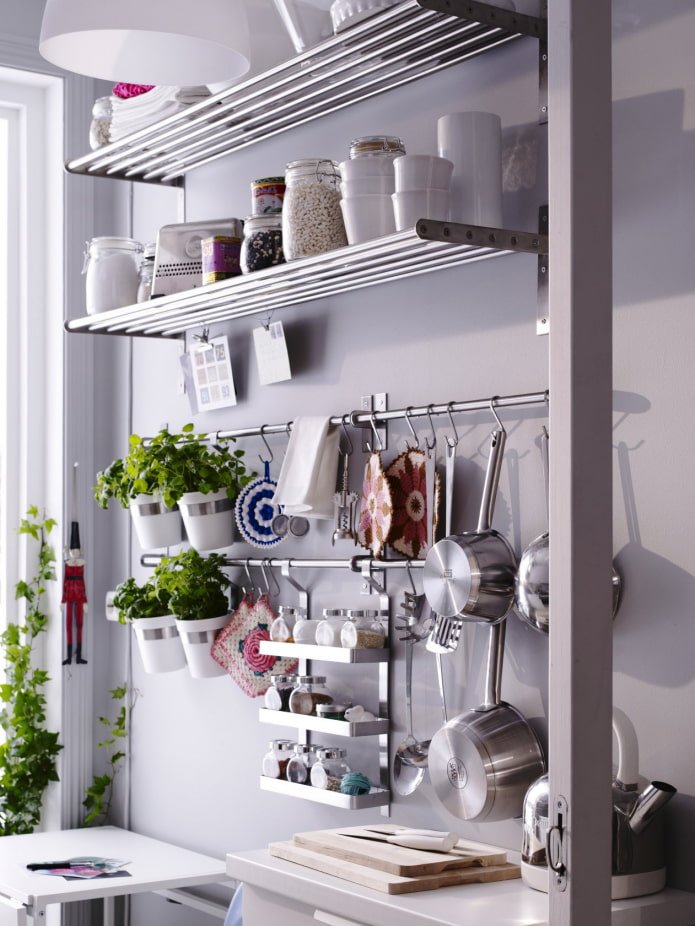
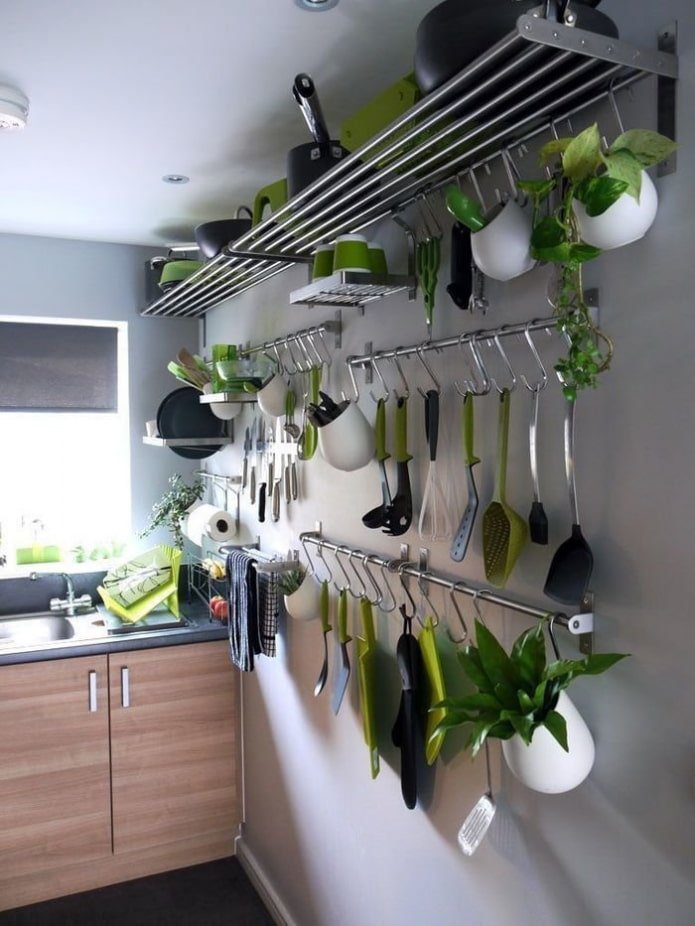
- Horizontal. The classic type of railing system, when the pipe is attached between the countertop and the upper kitchen cabinets. Hooks, baskets, shelves and other accessories are hung on it. To make the most of the space, arrange the kitchen rails in several rows on an empty wall.
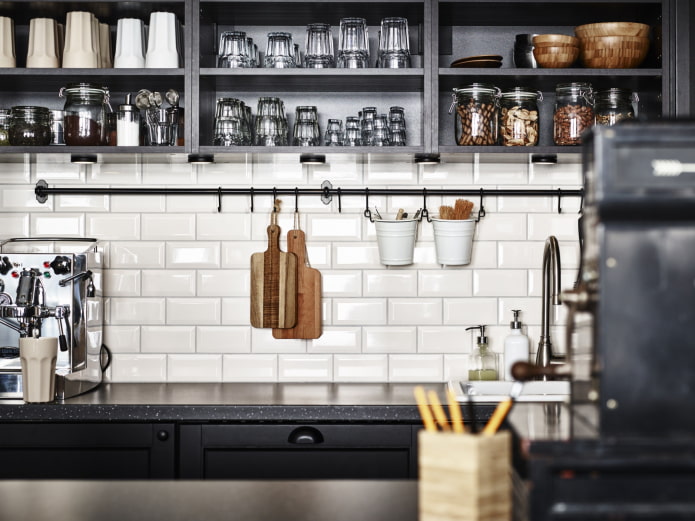
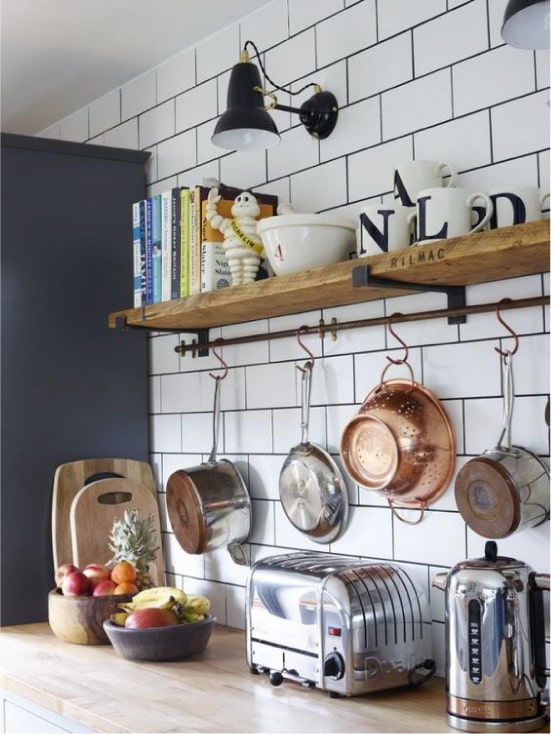
The photo shows an example of combining railings with shelves
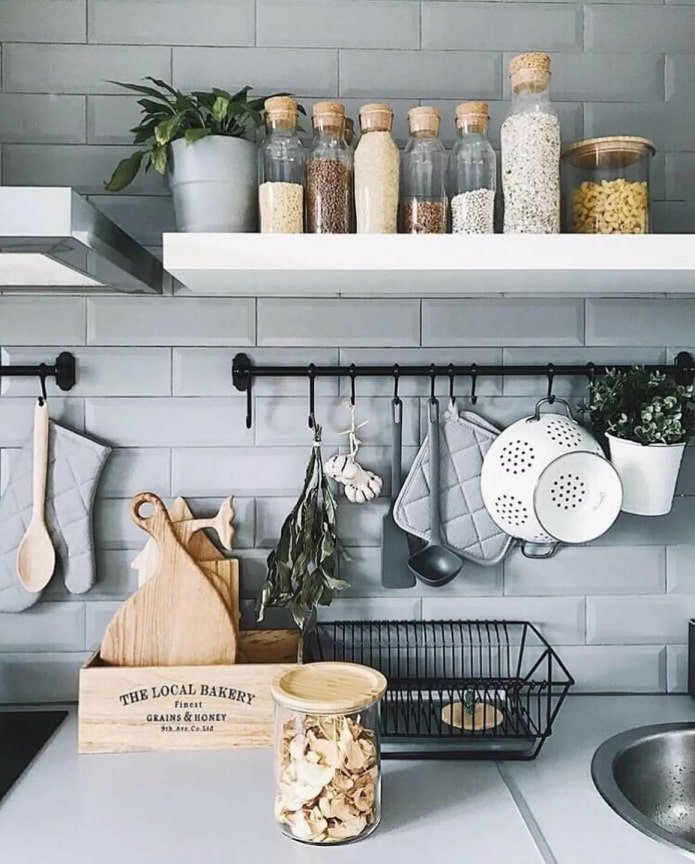
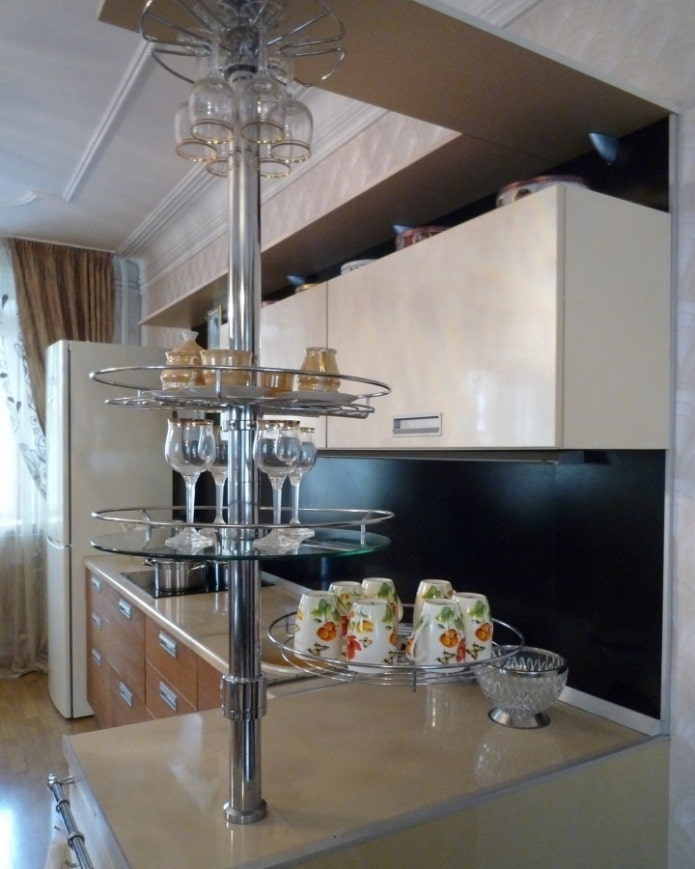
- Vertical. The pipe is installed vertically from the countertop to the ceiling, and the shelves and baskets are attached to it at a distance from each other. Most often used for bar counters and peninsulas. But such a design will fit no less perfectly into the free corner of the kitchen set.
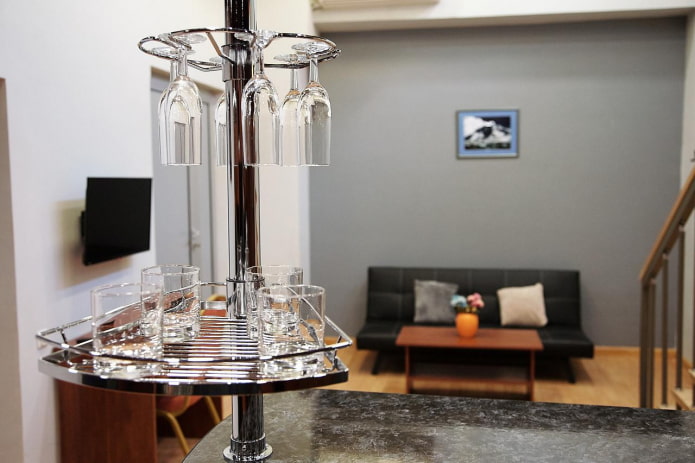
The photo shows railings for the kitchen in the interior with a bar counter
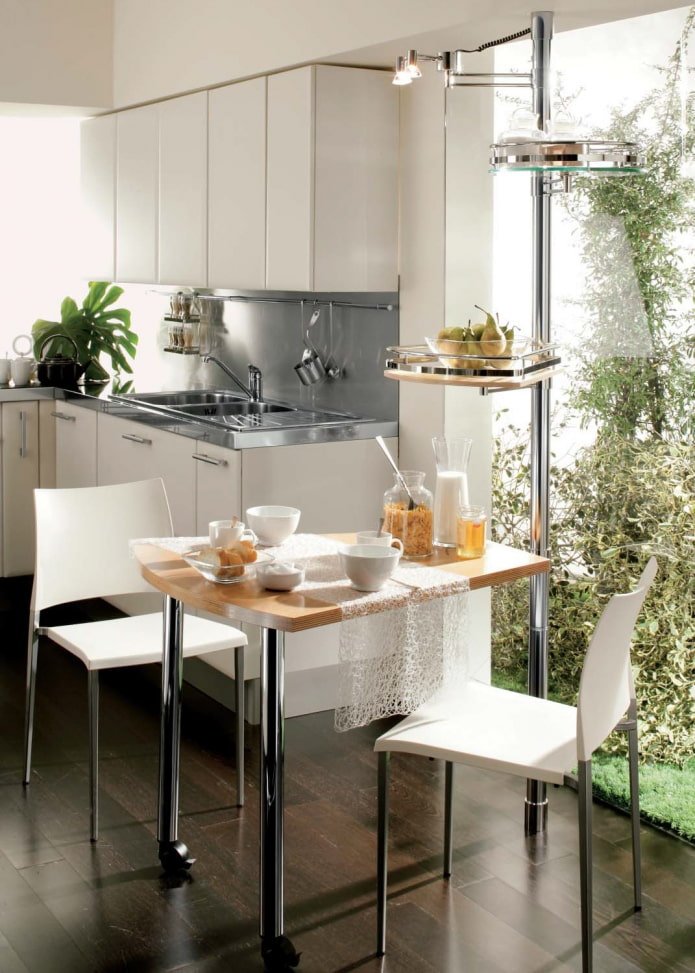
- Suspended. Based on the name, you guess that the railing system hangs from the ceiling. It looks most impressive above the island – suitable for organizing the storage of pans and cutting boards. Or above the bar counter – for glasses, shot glasses and even bottles.
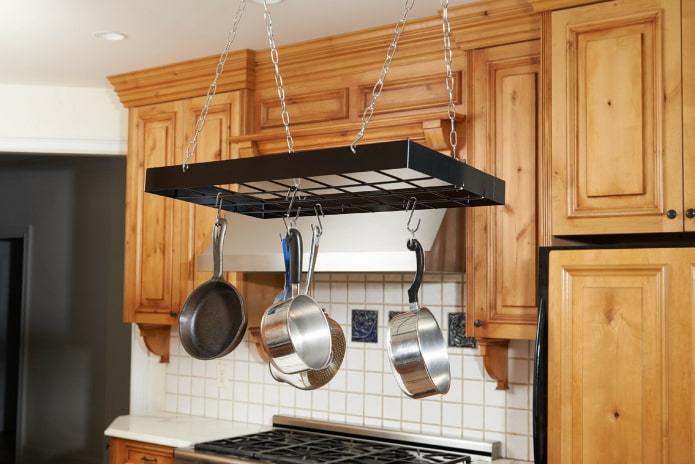
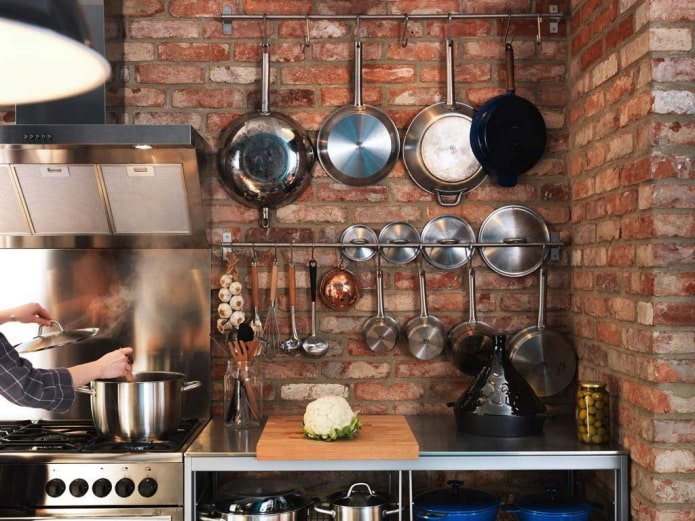
Hanging system for storing pans
What can be hung on the rail?
A pipe on the wall by itself will not add functionality to your kitchen. The most important thing is the hanging modules, which are selected depending on the personal preferences of each.
Let’s consider the main options for hangers:
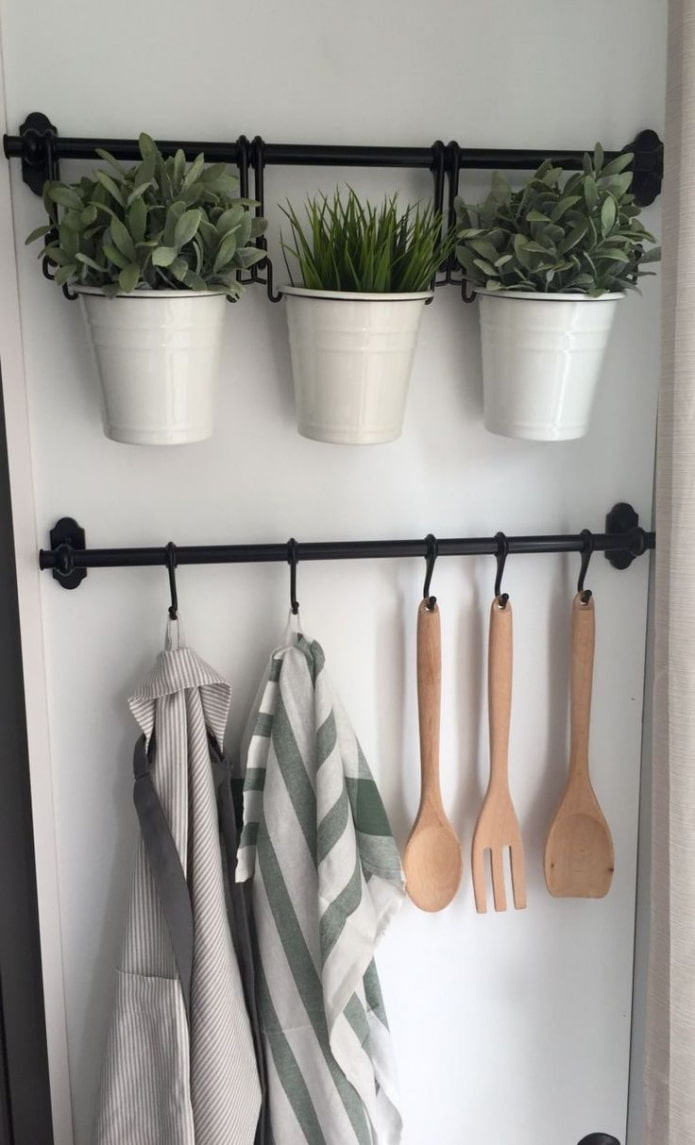
Hook. The simplest and most budgetary, but effective filling. You can hang various ladles, spatulas, towels, potholders, frying pans, saucepans and much more on them.
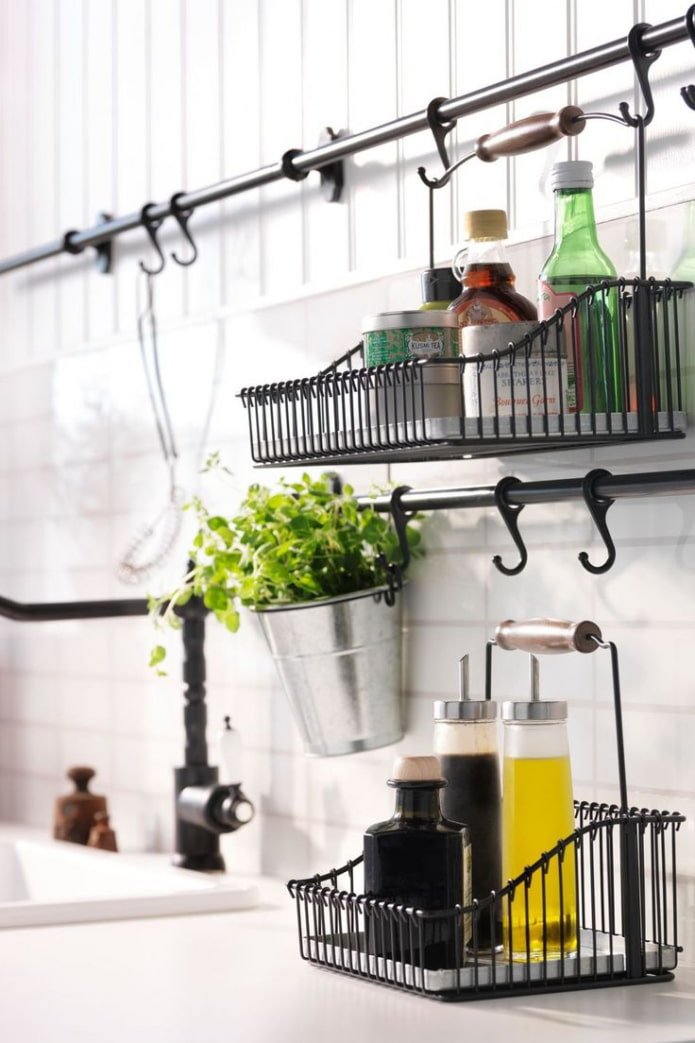
Shelf. Depending on the size and depth, they store everything from detergents and sponges to jars of sauces and seasonings.
Basket. Thanks to its high edges, it is safer than a shelf and is more suitable for tall bottles and jars.
Glass. Not all kitchen utensils have holes and hooks, this problem will be solved by having a glass – just put cutlery, spatulas and other things in it.
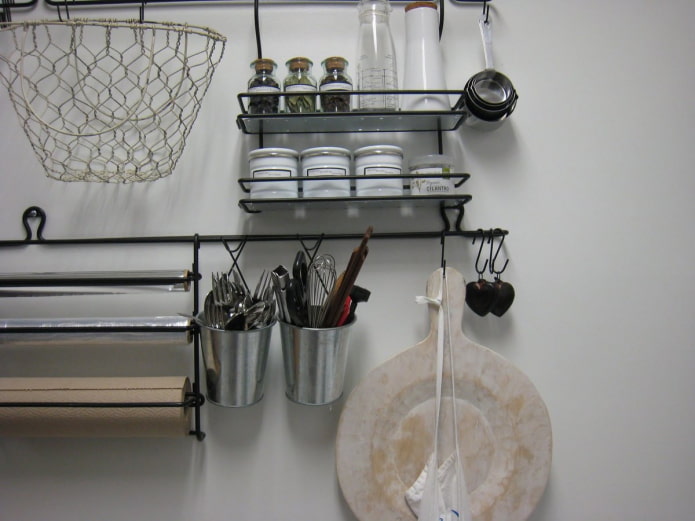
The photo shows an open storage option for utensils
Drying rack. Used both for temporary placement of dishes after washing, and for permanent storage of the main set of plates and mugs.
Holder. Special designs are developed for:
- paper towels;
- foil, baking paper and film;
- pots and pans;
- lids;cookbooks and tablets;
- cutting boards;
- knives;mugs and glasses;
- small household appliances.
Magnet. Usually used to store knives, but you can place anything: iron spice jars, flowerpots and containers.
Jar. Suitable for horizontal railing system. Thanks to the hook-shaped lid, it fits directly on the tube without additional shelves. Because small jars, usually used to hold spices.
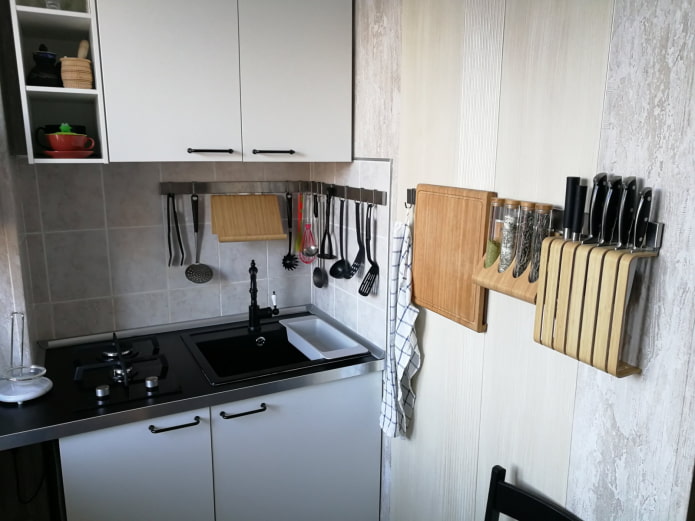
The photo shows wooden hanging holders
How to create a railing system for yourself?
When installing railings, the rule “more is better” does not work. Therefore, you should not buy all possible accessories for the railing system and try to find a use for them.
It would be more correct to go the opposite way: observe your behavior during cooking, eating, and cleaning. What items and products do you use most often? Ideally, attach to the railing what is used every 1-5 days.
To test the theory, make a model of the future structure directly on the wall using masking tape. This way you will understand whether you have enough space and what is missing.

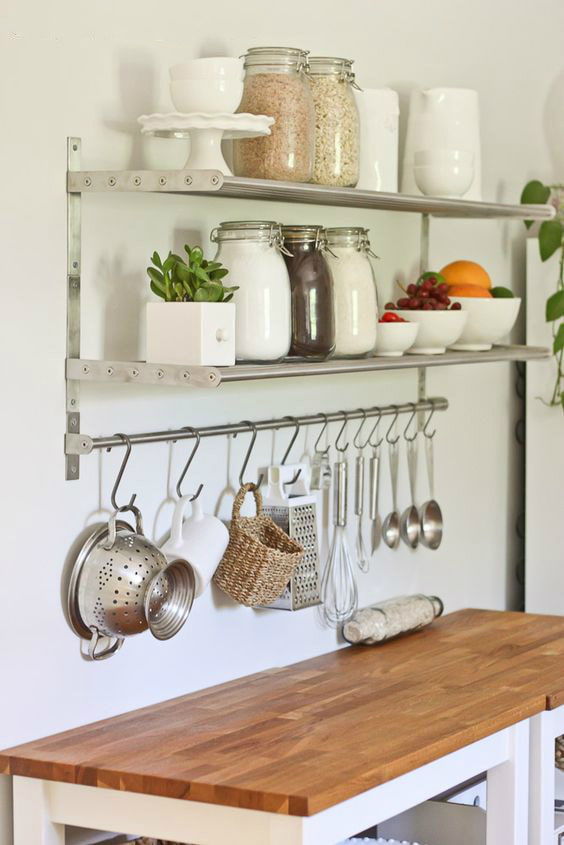
The photo shows a minimalist interior with a metal drainer
The set also depends on your kitchen:
- In small rooms, store only the most necessary items on the railing, many items will create a sense of chaos.
- In a spacious kitchen, install a long tube, placing accessories at a distance from each other.
- In a set with a corner sink, dishwashing detergent and a sponge are stored on a hanging shelf.
- In a kitchen with free space in the corner, there is room for a vertical railing.
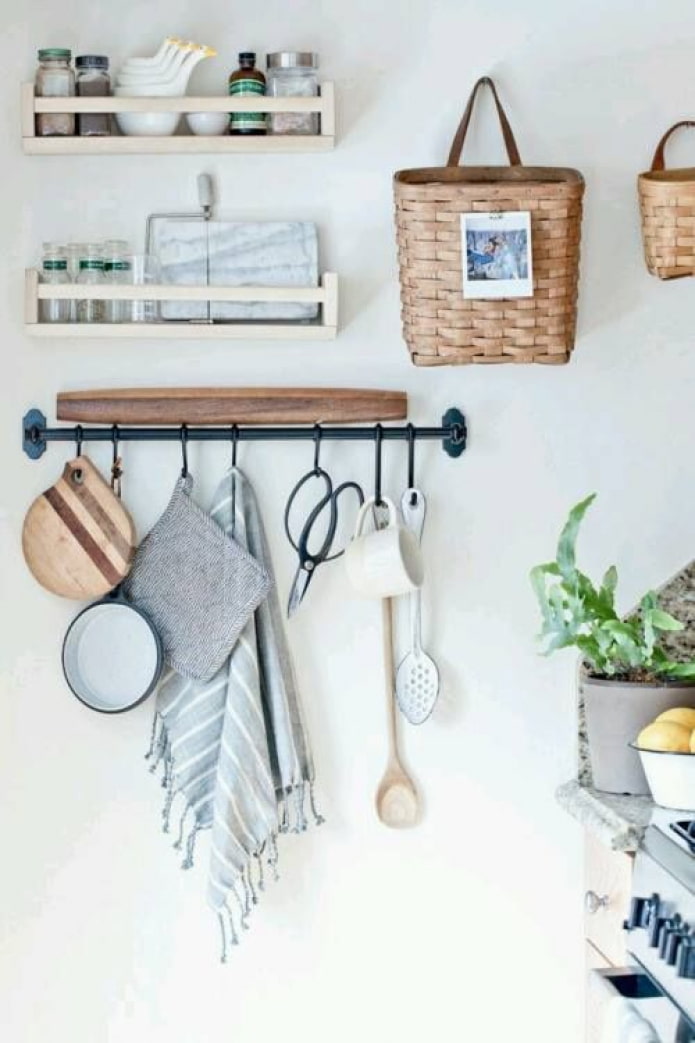
Installation Features
Installation of the tube mount is similar to installation of the curtain rod. But before you start, you should decide on the location. Usually, the railing is placed above the work area, sink or stove.
At what height should the railing be hung?
Horizontal railing
The optimal height of the railing in the kitchen above the countertop is 45-50 cm. Most often, it is attached to the apron.
If you do not have upper cabinets, the railing can also hang above the apron – 60 cm from the work area. If there are cabinets, when marking, step back from them at least 10 cm down. If the distance is smaller, it will be inconvenient for you to remove the fasteners and use accessories.
Another important parameter is the load on the pipe. To prevent it from sagging, install the holders no more than 0.5 m from each other. Not all manufacturers include enough parts in the kit, so you will have to buy additional supports separately.
Vertical railing
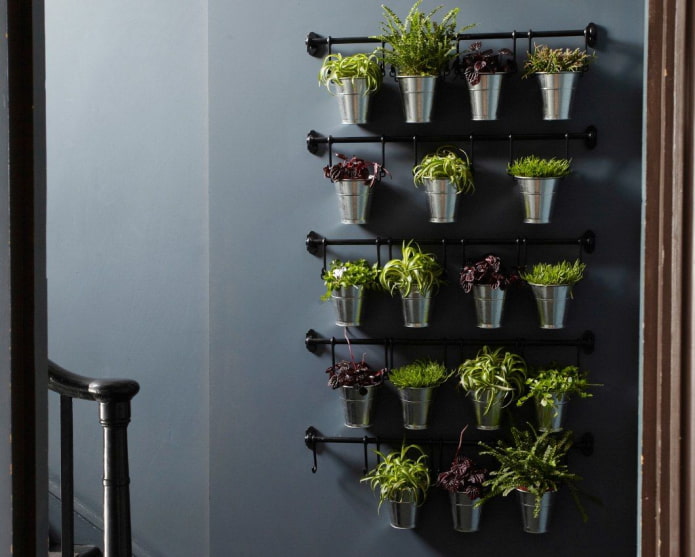
Shelves and baskets with the most necessary things should not be higher than the outstretched arm of the shortest family member. The space under the ceiling is used to place indoor flowers and decorative elements.
Hanging railing
Place it in such a way that the hostess can reach the placed items and take them without standing on a stool.
How to install a railing in the kitchen: step-by-step instructions
Installing a horizontal system
Based on your preferences, you can choose a solid long railing along the entire wall of the kitchen or short separate sections in the main activity areas. Horizontal rails are placed not only on the wall or apron, they can be hidden in cabinets, attached to the end of the kitchen unit or even on the door.
Before starting to install the rails in the kitchen, let’s consider the structure of the system. It includes the tube itself, a couple of plugs and holders. The latter act as brackets. If you are going to install rails in the kitchen on 2 adjacent walls, you can purchase corner adapters – this way you will connect both parts into a single composition. To connect a straight long tube, you will need a coupling.
To fix the system to the wall, you will need:
- level;
- tape measure;
- pencil;
- screwdriver;
- hammer;
- self-tapping dowels;
- impact drill or hammer drill.
Let’s start the installation:
- Mark the location of the future railing using a tape measure, level and pencil.
- Mark the holes for the brackets, placing them at a maximum distance of 50 cm from each other.
- Drill the holes, hammer in the plastic dowels.
- Insert the self-tapping screw into the sleeve (comes with the railing) and fix it to the wall.
- Put the holder on the sleeve, it is fixed with screws.
- Insert the tube into the holes of the holders so that the ends come out on both sides at the same distance.
- Fix the tube in the supports with screws.
- Install the plugs at the ends of the pipe.
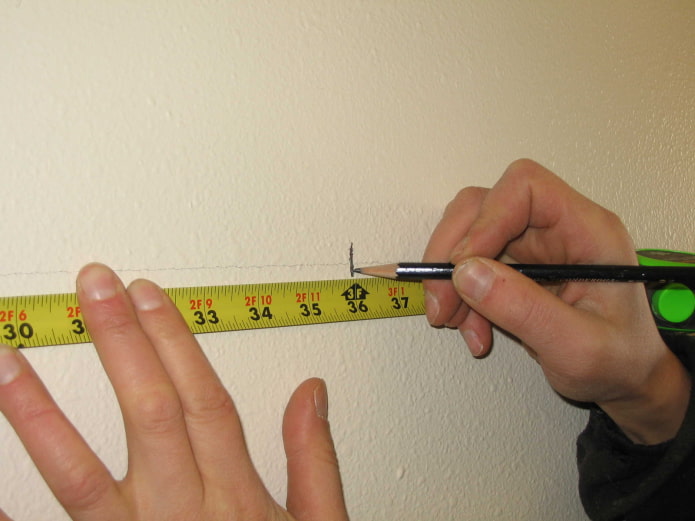
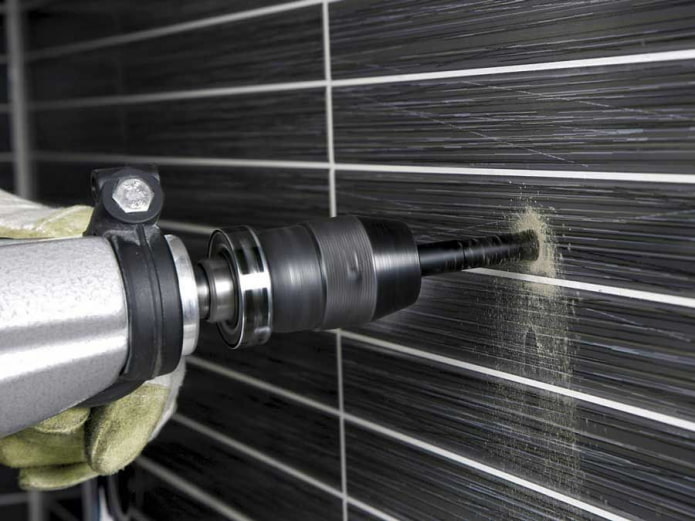
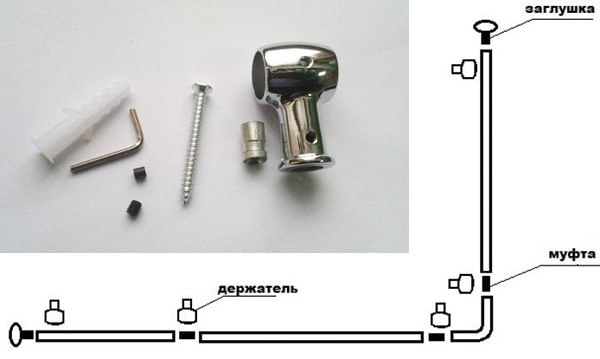
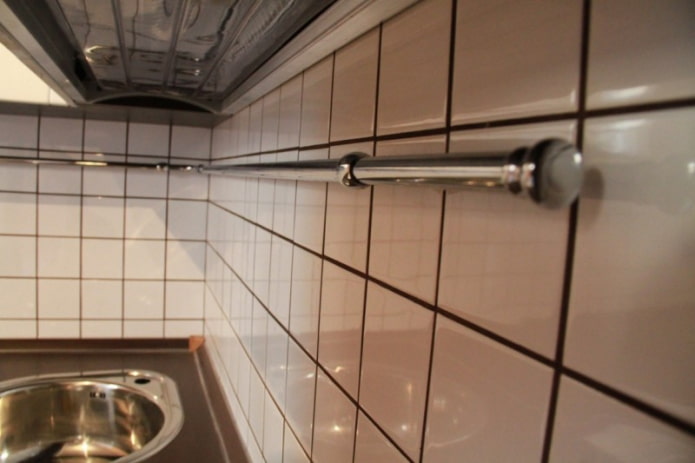
For more detailed installation instructions, watch the video:
Installing the vertical system
The vertical railing can be of 2 types: with spacers and without them. In the first case, the installation is similar to installing a shower curtain rod — you don’t have to drill anything, just follow the instructions.
If there are no spacers, prepare the same tools as for the horizontal structure and get started:
- Mark the mounting holes on the bottom (tabletop or floor) and top (ceiling) parts.
- Drill the holes, hammer the dowels into the floor and ceiling.
- Fasten the holders at the bottom and top with screws.
Installing the suspension system
Installing a suspended railing differs from the first two, but you will need the same tools: a tape measure and a pencil, a hammer drill, a wrench. The main difference is in the fasteners: the use of hook-shaped anchor bolts. And the system itself is suspended on them by chains.
- Mark the holes for the anchor hooks.
- Drill in the right places according to the diameter of the sleeve and clean it well from dust.
- Insert the hook into the hole and tighten it tightly with a key.
- Hang the chains on the hooks, and the railing on them.
Photo in the interior
We have already said that the railing system suits any interior style, the main thing is to choose the right color and filling.
Rails in a classic kitchen are most often platinum or gold. Beautiful potholders or towels, skimmers and ladles from the same set are hung on them, spices are placed.
Flowers on the rails in the kitchen in minimalist flowerpots will appeal to fans of the Scandinavian style. In a white kitchen, black rails that match the furniture handles will look best.
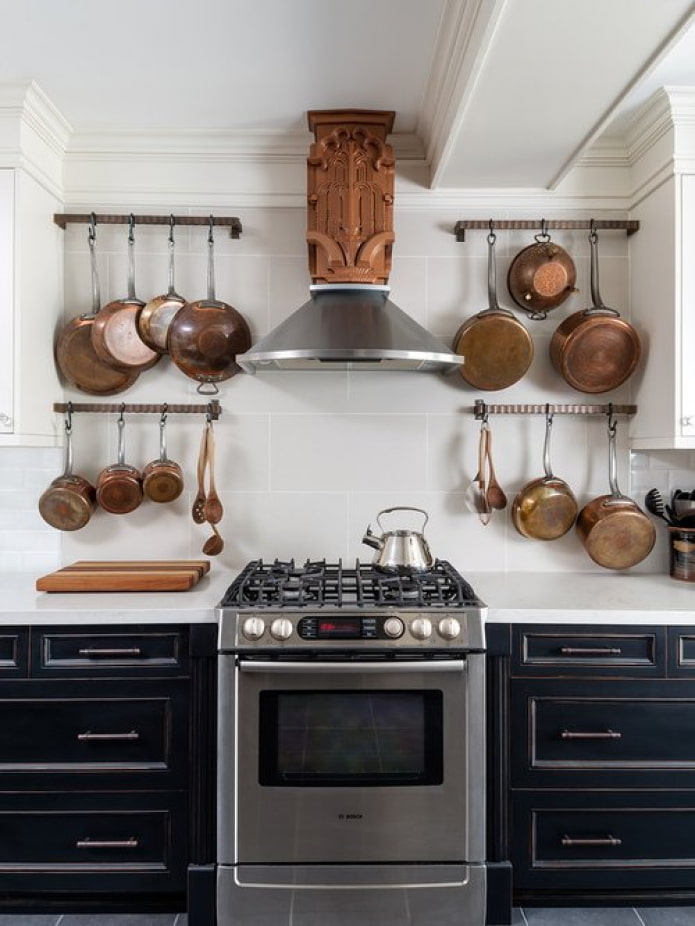
Copper, brass and bronze will look great in a loft-style design. Store frying pans, wooden cutting boards and other interesting utensils on them.
If you like modern, high-tech or minimalism, choose chrome models. You shouldn’t skimp on wall-mounted equipment – instead of simple round pipes, install stylish flat strips.
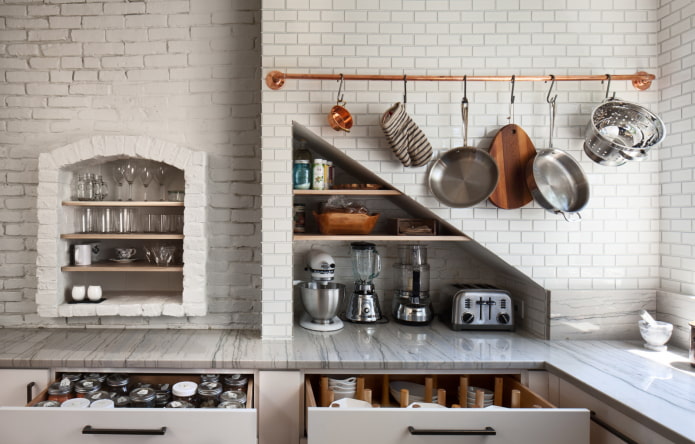
The photo shows a modern kitchen with unusual storage
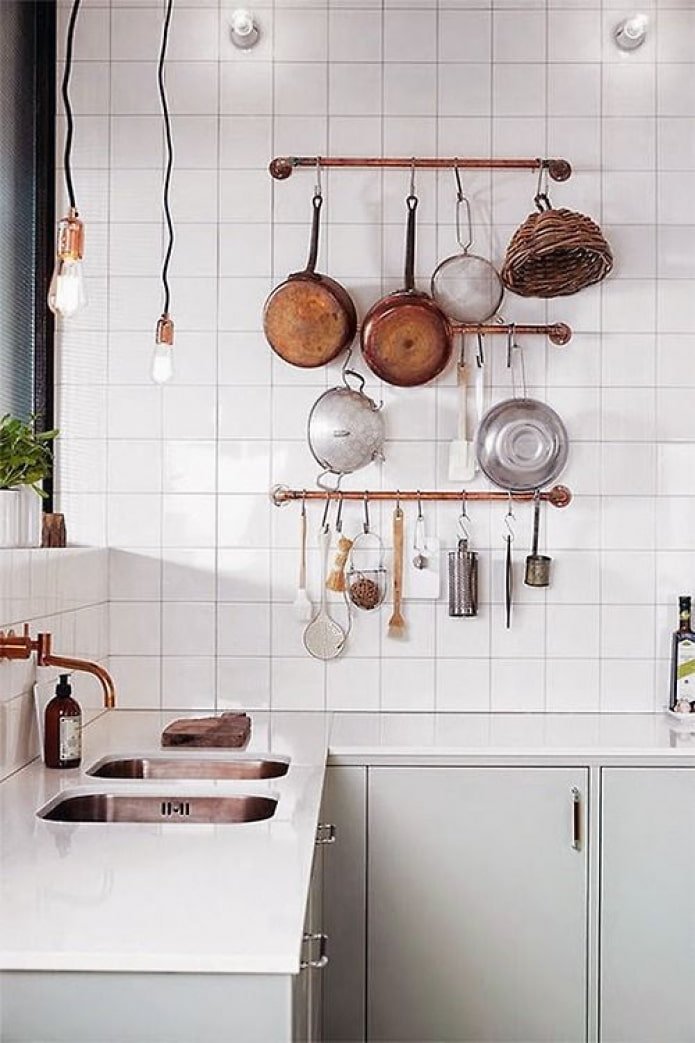
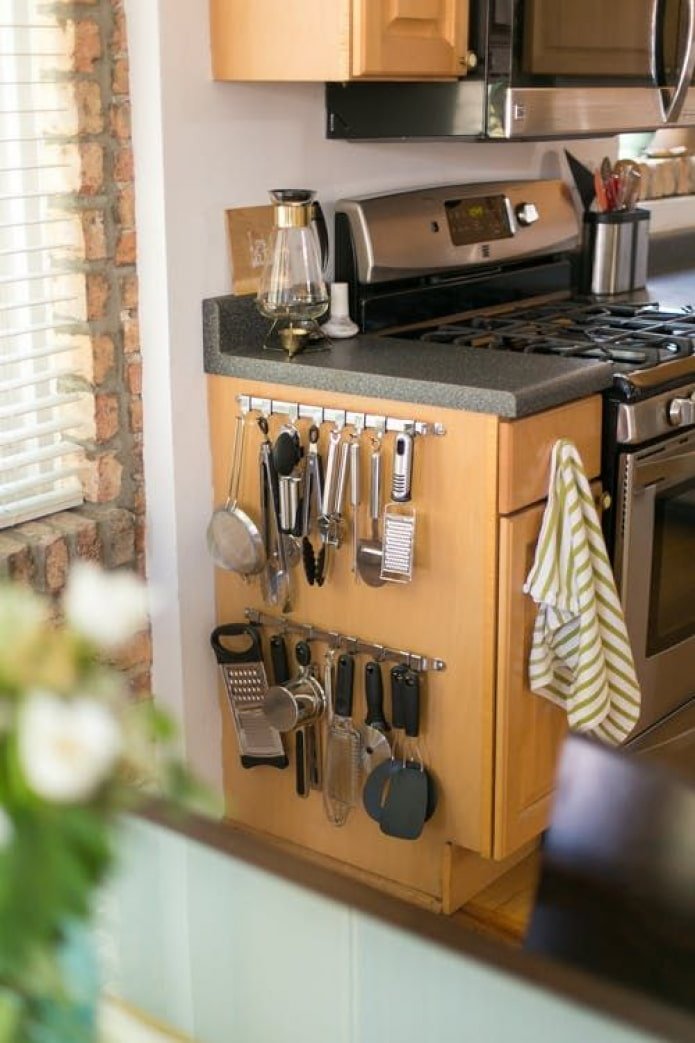
And finally, some important tips on how to arrange rails in the kitchen:
- hang towels, a shelf with household chemicals, and a dish dryer near the sink;
- potholders, ladles, and spatulas, spices, sauces, and oil will be needed near the stove;
- cutting boards and knives will come in handy in the food preparation area;
- a glass holder and a wine rack will look appropriate above the bar counter;
- a special shelf with a clamp will come in handy for convenient use of recipe books;
- a holder with a serrated edge will make it easier to tear off foil, parchment paper and cling film;
- storing lids on kitchen rails will save you from the problem of their inconvenient placement in the cabinet.
Now reading:
- Discover the New Hyundai Tucson: A Perfect Blend of Style and Comfort
- House or apartment: what to choose? We analyze the advantages and disadvantages + video from a specialist.
- High-tech houses: 60 stylish projects and photos for inspiration.
- Mezzanine in the hallway (38 photos): design idea and detailed instructions
- Green kitchen interior: 65 photos and design recommendations.