General recommendations
Before you start renovating your kitchen yourself, pay attention to the general requirements for the work:
- Follow a clear renovation algorithm: first, dismantle the floor, walls, and ceiling. Then, rough finishing of surfaces, and then finishing.
- The correct sequence of renovation “to the final version” is from top to bottom. That is, first do the finishing of the ceiling, then the walls, and then the floor.
- Consider the features of the space: for example, the walls in the kitchen should be easy to clean from grease and other stains, and also be waterproof.
- Don’t forget about safety: electrical wiring should be walled up in the walls as much as possible, sockets should be brought out at the necessary points (to avoid kilometers of wires), old plumbing communications should be replaced to prevent leaks.
- When finishing the walls, lay right angles: this will simplify the installation of a complex structure of cabinets and pencil cases.
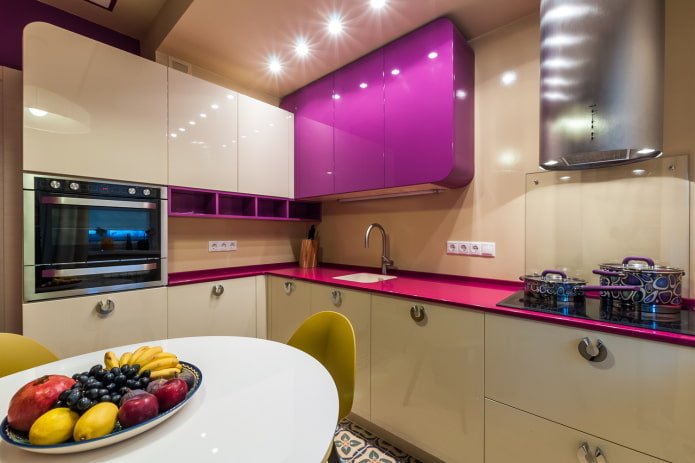
Where to start?
Kitchen renovation begins long before dismantling old coverings. The first thing you need to think about is a clear plan of the kitchen area, which is based on the wishes and requirements of the residents.
Brainstorming
So, when planning a major kitchen renovation, first of all, gather a family council: you will need to make a list of key points for each family member.
- It is easier to start with what is not satisfactory now: for example, a small work area, not enough storage space, it is difficult to maintain cleanliness due to an unsuitable apron, not enough light, etc.
- Next, discuss the technical requirements for the renovation: will there be cabinets or shelves on top, do you need tall units or columns, what kind of filling is more convenient below. Perhaps you should take into account the height of the hostess – if it is above or below average, this will affect the height of the countertop.
The question that needs to be decided in advance is what equipment needs to be installed and what can be done without. Move from large to small: refrigerator, dishwasher, washing machine, oven, microwave, hob, hood, multicooker, mixer, blender, grill, etc. You should even consider what will be stored in the cabinets to leave enough space for it.
Choose a design
First, choose an interior style: it can repeat other rooms in the apartment or differ from them. Some people like discreet minimalism, some prefer modern classics, some are “fanatical” about decorative Scandi or boho.
Then you need to understand how the kitchen should look: what colors are acceptable for the walls, what the flooring will be, what to do on the ceiling. The appearance of the facades is also determined in advance: flat or paneled.
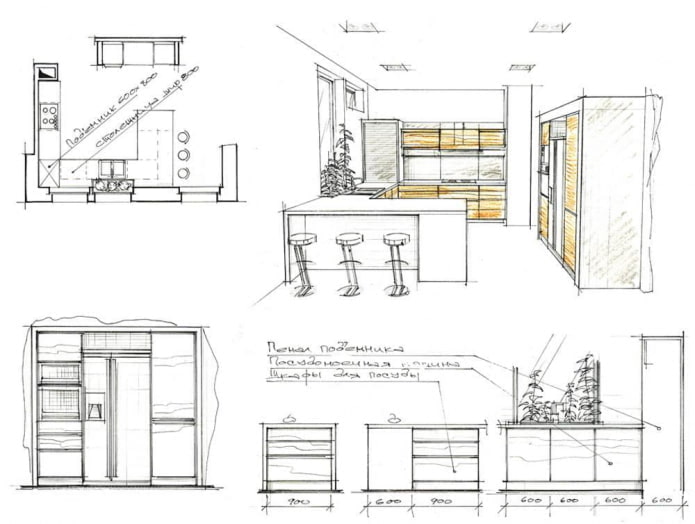
Make a project
The design project takes into account the nuances of the renovation down to the smallest detail:
- room dimensions,
- layout,
- desired redevelopment,
- plumbing, sewerage outlet,
- placement of sockets, switches, lamps,
- location of the work and dining area, equipment,
- furniture dimensions,
- finishing materials,
- color scheme.
Prepare a technical plan: used at the stage of dismantling and rough finishing, as well as a designer one – responsible for the visual component.
Plan a budget and work plan
Without a clear financial plan, there is a risk of going far beyond the budget. To have an idea of how much money will be needed, start from two components: the maximum figure and the distribution among individual expense items. Approximate amount of each item:
- 25-30% — purchase of construction and finishing materials;
- 30% — basic furniture;
- 15% — services of third-party specialists (designer, repair crew);
- 15% — additional furniture;
- 10% — decor and accessories.
Once the estimate is set, once again estimate the upcoming volume of repairs, make a short plan taking into account the main stages of kitchen repairs: dismantle partitions, make a floor screed, level the walls, order furniture, etc.
Select specialists
It’s time to decide what work you will entrust to professionals, and what you can do in the kitchen with your own hands. For example, it is better to entrust the alignment of walls using beacons and puttying for painting to experienced workers, as well as replacing electrical wiring – safety directly depends on it.
What you will do yourself during the renovation and whether you will do it at all depends on your desire, skills, finances: you can save a lot on the commission for workers.
The main stages of the renovation
Let’s move on to the most active period of the renovation in the kitchen – the main one. Let’s analyze the most correct order of actions.
Dismantling
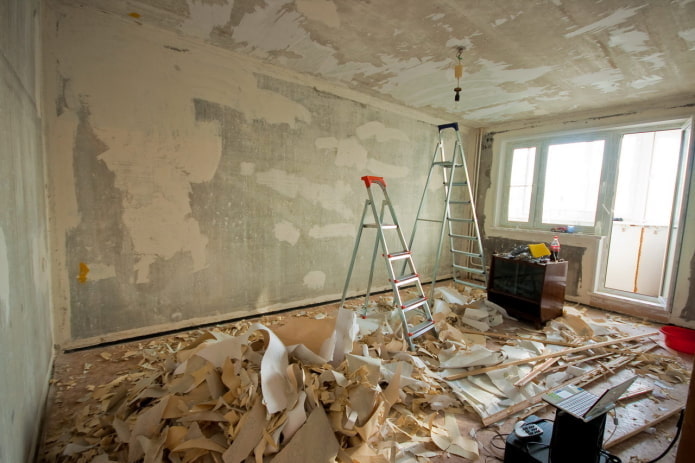
The process of transformation in an apartment with an existing finish begins with removing the coatings – this stage is simple, but dusty. Remove paint from the ceiling, wallpaper, ceramic tiles or paint from the walls (if the painted walls are in good condition and repainting is planned, this step can be skipped), remove the flooring and old doors.
If redevelopment is required, dismantling the walls is carried out at the same time.
Then the construction waste is removed and they move on to the next step.
Wiring and reconstruction of communications
Next in line are communications. Before renovation, check the condition of the sewer and water pipes: if you doubt that they will last another 5-10 years, the utilities should be replaced.
In new houses or apartments with a recent major renovation, the plumbing does not require updating, but you will have to work with the electrics: you need to install sockets and wires for the lamps.
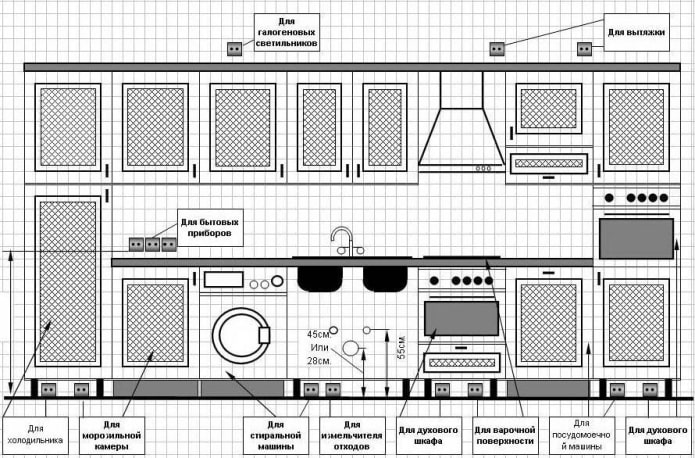
Important! The electric stove is connected with a separate wire from the panel – not through a socket, but directly.
Replacing or installing windows
The step-by-step transformation has reached the window: a new double-glazed window is a guarantee of no drafts, heat retention, and access to fresh air.
If the double-glazed window is in good condition, maintenance should be carried out: perhaps add foam here and there, change the rubber bands and fittings.
Finishing the ceiling, walls, and floor
The main effort during the renovation of the kitchen is spent precisely at this stage, which also has its own sequence.
First of all – from top to bottom. First the ceiling, then the vertical, then the floor. Second – rough and fine finishing.
Rough:
- Ceiling. Choose an option – as is, leveling with plasterboard or a suspended ceiling. Based on this, we prepare the surface: we attach sheets of drywall, putty, and level it for painting.
- Walls. If the angles are far from 90 degrees, we start by leveling the plaster along the guides. Then, with several layers of putty, we bring the surface to perfection.
- Floor. The work plan depends on the base: on concrete, we make a screed, wooden floors are first checked for strength, then filled with a mixture.

When the surfaces are prepared, we proceed to the final finishing:
- Ceiling. A modern renovation option is to paint in a single color: it is easy to care for (which is important for the kitchen), it will not go out of fashion. When choosing a stretch ceiling, postpone installation until after painting the walls.
- Walls. There are many options for kitchen coverings: tiles, decorative plaster, paint, wallpaper. Choose an option that will be easy to wash: any tiles, waterproof plaster, hot-stamped vinyl wallpaper, special paint is sold for the kitchen and bathroom.
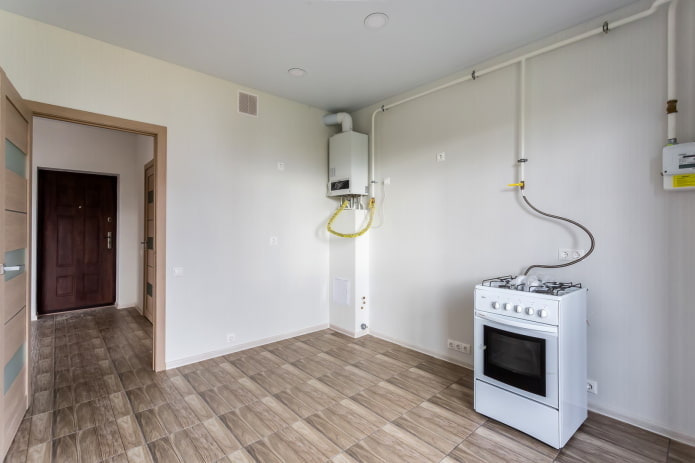
- Floor. The most practical solution is considered to be tiles or porcelain stoneware, but these materials are cold – therefore, at the rough stage, a warm floor is laid under them. Laminate, linoleum, quartz vinyl or self-leveling flooring will also work.
Installing doors
When the walls and floor are ready, you can refine the doorway: in apartments with electric stoves, you can do without doors altogether, leaving an empty arch. In houses with gas, there should be a hinged or sliding door between the room and the kitchen.
Installation of lighting and sockets
It’s time to install lamps and sockets for household appliances in the kitchen.
At least 2 lighting scenarios are set in the kitchen: above the countertop and the dining table. For work, it is better to choose bright lamps of a neutral temperature, while warm light is more suitable for sitting around for dinner.
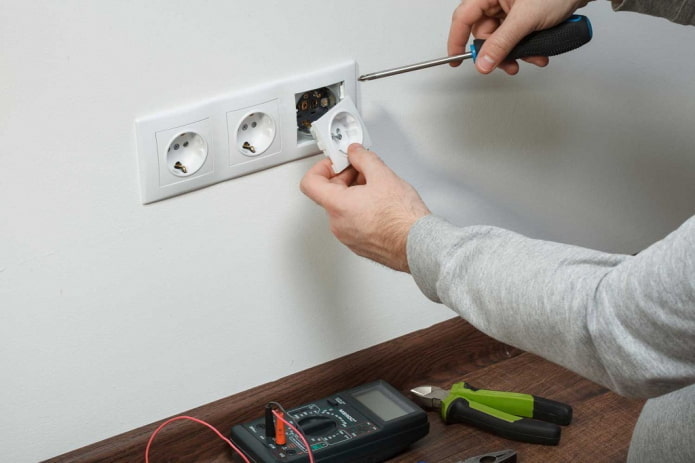
There should be more sockets than appliances: progress does not stand still and additional outlets will provide peace of mind for the future when you decide to purchase additional equipment.
They should be located away from the sink. If a socket is necessary in a wet area, choose an IP of at least 44, with a protective cover.
Installation of decorative elements
Before bringing in furniture, you should close up any unfinished work: for example, install baseboards between the wall and the floor. Or insert an elastic band into the suspended ceiling, glue a baguette under a regular ceiling.
Installation of a radiator or screen on a battery is also done at this time.
Important! If the kitchen unit is built-in, it is better to move the installation of the baseboards – this will make it easier to make the correct connection to the furniture.
Installing furniture, appliances and sink
First of all, a “skeleton” is created: the frames of the floor cabinets are installed, connected, and the countertop is attached.
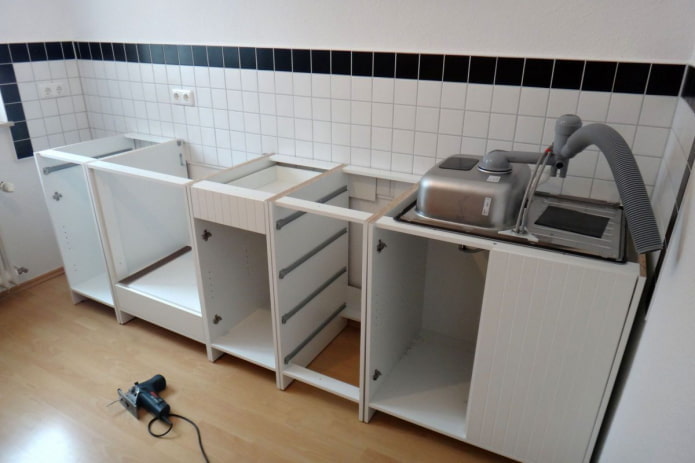
Next, all built-in appliances are installed: refrigerator, dishwasher, washing machine, oven, hob, microwave. It should not just be installed, but also connected to utilities. At the same time, install the sink, faucet, osmotic water filter, and waste disposer.
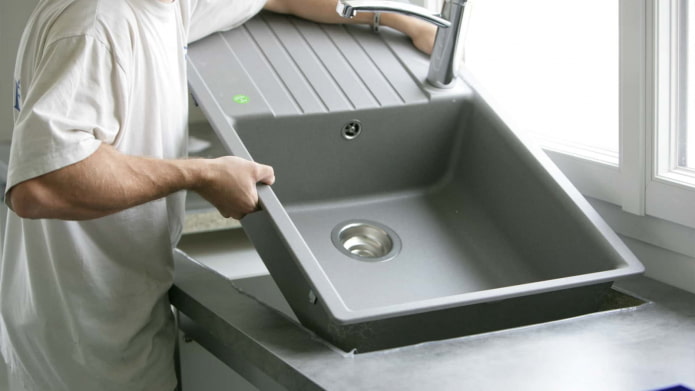
Now you can hang upper cabinets or shelves, hang facades, insert drawers.
Last of all, bring in the dining area, hang or lay out various decor.
Recommendations for renovating a new building from scratch
New houses are different: the quality depends on the developer, finishers, materials. In brick or panel houses, you should wait for the shrinkage period (from 2 to 5 years) — repairs are inexpensive during this time, and there is no point in investing a lot of effort and money in them.
In monolithic structures, the final finishing can be done immediately, but with the use of various preventive measures such as expansion joints.
The sequence of actions is the same as described above, but with a single note for each point: “if necessary”.
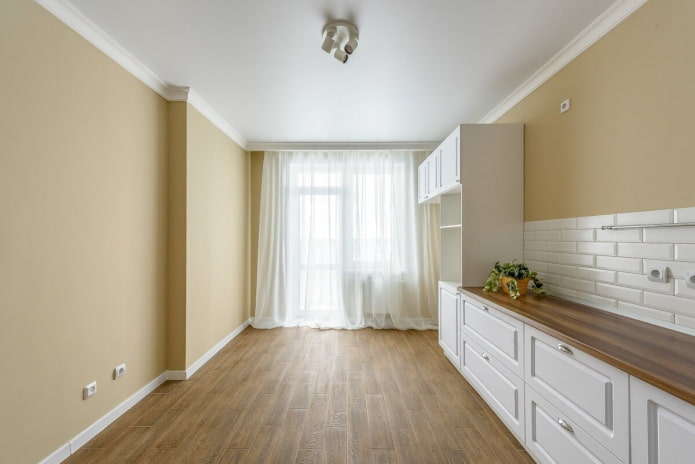
The system described in the article is not ironclad rules, but only a set of recommendations, thanks to which you will make fewer mistakes during kitchen renovation. Look and act according to the circumstances, but do not forget about the recommendations.
Now reading:
- Effective Methods to Clean Painted Walls Without Losing Paint or Streaks
- The best wallpaper for your interior: 100+ photos and modern design solutions.
- The best fence: solid or with gaps? – 8 arguments “for” and “against”
- Sizes of baby cots for newborns, toddlers and teenagers.
- Hanging beds: more than 40 photos of interiors and design ideas for decoration