Why does laminate flooring creak?
If laminate flooring crunches and creaks, look for the cause in one or several factors at once:
- poor-quality laminate flooring with defective locks and crooked geometry was purchased;
- climatic conditions of use were violated;
- installation technology was not followed;
- floor leveling was not performed;
- technical gaps were not left;
- too thick a substrate was used;
- dust and debris were not cleaned correctly during installation;
- temperature and humidity changes occur.
How to remove creaking without disassembling?
Why does laminate flooring creak, how to fix this problem without dismantling? If the cause is not in serious violations of the installation technology, perhaps simpler, quicker methods will help you.
- Paraffin candle. Melt it, pour wax in those places where the sound is heard. If gaps have formed between the seams, the candle can act as a sealant. Processing with a soft spatula will close them and protect them from water and debris.
- Mounting foam. Will help with sagging floorboards. Put on the nozzle, shake the can, pour foam under the boards in the place where it creaks. Wait until it dries completely, remove the remains from the surface with a special solution. This method is quite simple, but not very effective – everything will be fine until the foam sag. And this will happen very quickly.
- PVA glue. Used as a substitute for foam. Drill a 0.5 mm hole (one or more) in the place of the unpleasant sound, remove the debris, use a syringe to pour glue into the hole. Do not step on this place until it dries completely, it should stop squeaking.
- Oil. The life hack is exactly the same as with PVA glue – drill a hole in the floor, fill it with a syringe. Lubricating the boards works great on thresholds and other places with constant load.
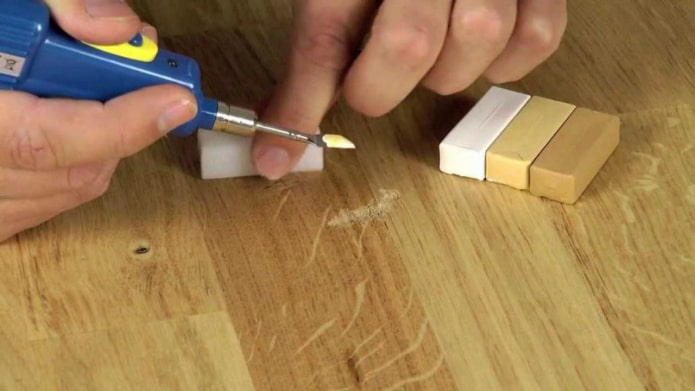
The photo shows colored wax that can be used to seal drilled holes
The best ways to eliminate creaking
If the root of the evil lies in poor quality materials or a broken installation technology, most likely the floor will have to be dismantled and laid again. But do not rush with this decision!
Dismantling is not the only way to eliminate the creaking of the laminate. Understanding the cause of unpleasant sounds will help you determine the simplest, least expensive way to get rid of them.
Getting rid of creaking due to uneven floors
Poor preparation of the base will lead to one result: the laminate creaks. Any pits or bumps appear when walking, spoiling the geometry of the laminate floor.
Unfortunately, to fix an uneven base, you will have to dismantle the floor. How much depends on the scale of the problem.
If the laminate creaks in one place, disassemble it down to it, cement the depression or grind down the bump, let it dry, and put the boards back in place.
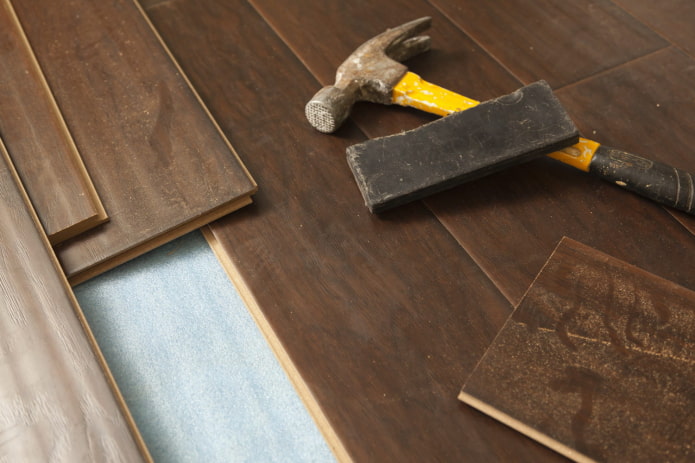
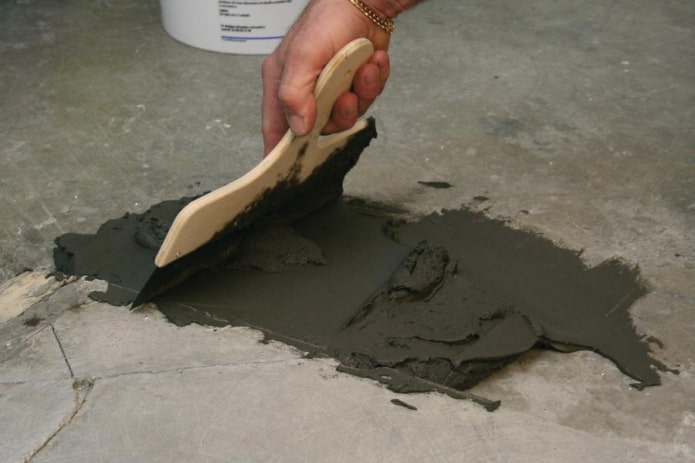
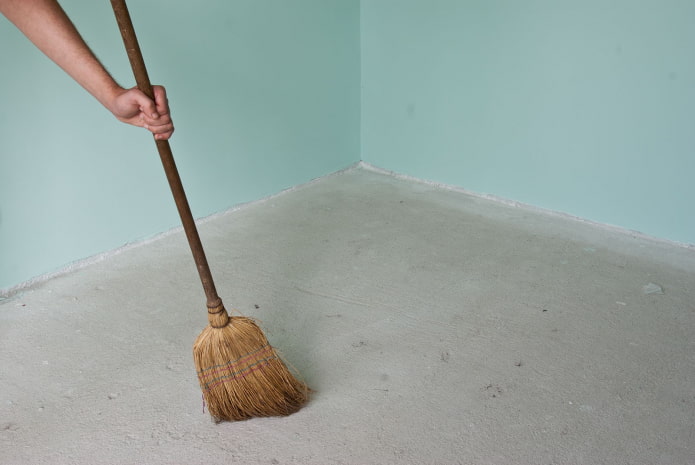
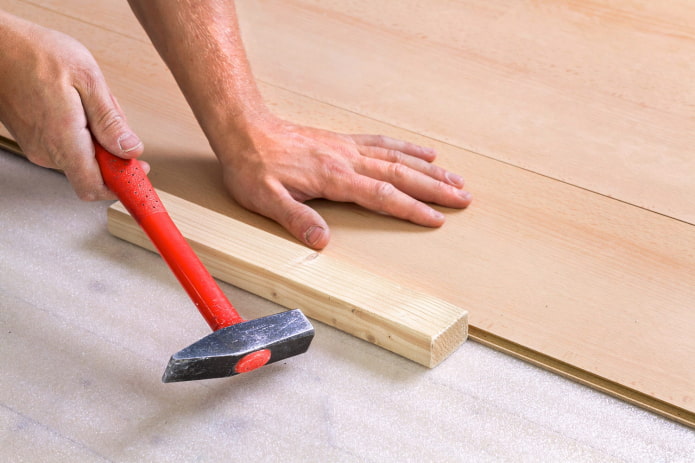
If the sound is all over the floor, you need to dismantle the floor covering, level it – it is best to use the self-leveling method, lay the underlay, lay the planks again.
Important: Skewed slats cannot be returned to their place, they must be replaced with new ones.
What to do if the laminate creaks due to the temperature gap?
When the laminate creaks not constantly, but with a change in temperature or humidity in the room – remove the baseboards and check the condition of the technical gaps.
Laminate boards tend to expand / contract with climatic fluctuations. If you do not leave a distance between the flooring and the wall during installation, or leave it too small, the planks will quickly hit the wall when expanding. The surface begins to creak and sag in certain places.
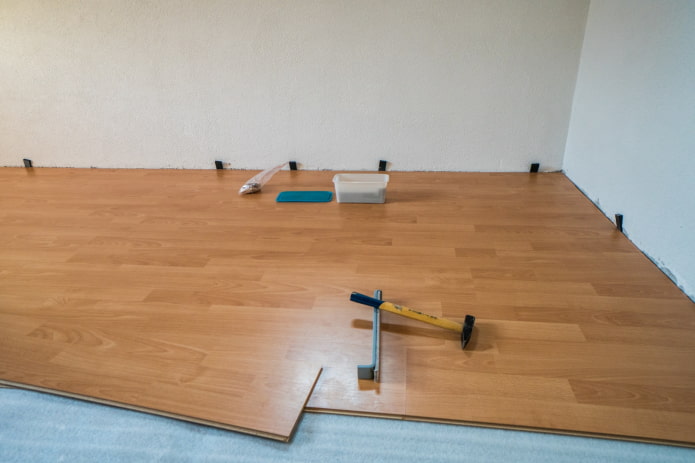
The photo shows one of the ways to leave gaps when laying laminate boards
When wondering why laminate creaks, first check the climatic gap near the walls and pipes for compliance with the standards:
- the correct gap for most rooms is 1 cm;
- the distance from the board to the pipe is 1.5 cm;
- the gap between the floor and the walls in damp and large rooms is 1.5 cm.
If this is the cause of the creaking laminate, the solution will not require dismantling. Experts advise to eliminate this problem by cutting the boards to the required width around the perimeter of the room. At large distances, a grinder or jigsaw will help – saw carefully so as not to damage the wall and floor. And cut the laminate around the pipes with a sharp knife.
Removing the creaking of laminate locks
Tension in the locks is another reason for the creaking. If the problem is in it, then the unpleasant sound will appear almost immediately after installation. This happens because the flooring adapts to the surface of the base, traffic, and the climate of the room.
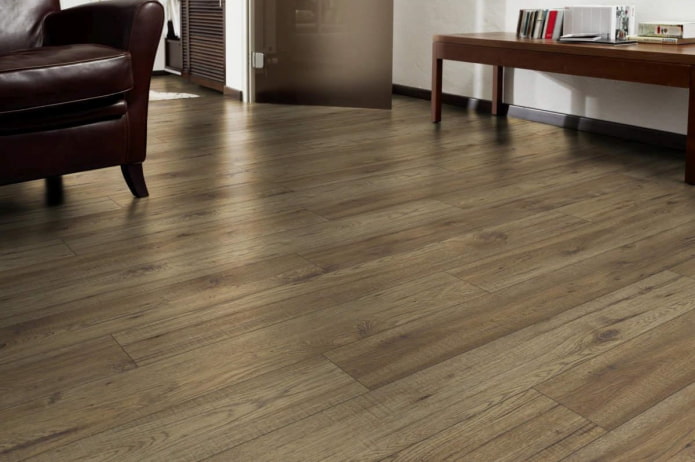
The photo shows an example of a laminate floor. After installation, 2-3 months should pass for the slats to take their final shape and stop squeaking.
When the floor settles and takes its final shape, it will stop squeaking on its own. As a rule, this takes up to 3 months. If this does not happen, first check the presence and size of the climatic gaps, following the instructions in the previous paragraph.
How to remove the creaking of laminate due to remaining debris?
If the laminate creaks when walking, the cause may be sand and other small debris. Dust does not appear on its own, but remains after hasty installation – without thorough cleaning before, during, after installation.
A loud crunch will indicate that sand has gotten into the locks of the laminate floor. Do not delay repairing the flooring: small debris can not only cause extraneous sounds, but also damage the locking joints.
As a rule, it is not possible to eliminate the creaking of the laminate without disassembling it – you will have to remove the slats, remove the underlay, clean the base from debris, and lay the slats again. To avoid confusion when reinstalling, number each part before disassembling.
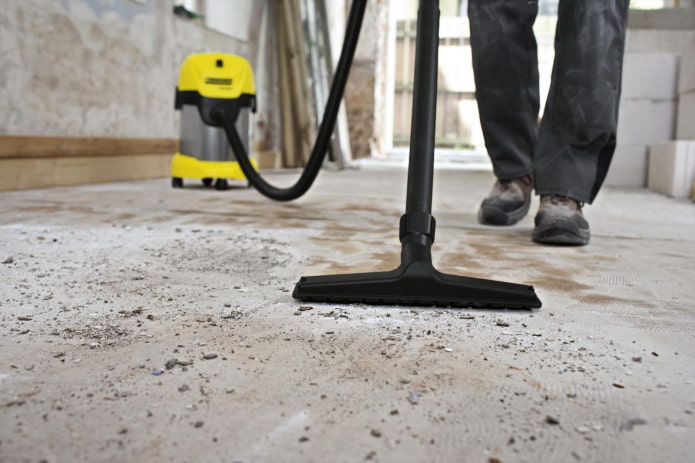
The photo shows a construction vacuum cleaner, which will make it easier to clean the screed from debris and dust
Crumbling screed can also lead to dirt accumulation and creaking of the laminate. To correct the mistake, dismantle the flooring to the place where it creaks, fill it with cement, level it, dry it well, and prime it. If you are not sure that you can handle it, call a specialist for a beacon screed.
Proceed with the installation after it has completely dried. Before starting, thoroughly clean the base, and during, vacuum each strip.
How to fix a squeaky laminate if the underlay is too soft?
The underlay is the most important layer of the finished floor. It smooths out small irregularities, protects the laminate floor from water and moisture, dampens noise, and provides sound and heat insulation. But more does not mean better. You should not try to solve the shortcomings of the screed, make a level floor with a thickened gasket. Too thick a backing will settle, the laminate on it will begin to bend, its locks will fail, and it will certainly begin to creak.
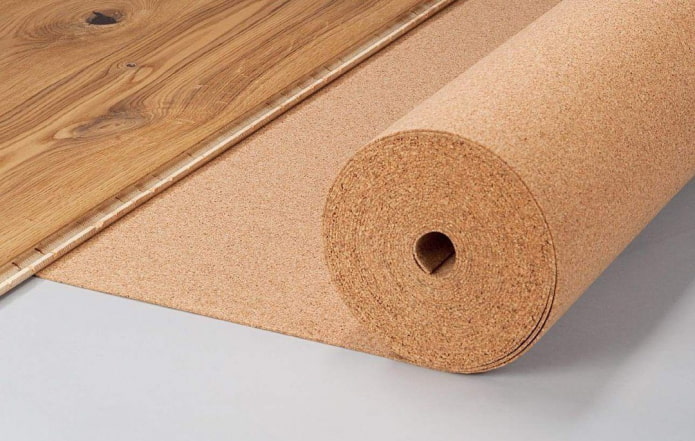
The photo shows a thin cork backing for laminated panels
The optimal thickness depends on many factors. Including the type of laminate, operating conditions, and backing material. Most often, the manufacturer indicates the most suitable option on the packaging with panels.
Dependence of thickness on the material:
- cork – 2-4 mm;
- coniferous – 4 mm;
- foamed – 2-3 mm.
Dependence of thickness on laminate:
- standard 8 mm panels – 2-3 mm;
- thin 6-7 mm – 2 mm;
- thick 9-11 mm – 3-5 mm.
How to eliminate the creaking of laminate due to the underlay? Change! You will need to completely dismantle the flooring, replace the old gasket with a new one and re-lay the slats.
How to avoid creaking?
The surest way to eliminate the creaking of laminate is to do everything to avoid it from the start. To do this, you need to know the intricacies of laying this flooring and follow the rules.
- Do not use laminate flooring immediately after purchase. Like linoleum, it needs to lie down in the room where it will be laid. Just leave the boards horizontally for 24 hours in the summer and 48 hours in the winter at room temperature. When they take their final shape, they will be ready for laying.
- Buy high-quality laminated parquet. Saving on materials can result in many problems: from creaking and crunching to deformation and swelling. More expensive laminate will last much longer without complaints.
- Carefully prepare the base. The self-leveling floor or cement screed must be perfectly leveled, smooth, durable. If the surface crumbles, you will definitely hear a crunch under your feet. And irregularities and defects will manifest themselves as sagging and swelling of the boards.
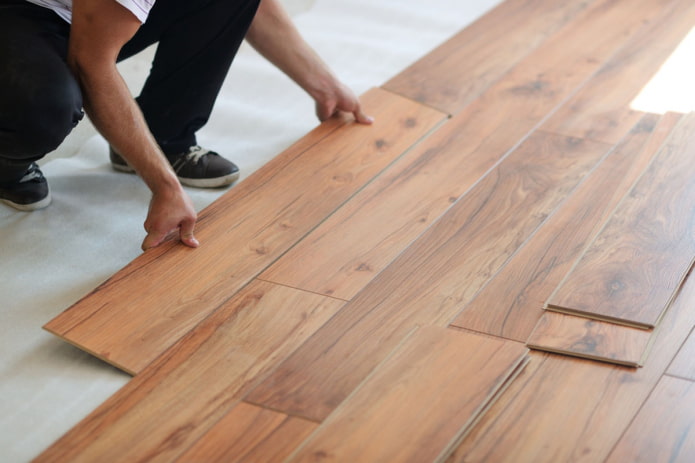
The photo shows an example of high-quality installation: a perfectly level and clean concrete floor, the right thin underlayment
- Choose the right underlayment. The most wear-resistant option is cork. It will not bend under the weight of furniture even after several years, but is not suitable for use in damp rooms. The most cost-effective is foamed, but it can deform and become thinner. Eco-friendly pine bark is often too thick, so it is only suitable for compacted laminate. The optimal thickness of the underlay for use in an apartment is 3 mm.
- Keep it clean. Clean the room before laying the underlay and before installing the panels. Keep a vacuum cleaner handy during installation, remove dust as often as possible. If possible, cut in a separate room.
- Leave expansion gaps. We have already mentioned the ideal distance between the wall and the boards – 1 cm. At high humidity and temperature, increase it by 50 mm. In large rooms, gaps are also left between the boards themselves, covering them with decorative strips.
Before starting work, study not only the rules, but also take into account other people’s mistakes:
Preventing a problem is much easier than getting rid of a squeak after installation. But if you are faced with the problem of extraneous sounds, do not delay the solution. Time can only worsen the situation, increase the cost of correcting errors.
Now reading:
- Classic curtains: inspiration for decoration and 80 photos in the interior.
- Important aspects of choosing plastic windows: 8 main recommendations.
- Bathroom Tiles: 80 Interior Photos and Current Design Ideas
- Chandeliers for suspended ceilings: 50 examples and selection tips
- Canopy Beds: 50 Inspiring Photos for Bedrooms and Kids Rooms.