Wooden Pallet Bench
Step 1: Prepare materials and tools.
- 1-2 pallets;
- Board 200×15×4 cm;
- Thin wooden slats or clapboard;
- Drill;
- Power saw;
- Screwdriver or screwdriver set;
- Self-tapping screws;
- Tape measure;
- Sander or sandpaper.
Step 2: Prepare the backrest and base. The pallet is cut in the direction of the longitudinal bars into 2 parts. The larger part of the 4 crossbars will go to the seat, the smaller one will become the basis for the backrest. If desired, the back can be made higher, then you will need several pallets for the job.
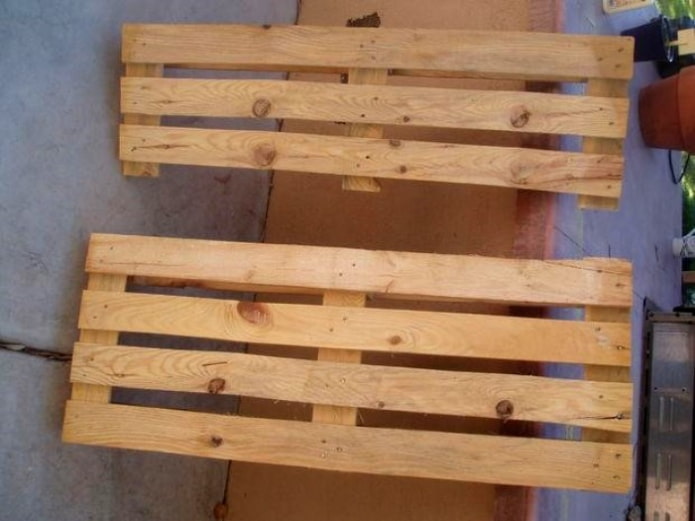
Step 3: Assembling the bench. The parts are connected perpendicular to each other and secured with self-tapping screws or metal corners.
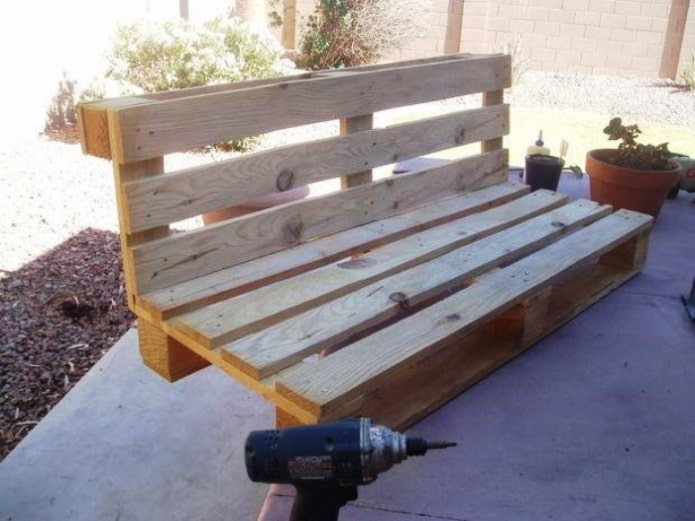
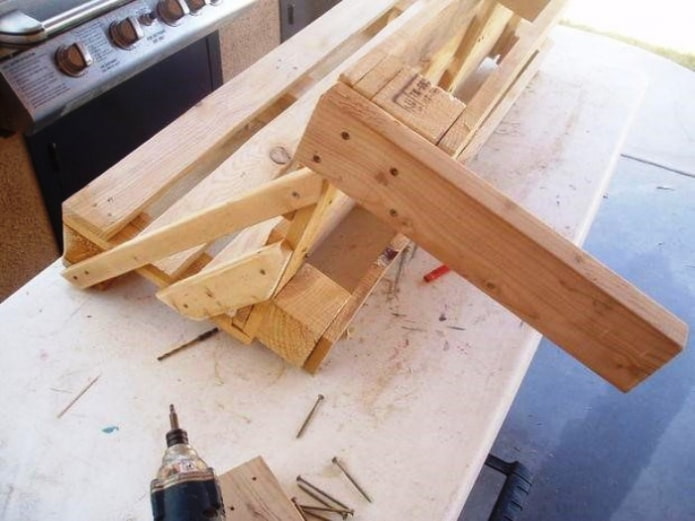
Step 4: Installing additional fastening. Thin slats cut in a trapezoid are attached to the sides in 2 rows. They serve as limiters and protect against falling.
Step 5: Fastening the legs. Cut 4 identical rectangular blanks for the legs from the board. The height of the blank corresponds to the height of the future bench. The legs are fastened with screws and metal corners to the base. Two on the sides in front, two closer to the back.
Step 6: Processing. Using a grinder or sandpaper, clean the bench from knots and roughness, cover it with varnish resistant to the outdoor environment.
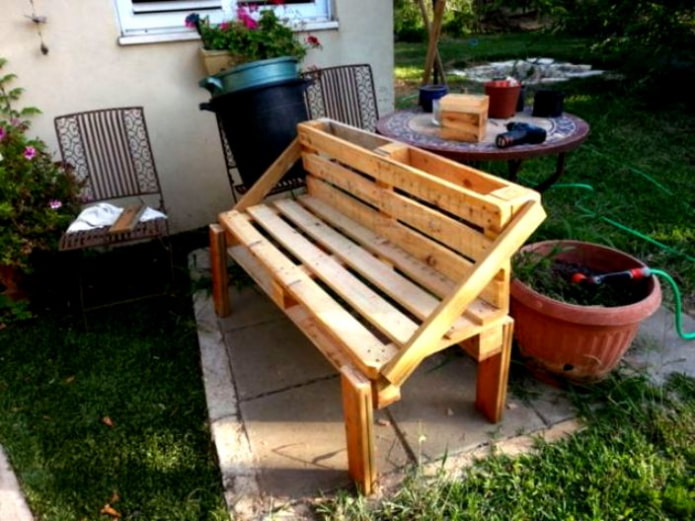
Wooden bench with an inclined back
Step 1: Preparation of materials and working tools.
- 5 boards 150 × 15 × 4 cm for the back and seat;
- 2 boards 90 × 15 × 4 cm for the back legs;
- 2 boards 36 × 15 × 4 cm for the front legs;
- 4 40×40 cm block;
- A screwdriver and several packs of screws;
- Varnish;
- A jigsaw;
- A sander or sandpaper.
Step 2: Creating a working drawing. A schematic image helps to calculate the proportions in advance, determine the dimensions and angle of the backrest. The drawing can be made in free form or constructed based on the example provided. Having a diagram will help save time and materials during the main work.
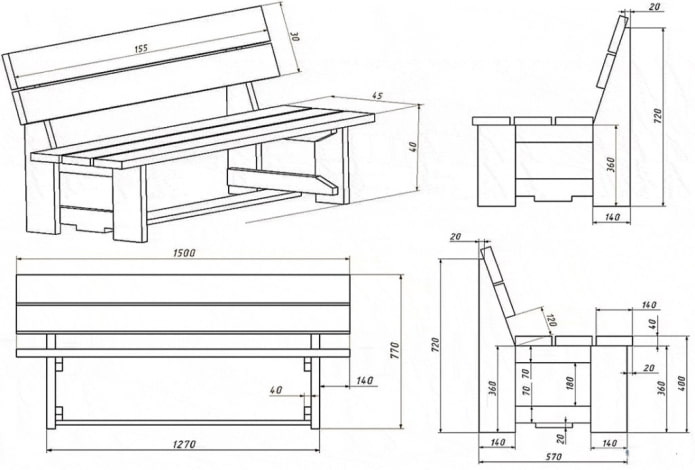
Step 3: Processing the blanks. The surface of the wood is cleaned with sandpaper or a grinding machine. The long boards that go on the seat and back are rounded at the edges with a jigsaw.
Step 4: Preparing the back legs. The 90-centimeter boards are installed vertically and 40 cm are measured from the ground – this is the height of the future bench. From this point, a cut is made diagonally upward at an angle of about 20 degrees. You should get a rectangular trapezoid with bases of 90 and 40 cm.
Step 5: Assembling the support. The support frame is assembled with self-tapping screws. The front and back legs are fastened in pairs with bars at the bottom and top. To prevent the bench from creeping under the load, a tightening bar is passed at the bottom.
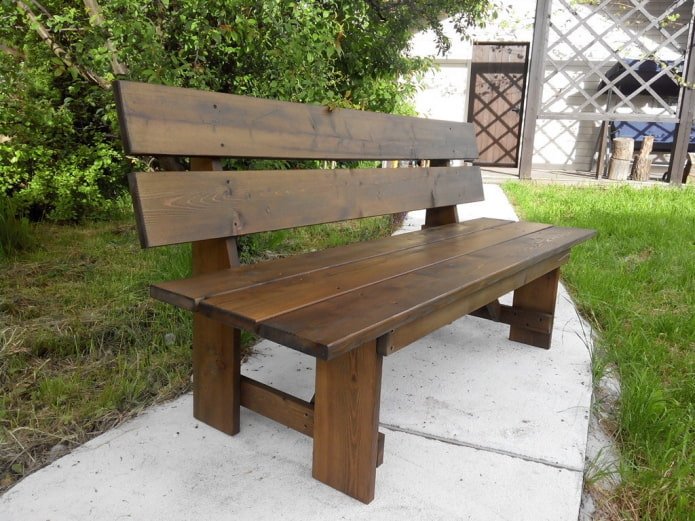
Step 6: Installing the seat and back. The three longest boards are connected to the top row of bars. This is the seat of the future bench. The two remaining boards are installed on the inclined cut of the rear legs.
It is important to leave small gaps so that moisture does not linger on the bench during rain.
Step 7: Final processing. To ensure that the bench lasts as long as possible, it is treated with a protective impregnation and varnished. To create the effect of aging, the wood is impregnated with stain or lightly burned with a blowtorch.
Four-seater bench made of boards and slabs
Step 1: Preparation of materials and working tools.
- 5 boards 200×15×4 cm;
- 4 boards 65×15×4 cm;
- 2 boards 17.5×15×4 cm;
- 12 concrete slabs 50×50×5 cm;
- Drill;
- 18 mm wood and metal drill;
- Screwdriver and a pack of screws;
- M16 threaded rods (55 cm);
- Nuts and washers for fastening them;
- Antiseptic composition;
- Wood glue;
- Sander or sandpaper.
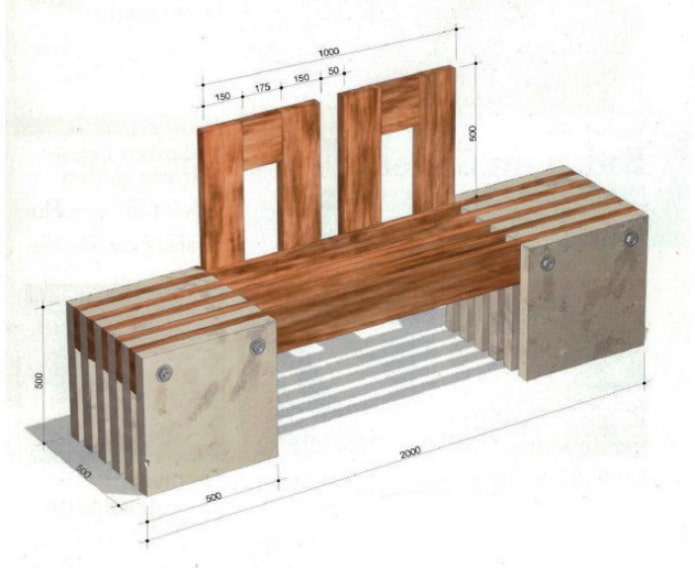
Step 2: Making a drawing. If the dimensions of the future bench are similar to ours, you can use a ready-made diagram. If you need a bench of a slightly smaller or larger size, you can make your own drawing by analogy.
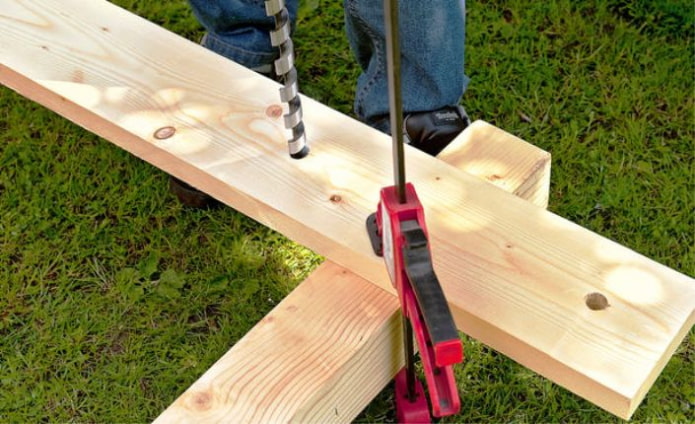
Step 3: Marking the boards. Drill 4 holes in two-meter boards. Two, 10 cm from each edge, two more at a distance of 40 cm. The line with the holes should pass exactly in the middle of the board.
Step 4: Marking the slabs. Two holes are made in each concrete slab. The first one is 7.5 cm from the top and 10 cm from the right. The second one is with the same parameters, but on the left side.
Step 5: Preparing the markings for the frame. According to the drawing above, use a pencil to mark one of the two-meter boards. Indent 50 cm on each side, then 15 cm, then 17.5 cm and another 15 cm. There should be 5 cm left free in the center – the distance between the seat backs.
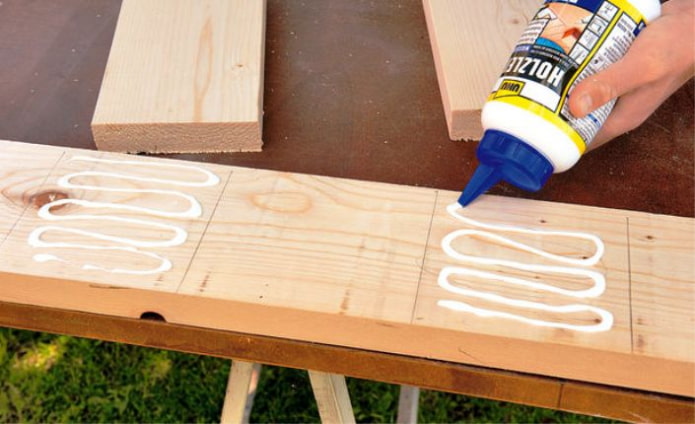
Step 6: Assembling the wooden frame. Glue is applied to 15-centimeter sections and 65-centimeter boards are pressed tightly. Self-tapping screws are used for greater fixation. Glued blanks of 17.5 cm each are inserted between the boards on top. The frame is covered with an antiseptic and varnish and left to dry.
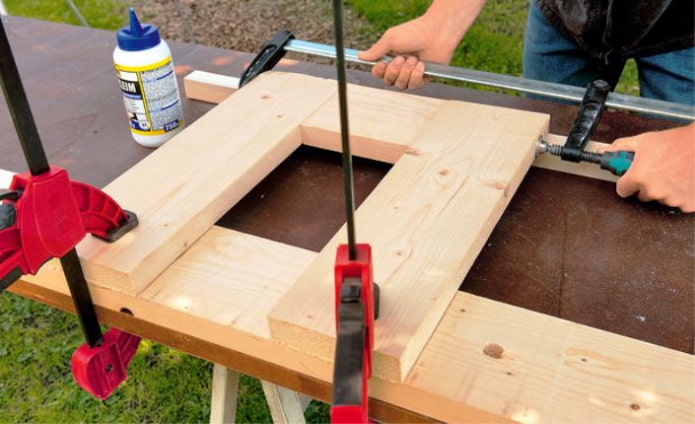
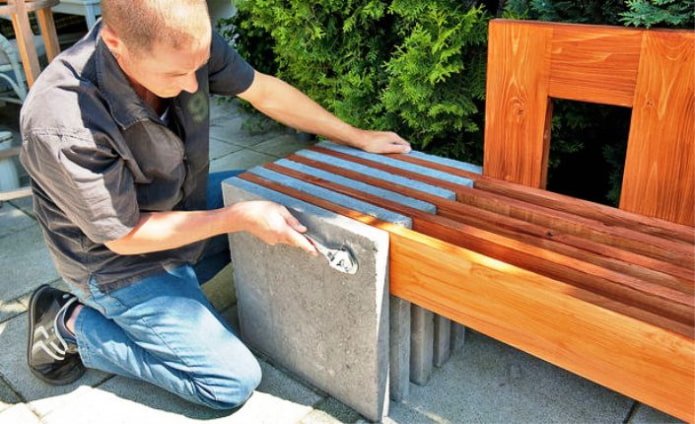
Step 7: Fixing concrete blocks. Alternating slabs and boards are installed on a horizontal surface. The structure is fixed with threaded rods, nuts and washers.
Two-seater bench with a table
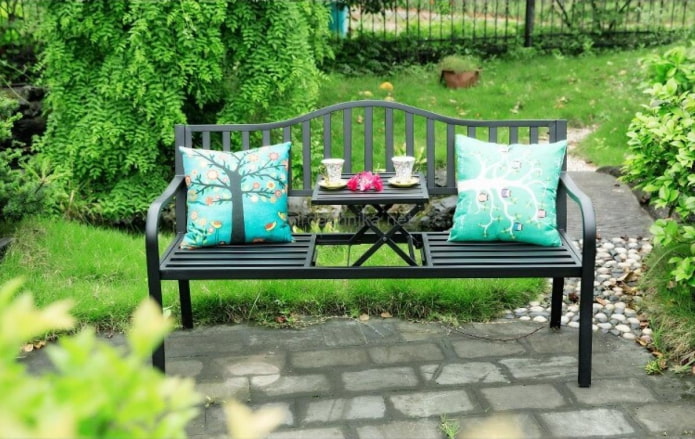
For a warm family dinner on the terrace, in addition to benches, you will need a table. If you do not want to clutter up the space, an excellent option would be to make a two-seater wooden bench with a small table. The material can be planed board or a disassembled brick pallet.
Ideas for inspiration
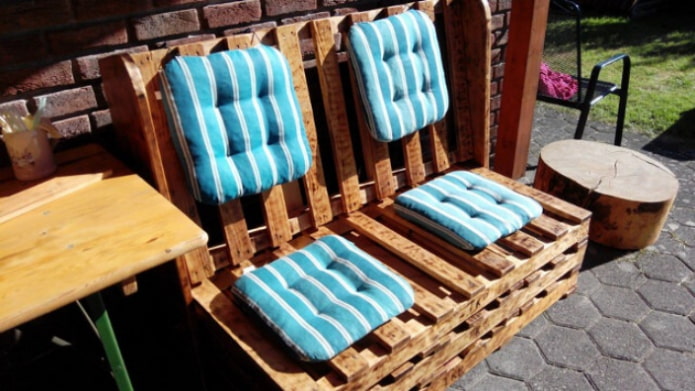
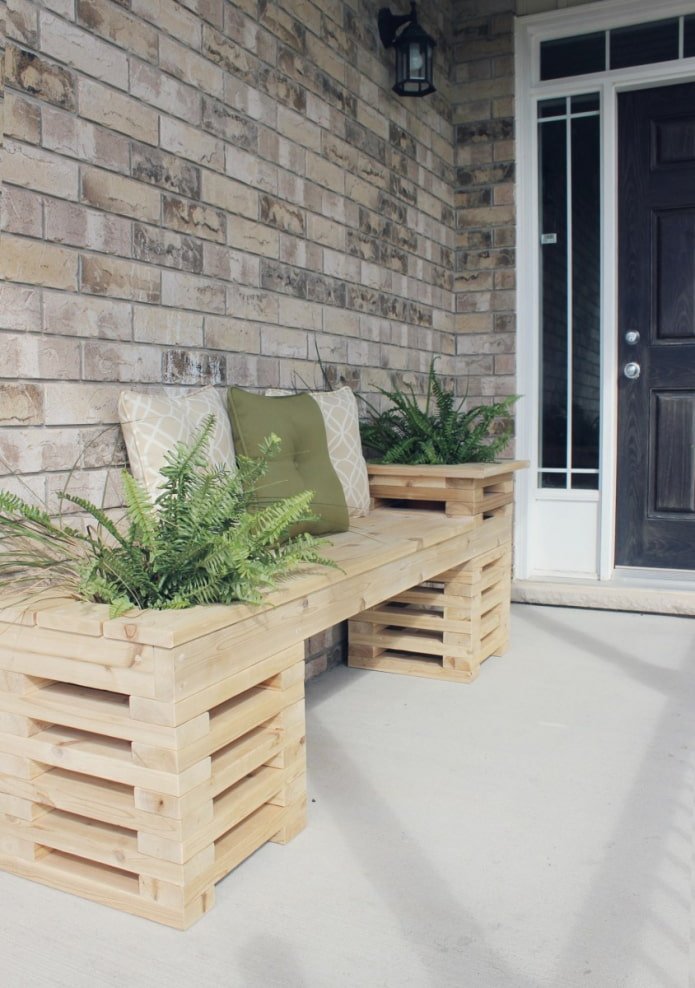
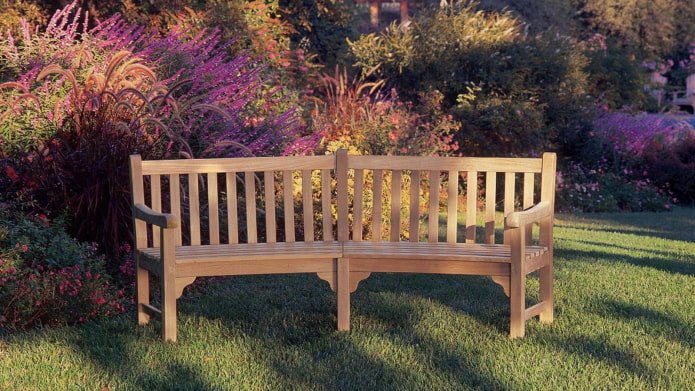
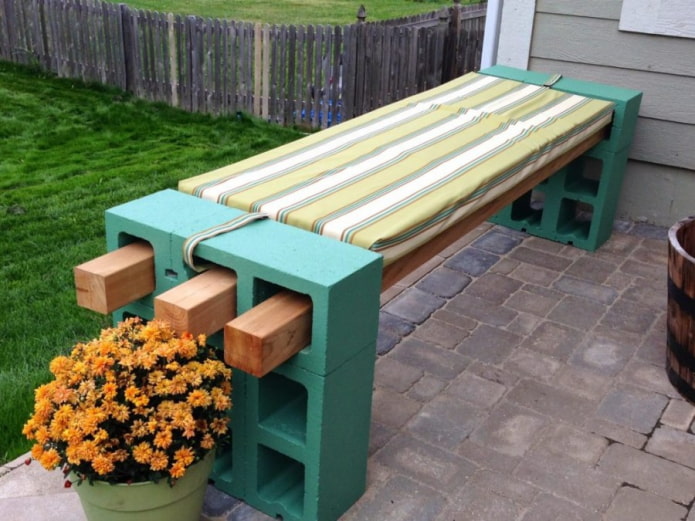
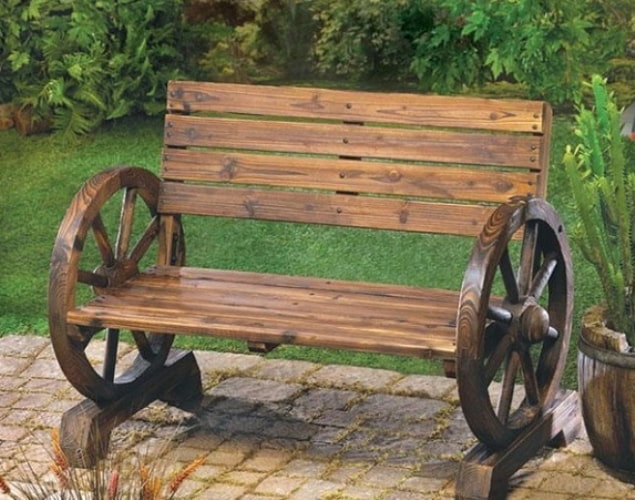
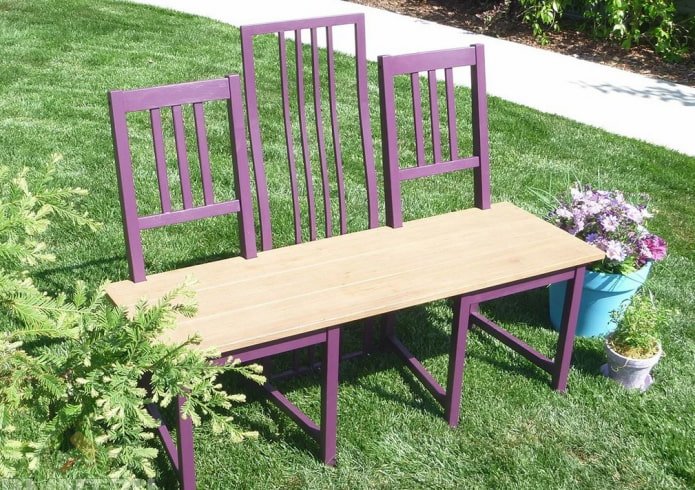
When making garden furniture, beams, boards, slats and much more are used from finishing the house. By experimenting with different materials, you can create an original, one-of-a-kind bench. Playing with color and textiles, it is easy to add even more coziness and comfort to the recreation area.
Now reading:
- Best Drywall Alternatives: What to Choose Instead?
- Firewood Shed for a Summer Cottage: 37 Inspiring Ideas and DIY Assembly Guide
- Kitchen tables: designs, shapes and materials for your interior
- Decoupage for Beginners: 10 Best Methods and Stylish Interior Examples (50 Photos)
- stylish ideas for decorating walls in a wooden house for a modern interior.