Pros and cons of finishing with PVC panels
Finishing the kitchen with panels has its advantages and disadvantages compared to other methods. Let’s consider them in more detail:
- Low cost. One m2 of such finishing will cost an average of 150 rubles.
- Moisture resistance. Plastic is not afraid of steam, condensation and water.
- Hygiene. Wall panels are wiped with a damp cloth, washed, and even cleaned with products.
- Ease of installation. To finish the walls in the kitchen with panels, you do not need special skills and special tools.
- Wide choice. PVC panels are monochromatic, with imitation of various materials and even prefabricated frescoes.
- Fear of high temperatures. The most protected models can withstand a maximum of 170C, standard ones can melt from touching a hot frying pan or saucepan.
- Prone to mechanical damage. Any awkward blow splits the lamella, and cleaning with a hard brush spoils the top layer.
- Color fading. If the pattern is applied using thermal transfer, it will fade over time due to sunlight.
What types of panels are there?
Before covering the kitchen with plastic panels, you should understand what types there are. Let’s look at the main categories.
There are 4 types by shape and size:
- Panels. The familiar lamellas, 150-500 mm wide. Standard length is 3 m. After installation of panels, the seams will be almost invisible, so feel free to purchase compositions with a pattern or imitation of materials.
- Clapboard. It looks like standard wood, but is made of plastic. The width is on average 10-12 cm, the length of one lamella is 2-6 m. Slatted panels can be laid both horizontally and vertically.
- Tiles. Square elements come in different sizes. The side length varies from 300 to 980 mm. Due to fastening in grooves, the seams do not diverge and the tiles form a single composition.
- Sheets. The largest PVC option. Sheet plastic reaches 2 meters in width and 4 meters in length.
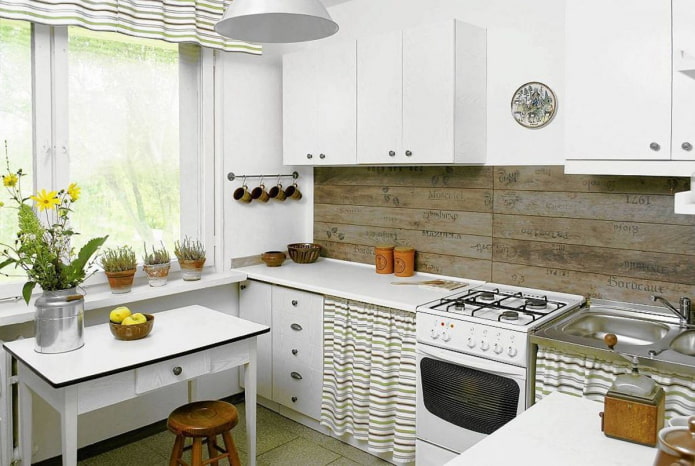
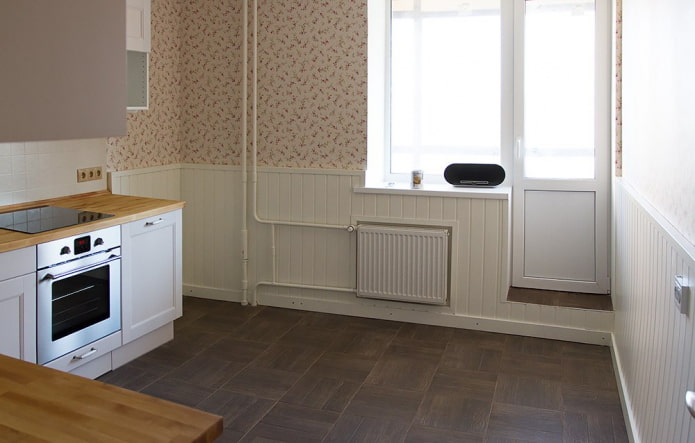
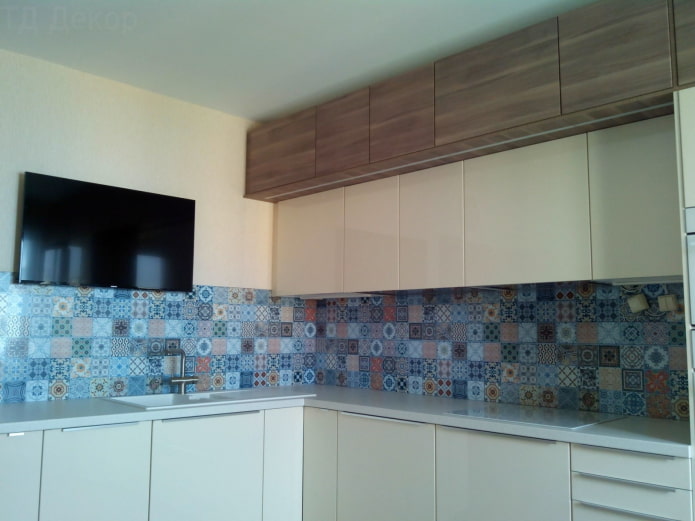
The photo shows a plastic apron under the tiles
Plastic panels also differ in the method of applying the pattern:
- Thermal transfer. The cheapest and most unreliable method is to transfer the image from the film. The print is easily erased and fades in the sun.
- Offset printing. The panel itself gets under the printer shafts, the picture looks natural and will last a long time.
- Lamination. In this case, a film with an image is simply glued to the plastic – this method is the most reliable and is not afraid of either the sun or chemical cleaning agents.
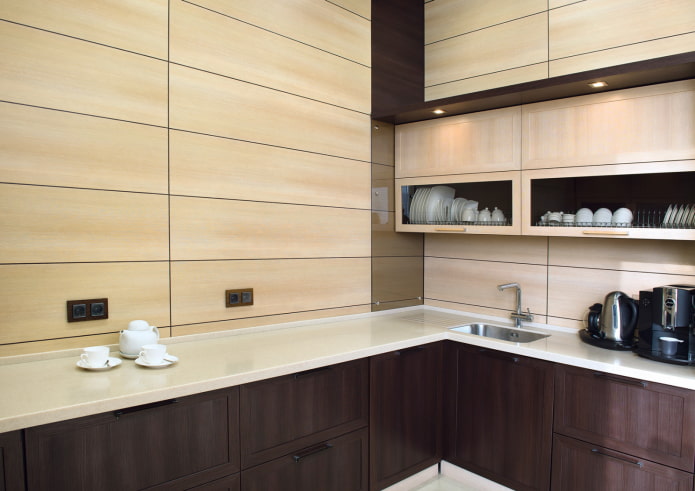
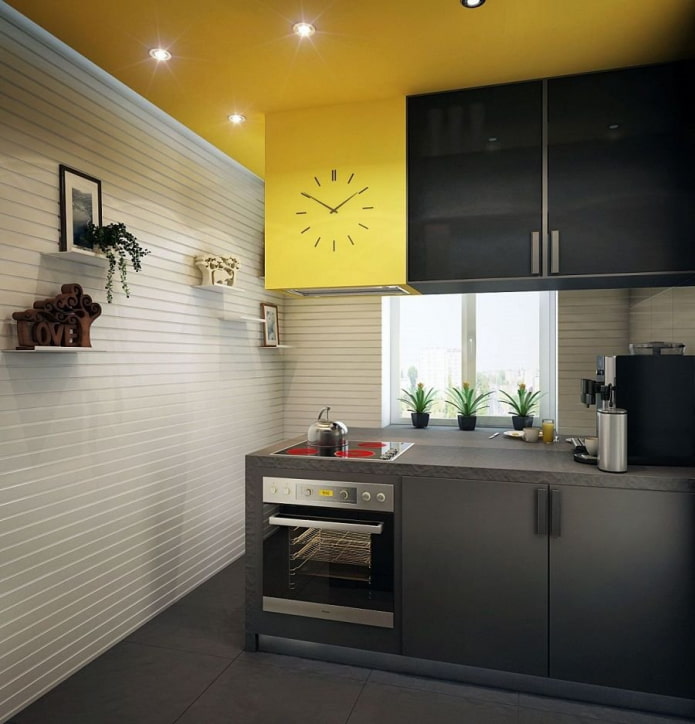
Application options in the kitchen
Kitchen paneling can cover all surfaces or one of them. Most often, plastic panels are used to decorate the ceiling, walls and apron.
Repairing the kitchen ceiling with plastic strips. Ceiling finishing is done with special lamellas – they are less durable and lighter than wall ones. They must be handled with extreme care, as there is a high risk of damaging the material during installation. Advantages of a panel ceiling:
- does not deform even after a flood;
- withstands any temperature changes;
- does not require surface preparation;
- hides wiring and communications.
Most often, plain PVC panels are used, but to create an original interior, you can decorate the ceiling with planks with a print.
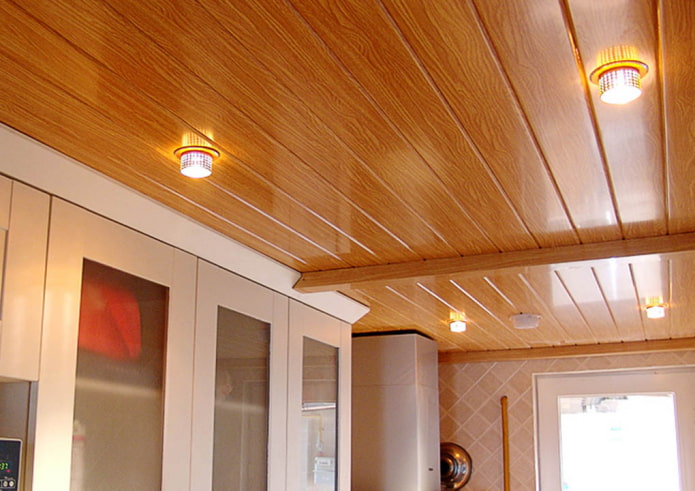
The photo shows PVC panel ceiling finishing
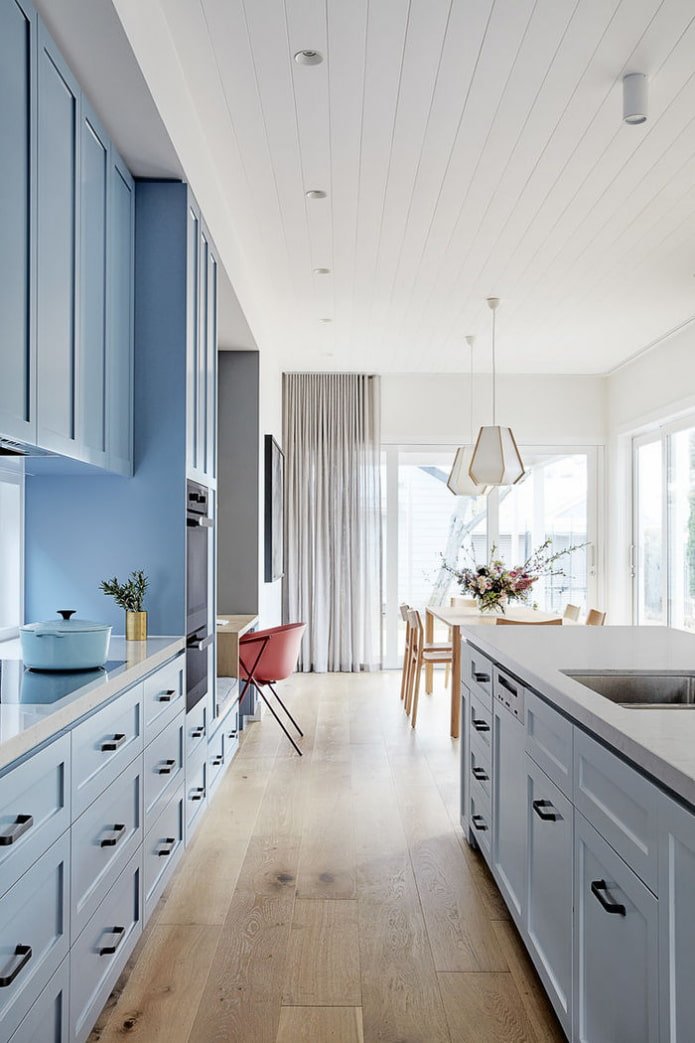
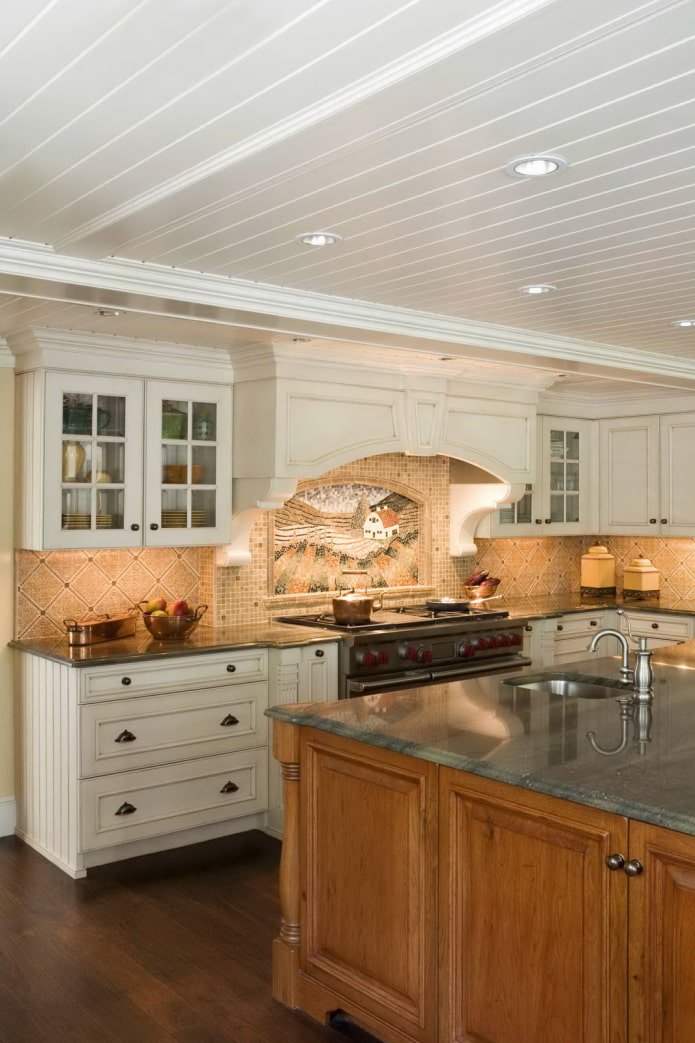
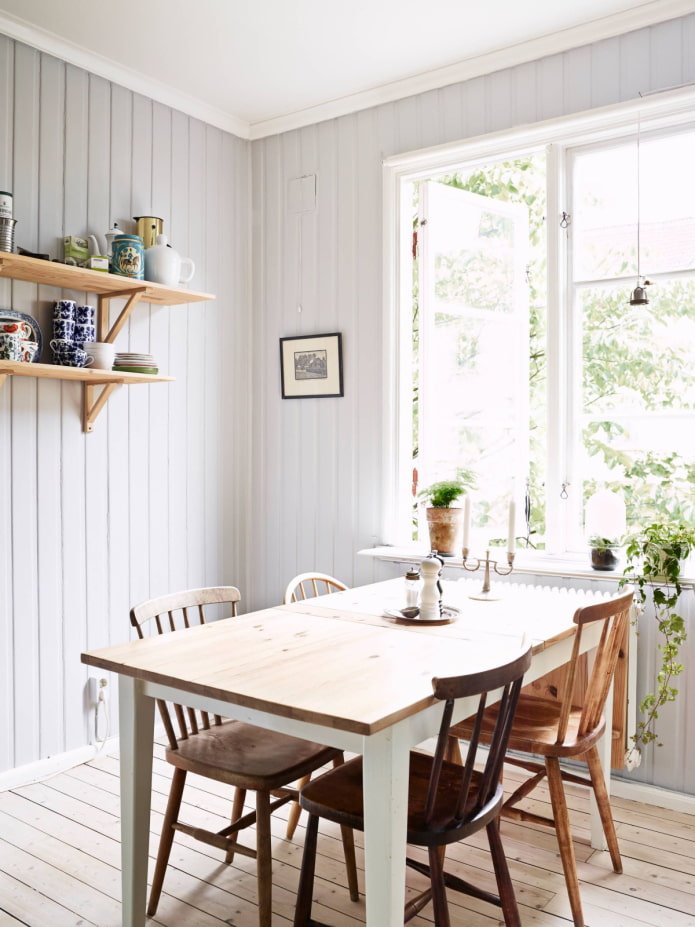
Kitchen wall paneling. Finishing materials for wall decoration are stronger and heavier. The kitchen wall design will not look cheap if you buy high-quality slats. Plain planks or those with imitation stone/wood texture look advantageous. For the walls in the kitchen, choose seamless structures, otherwise dust and dirt will accumulate in small spaces, which will be almost impossible to clean.
Horizontal finishing of the walls in the kitchen will allow you to expand the room, and vertical installation will visually raise the ceiling.
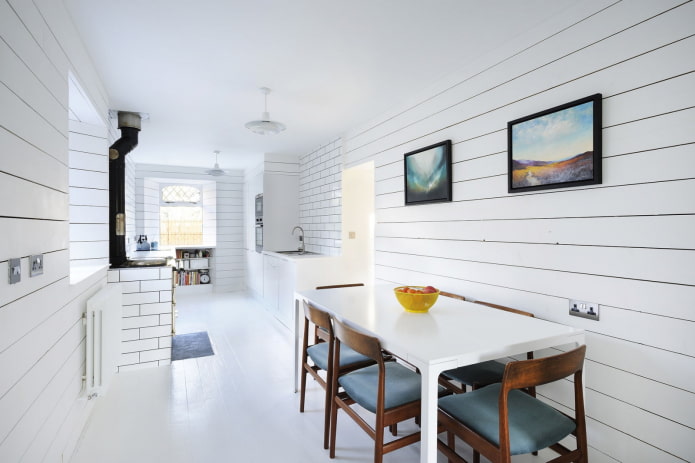
The photo shows horizontal installation of panels
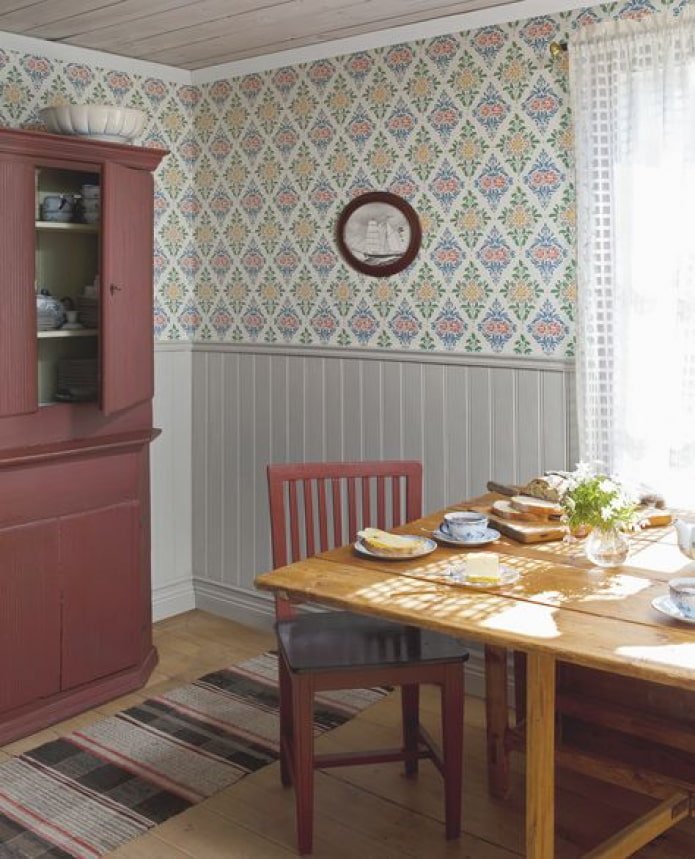
Installation on a kitchen apron. The area that suffers more than others during kitchen work is located above the countertop. PVC panels for the apron should:
- withstand high temperatures (170C);
- have a laminated surface;
- be installed without seams;
- go behind kitchen cabinets at the top and bottom.
If you have a gas stove in your apartment, give up the idea of finishing the apron with panels or additionally protect the cooking area. Even heat-resistant slats are afraid of open fire and can melt.
One way or another, decorating a kitchen apron with PVC panels is the most budget-friendly option, allowing you to bring an unusual design to life. From bright colors to paintings with city motifs, landscapes or still lifes.
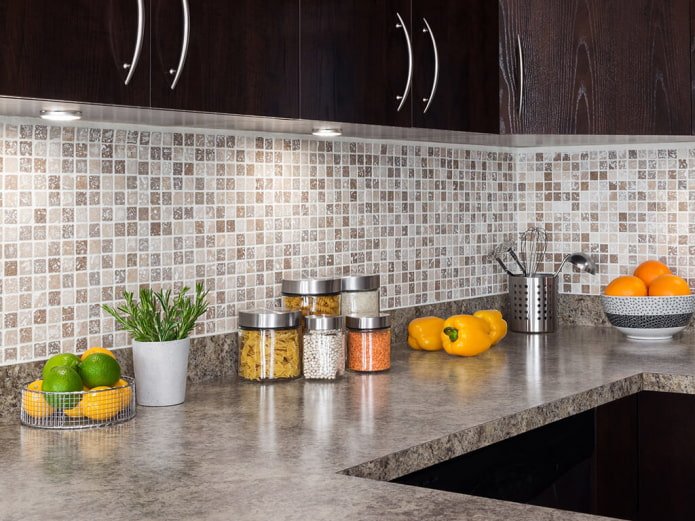
The photo shows plastic sheets under mosaic
What to consider when choosing?
When purchasing material for cladding the ceiling or walls, pay attention to the following aspects:
- correct geometry of each sheet – without waves and distortions;
- uniformity and quality of painting, color saturation of all lamellas;
- absence of chips, cracks, scratches and other damage;
- coincidence of the pattern.
To purchase high-quality finishing materials, go to a large hardware store. This will help to avoid buying defective PVC lamellas and problems with them – from unsatisfactory results in repairs to the release of harmful substances into the air.
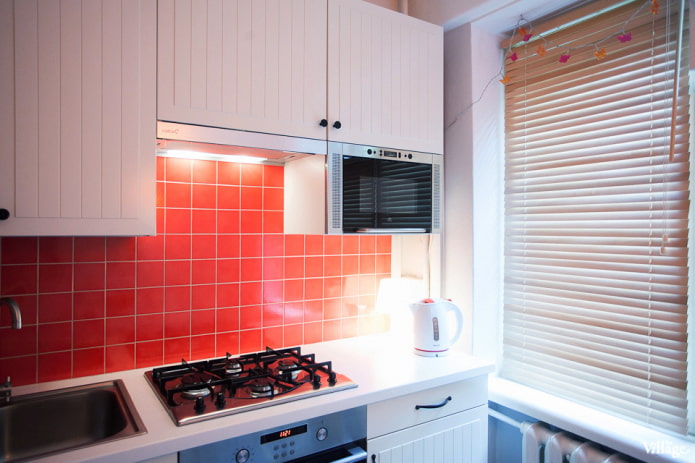
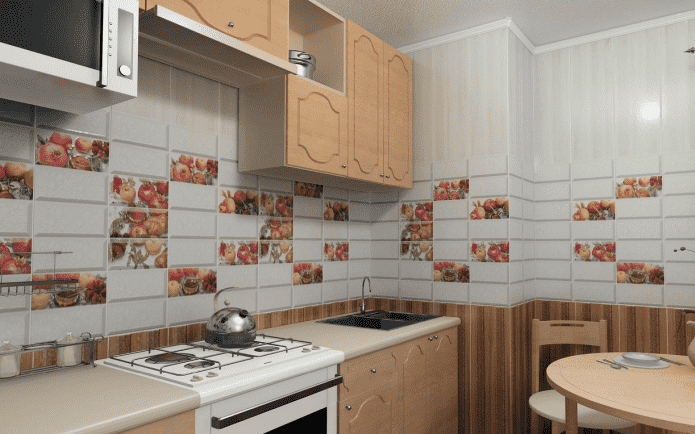
In the photo sheet plastic for ceramic tiles

How to choose a pattern and color?
The choice of colors, textures and types of prints on panels can only be compared with wallpaper – the market offers options for every taste! Thanks to this, you can implement any interesting ideas.
- Monochromatic. They look like painted walls, practical and stylish.
- With imitation of material. The better the print, the more natural the result will look. They can be made to look like stone, wood, metal.
- With a repeating pattern. The same image on all planks, which, when assembled, imitates ceramic tiles or other finishes.
- With a composition. Several elements represent a single picture – a landscape, a still life, an artistic canvas.
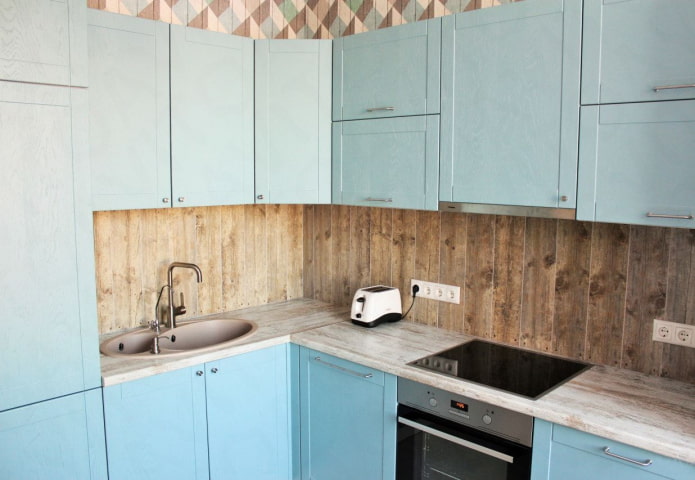
In the photo an apron made of plastic with imitation wood
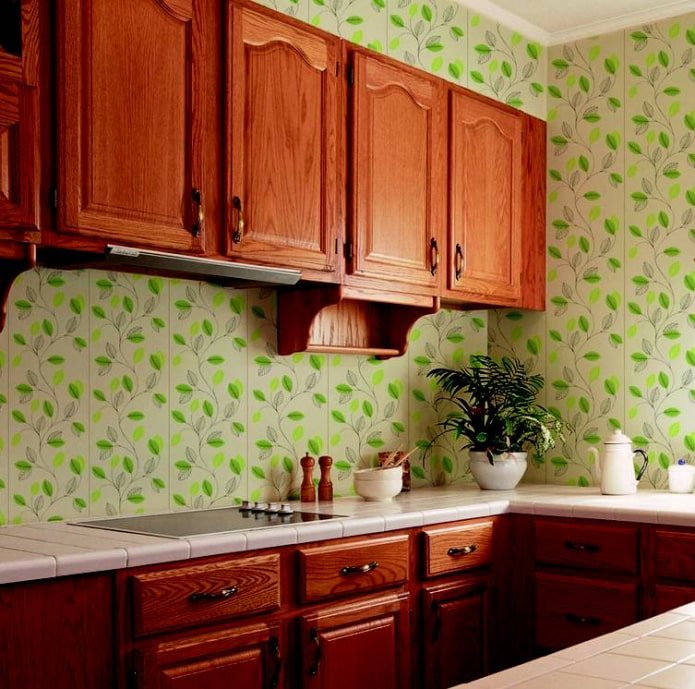
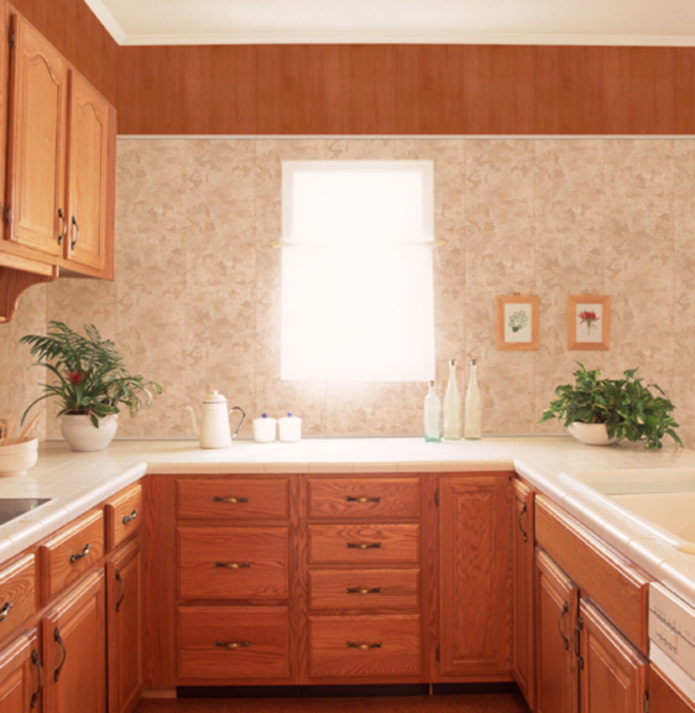
The choice of plastic panels for the kitchen depends on the dimensions of the room. Small patterns, light colors for small kitchens, large prints and dark colors for spacious ones. Materials with a glossy sheen increase the room size, matte ones do not affect the visual size.
Also start from the style: imitation metal will fit into minimalism and hi-tech, brickwork – into loft and Scandi, natural wood – into classics.
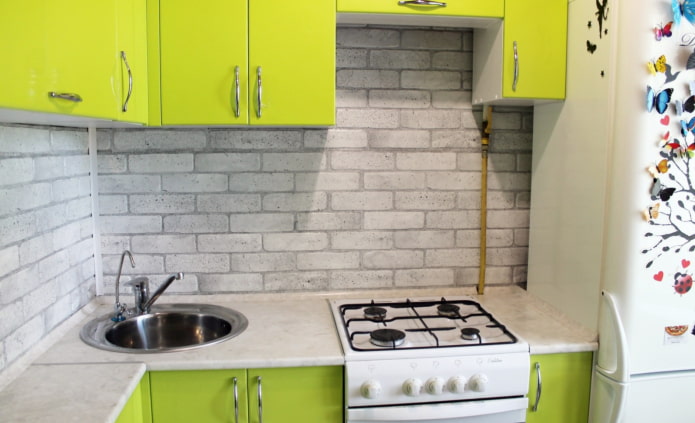
In the photo PVC sheets with a pattern under a brick
How to sheathe a kitchen?
You can sheathe the working wall in the kitchen with PVC panels yourself, for this prepare the necessary tools, purchase the material and study the instructions.
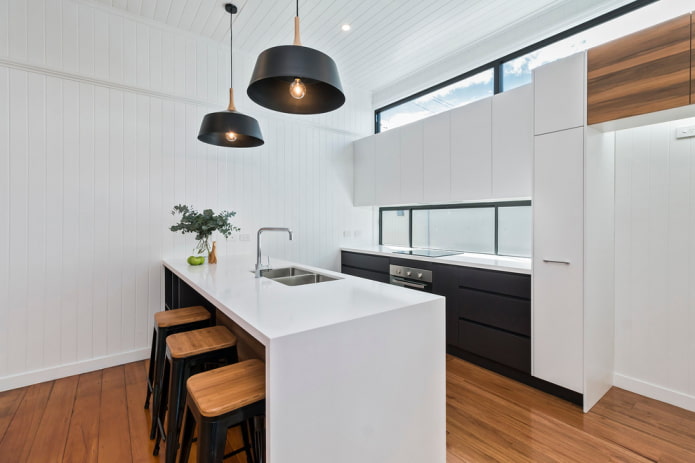
The photo shows an option for visually increasing the ceiling using finishing
Tools and materials
To install a plastic wall, you need a minimum of tools that can be found in every household:
- pencil and tape measure;
- building level;
- knife and scissors;
- hammer drill or impact drill;
- dowel-screws;
- screwdriver and screws, staples and a stapler or glue (depending on the type of fastening).
Step-by-step instructions
When everything you need is at hand, let’s get started to finishing. There are 2 methods of fixing slats: with lathing and directly to the wall. Let’s look at each installation method step by step.
Frame method:
- Clean the wall surfaces and cover with an antifungal agent.
- Treat wooden or metal slats for the frame with an antiseptic and moisture protection.
- Mark the wall, starting from the bottom above the intended baseboard, using a level.
- Install the outer profiles at the top, bottom and sides of the frame.
- Fasten the inner profiles across the future panels. They should be mounted at a distance of no more than 50 cm from each other.
- Put the first strip in the corner, having previously cut the side groove near the adjacent wall. Fasten with a screw or bracket.
- Insert the second part into the groove of the first, fasten.
- Repeat the required number of times.
- Cut the last part to the desired size, place it in the profile and install it in place.
- Install the fittings – external and internal corners, skirting board.
See the instructions for how to fasten PVC with clamps:
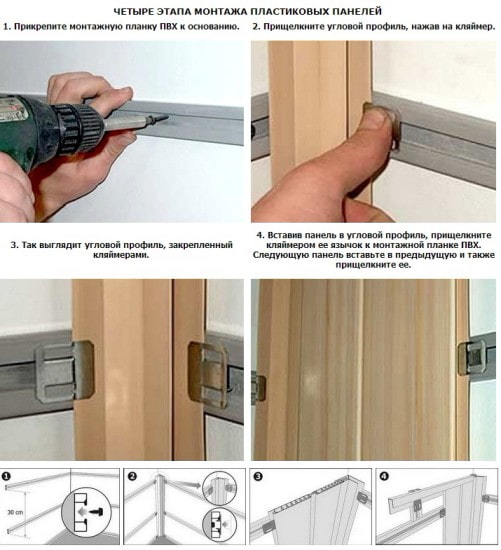
Frameless method:
- Remove the old coating.
- Putty and prime walls, they should be perfectly flat.
- Cut the side groove of the first kitchen wall panel, clean its back side.
- Apply glue to the lamella at intervals of 25 cm.
- Fasten to the wall.
- Repeat for the remaining planks, inserting the next one into the groove of the installed one.
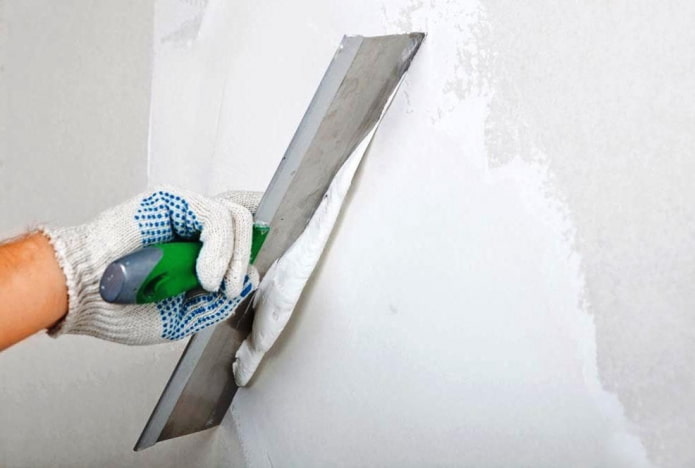
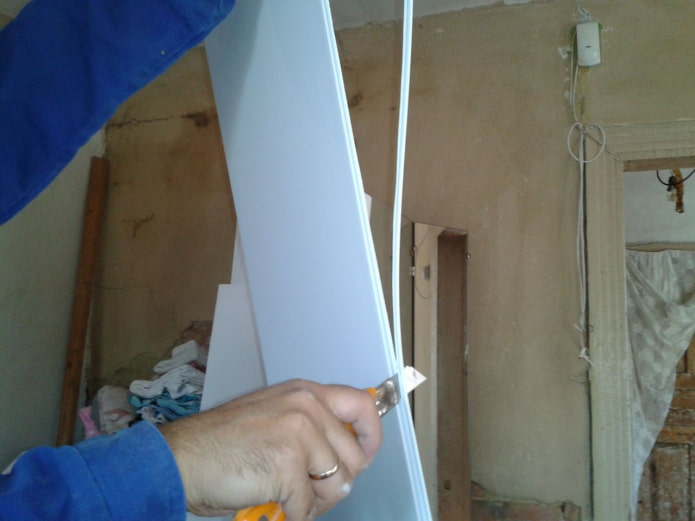
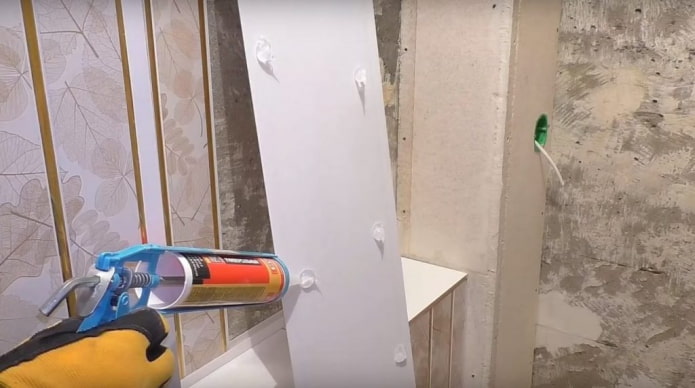
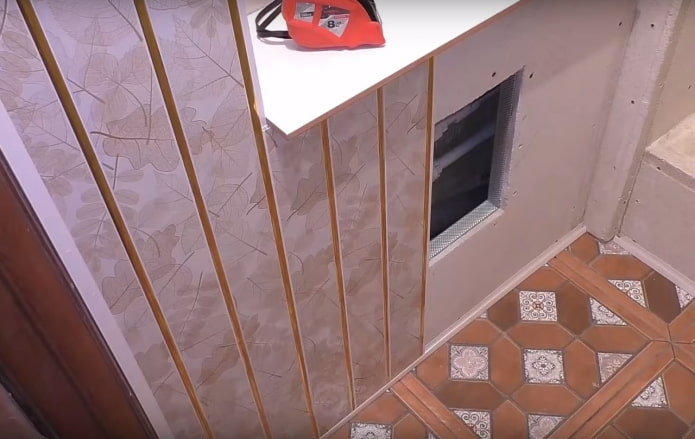
For installation without a frame, use special glue for plastic, sealant or liquid nails.
Interior finishing options
One of the advantages of frame installation of decorative panels is the ability to hide any communications. Use it 100% by hiding pipes and electrical wiring behind the panels. Don’t forget to leave access to them by installing a small hatch in a suitable place.
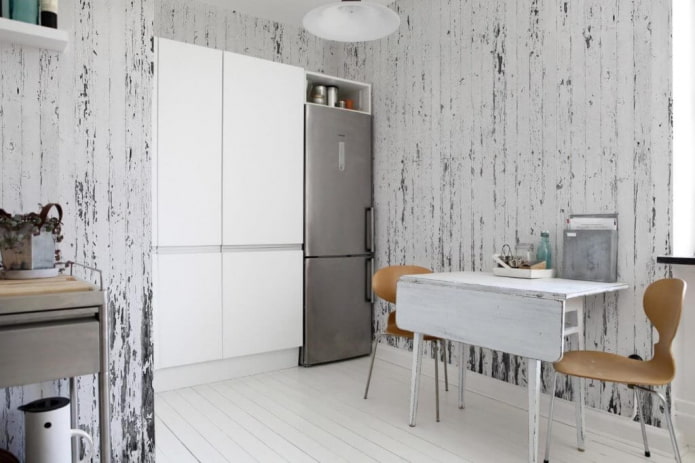
The photo shows plastic wall decor imitating aged wood
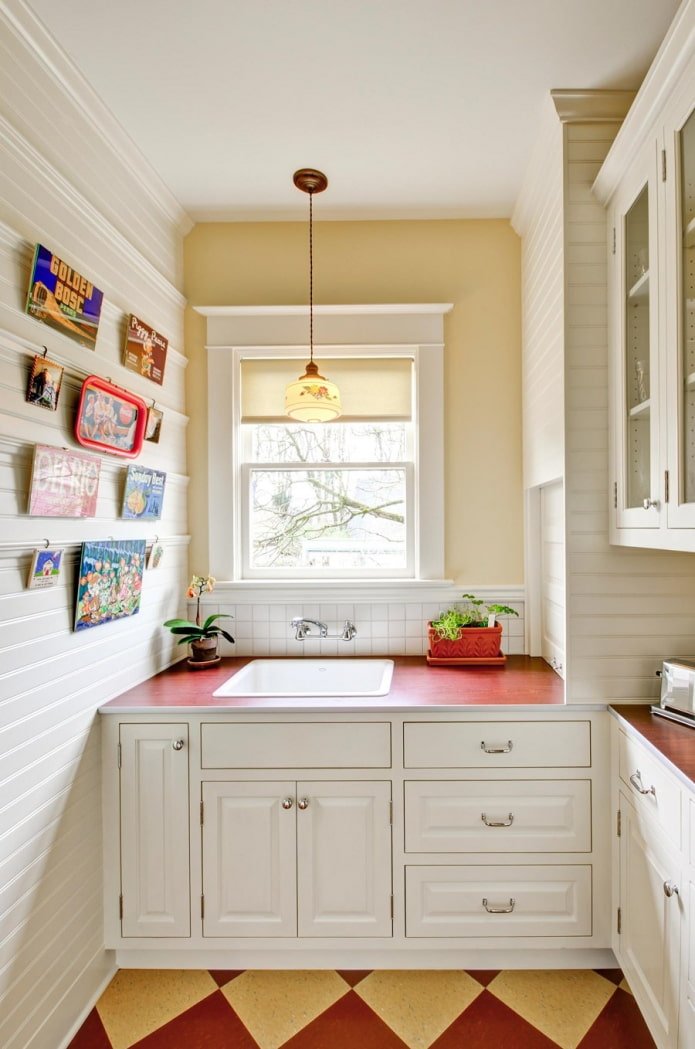
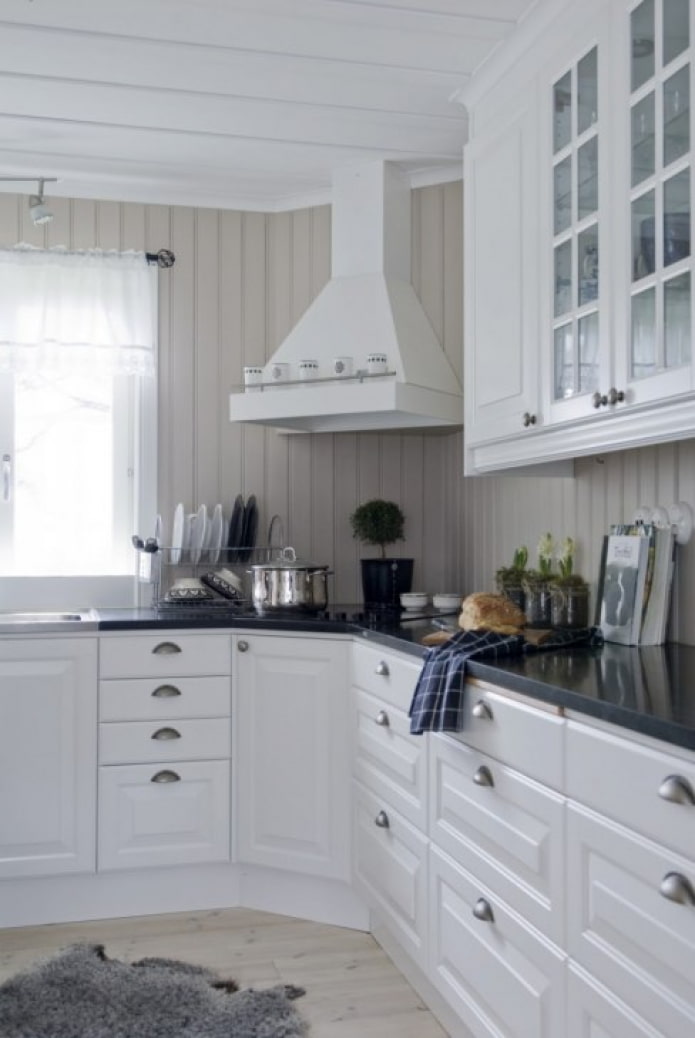
Plastic panels will help in zoning the kitchen – for example, a protruding ceiling frame above the dining table will highlight the dining area.
If you want to transform a kitchen with already installed panels, it is not necessary to change them – use self-adhesive film or paint the plastic, having previously primed it with a composition with high adhesion.
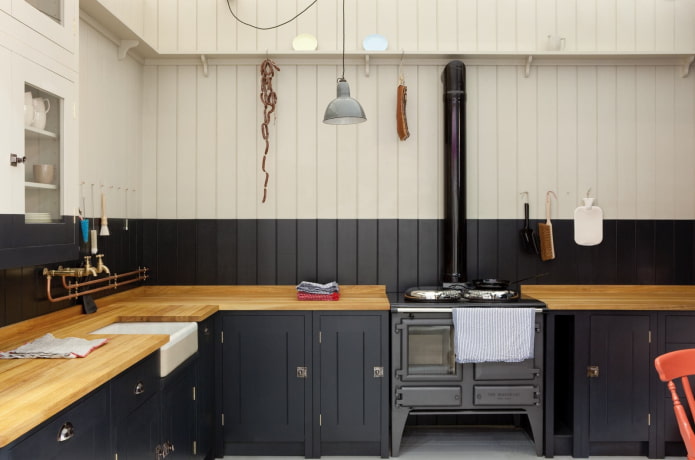
The photo shows an option for painting PVC paneling
Now reading:
- Compact Kitchen Units: 35 Ideas and Photos for Small Kitchens
- Lambrequins for the kitchen: more than 70 photos of interiors and original design ideas
- Kitchen ceilings: more than 100 photos, stylish interior design ideas.
- Dressing room in a Khrushchevka: a practical guide with real photos
- Two-room apartment design: 92 interiors and 8 modern layouts.