Creating a project and planning
If you want to have as few surprises as possible during the renovation, you need to plan. This is an important stage, and why it is needed becomes clear when one action is impossible without another. Therefore, we think through everything to the smallest detail. Starting from the moment you decide what you will leave and what to change, ending with choosing the size of the bathtub.
Draw a plan of the bathroom, which should be supported by dimensions. You can do this on a piece of paper. Measure the room from corner to corner. Write down the height from floor to ceiling. On the drawing, mark communications that cannot be moved (hot and cold water pipes, sewerage), a heating device, the location of the door, window (if any), etc.
Then, according to the plan, design the future bathroom. Draw on the plan where you will have the toilet, washbasin, bathtub, furniture. Where the utilities (water, electricity, sewerage) will be located.
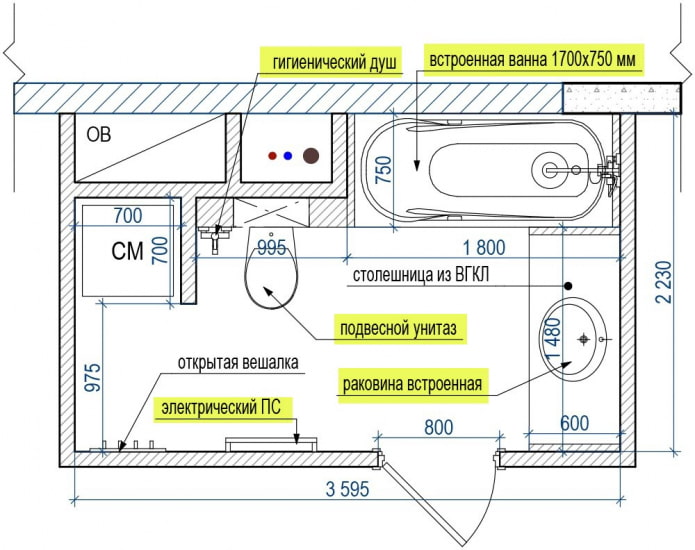
The project is needed not only to imagine what the bathroom will look like after the renovation. It is needed to calculate the amount of material needed for the renovation. It also helps not to make a mistake with the sizes when choosing furniture and plumbing. With the project in hand, knowing the exact distance from wall to wall, taking into account the layer of plaster, tile adhesive and tiles. You will definitely buy a shower cabin or bathtub of the right size.
At the design stage, you decide what interior style to choose, what color scheme your bathroom will have, the size of the tiles and their quantity. Locations of sockets, switches, lamps, lighting.
After drawing up the project, it is necessary to draw up an estimate. The estimate calculates all the costs of repair: materials, equipment, furniture, components and others. It allows you to estimate your upcoming repair costs and not buy unnecessary things. Choose materials for repair that are resistant to temperature changes and high humidity.
Dismantling work
The bathroom renovation itself begins with active actions – with the dismantling of old equipment and finishing materials.
The work is not difficult, but dusty. Use personal protective equipment: gloves, a respirator, safety glasses.
- Turn off the taps on the hot and cold water supply. Disconnect all plumbing fixtures from the sewer and water. Clear the room of everything unnecessary: furniture, mirrors, accessories, wall cabinets, etc. Cover the water meters and pipes with film.
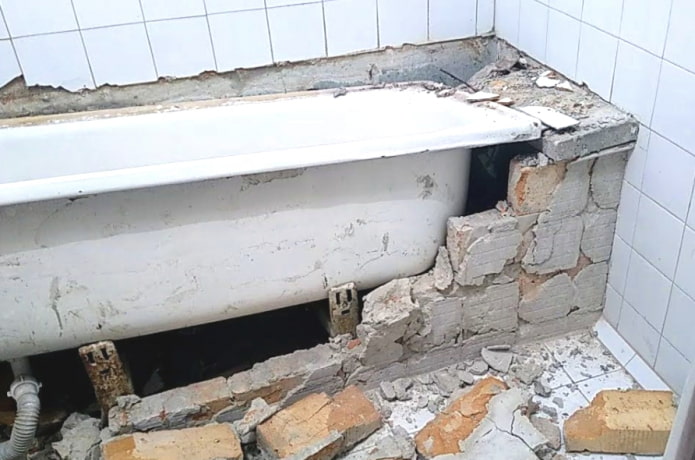
- The stage of dismantling the plumbing that is not suitable for use begins. The old bathtub and washbasin are removed from the room. During the renovation, the old toilet can be left, disconnecting it from the drain tank. Cover it with film during dusty work.
- Start dismantling the old plaster or tiles. Here you may need the following tools: hammer, chisel, sledgehammer, hammer drill. The walls need to be cleaned to the main hard layer so that the renovation is of high quality. Remember that there may be electrical wires and pipes in the walls, so ensure the safety of these actions. Start working from top to bottom. First the ceiling, then the walls and floor.
- Do not touch the old door unit with the door yet. It should be removed after the rough finishing of the walls with plaster.
- Clean the room of all construction debris. Now the bathroom is ready for further renovation.
Redevelopment
A small bathroom is a common problem. Therefore, people often want to increase its area. Legal possibilities for redevelopment exist. You just need to understand which actions are permissible and which are prohibited.
You need to coordinate the work and order a redevelopment project in advance, before starting the work. So as not to do it “retroactively”. Otherwise, difficulties may arise later when selling such an apartment.
It is strictly forbidden to expand the bathroom at the expense of the living room or kitchen. It will not be possible to coordinate such a redevelopment (exceptions for apartments on the first floor and apartments with non-residential premises underneath).
It is permitted to enlarge the bathroom at the expense of non-residential premises, such as a hallway or storage room.
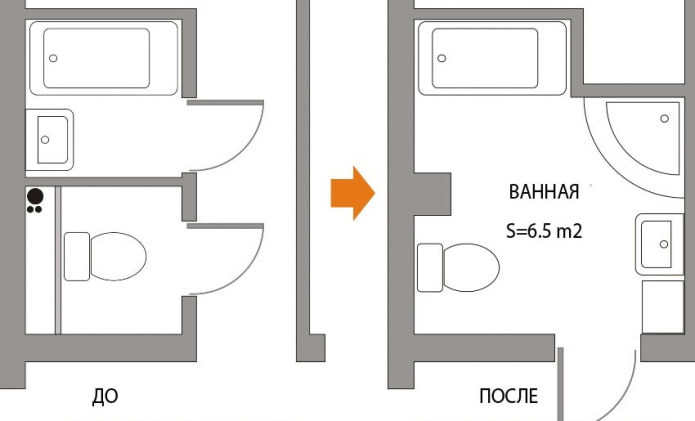
When combining a bathroom with a toilet, it is permitted to dismantle the partition between them. Such an alteration is not considered a redevelopment. Such works can be agreed upon upon completion, by making changes to the technical passport of the apartment.
Rough work
Once the bathroom has been cleared of debris, the repair should be continued in the specified sequence.
Major repairs usually involve replacing the electrical wiring. Therefore, according to the project, you should have provided for the locations of sockets, lamps, and switches in advance. Mark the locations of the old wiring on the walls and de-energize it.
Draw new lines for the wiring, as well as the locations of sockets and switches. The lines should be strictly horizontal or vertical. Remember, it is prohibited to lay grooves in load-bearing walls and floor slabs.
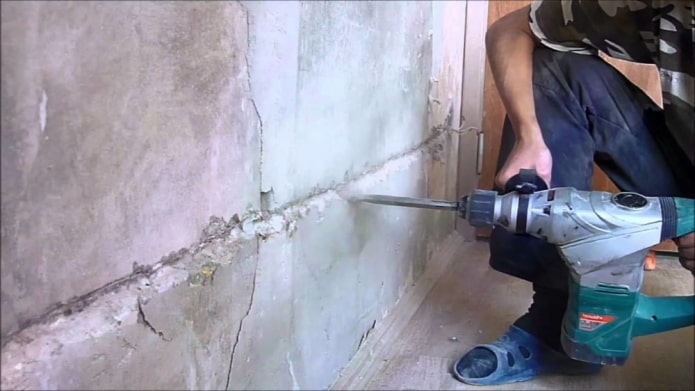
A hammer drill or grinder will help you make grooves quickly. They will cope with any wall material (brick, concrete). The standard groove depth is 25 mm and width is 25 mm. There are special attachments for a hammer drill to make holes for sockets and switches.
In old houses, in addition to replacing the electrical wiring, you have to change the water pipes. Polypropylene pipes are made instead of steel ones. The properties of these pipes allow them to be embedded in the wall. Mark out where the water pipes will run. Use the same tools to make grooves for them.
Taps, meters, and filters cannot be hidden in the wall. They must be accessible. But so that they are not conspicuous, they can be hidden behind a camouflage box with an access door. Everything is made to individual sizes.
After the chasing work is done, clear the room of debris.
The bathroom is a room with high humidity. Emergencies happen, so it is necessary to protect the interfloor ceiling from moisture and leaks. Proper waterproofing serves as a reliable barrier for water. It will prevent the appearance of mold and mildew. According to the technology, rolled (roofing felt or polyethylene film) or coating can be used as waterproofing.
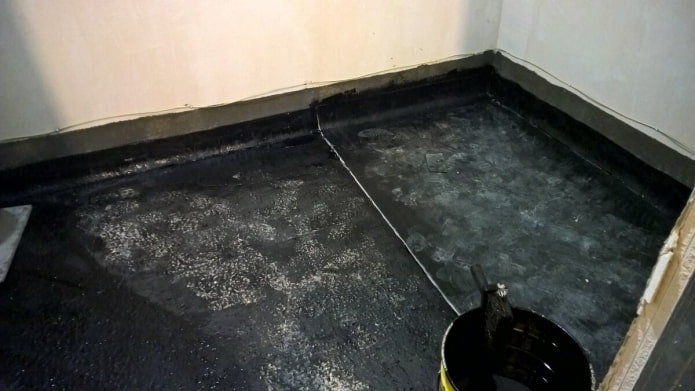
The waterproofing is laid on the subfloor under the finishing screed. Therefore, before installing the waterproofing, it must be prepared. The floor must be level, clean and dry. Treat it with a primer to improve adhesion.
Whatever material you choose for waterproofing, remember:
- It should cover not only the floor, but also go onto the walls by at least 15 cm.
- The waterproofing layer should be continuous, without cracks and voids.
- If the floor level differences are more than 2 cm, then first level the floor by pouring a rough cement screed.
A leveling screed is made over the waterproofing, which consists of cement and sand. If desired, you can insulate the floor with penoplex or lay a heated floor over the waterproofing. And then pour the screed. Give it 2-3 days to gain strength and continue working further.
Installation of communications
Spread a film on the dried screed and proceed to the next stage of the repair. It’s time to move on to installing the communications: water supply pipes and cables. These works can be done in any order.
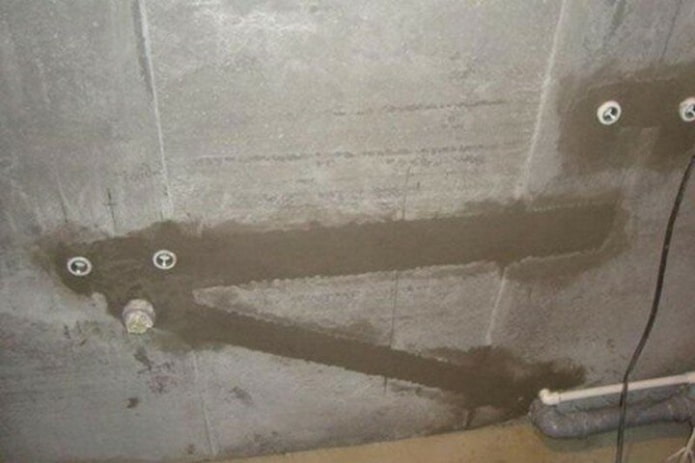
The cable is laid inside the grooves and, upon completion of the installation, is “ringed” with a special device. The cable can be laid in a special corrugated pipeline. Then the grooves are sealed with cement mortar or gypsum plaster.
The same is done with the installation of pipes in the grooves. After laying the pipes, the system must be tested to ensure that there are no leaks. After this, the pipe laying areas are sealed with cement mortar.
Before moving on to leveling the walls, you need to take care of the ceiling. Further actions will depend on the type of finishing: suspended plasterboard, stretch, paintable or PVC panels. Based on this, either make a frame, attach sheets of plasterboard, or putty and level for painting. A stretch ceiling can be made after tiling the walls with ceramic tiles.
Having finished working with the ceilings, it’s time to work on the walls. They need to be leveled. If the walls of the bathroom are very crooked, then first level them with cement-based plaster. Then putty and bring the walls to perfection. Any finish will fit well on smooth walls, be it tiles or plastic panels.
Finishing the floor, walls and ceiling
All surfaces are prepared. It’s time for the final finishing. Paint the bathroom ceiling with suitable paint or mount PVC panels on the frame. The actions depend on the type of ceiling. The installation of the suspended ceiling will have to be postponed and done after the final finishing of the walls.
First of all, the tiles are laid on the floor. If you have no experience at all in laying tiles, you may want to contact a specialist. After the tile adhesive has dried, the seams on the floor must be grouted with water-repellent grout. If the bathroom screen is to be tiled, then it is not necessary to lay tiles under the bathtub.
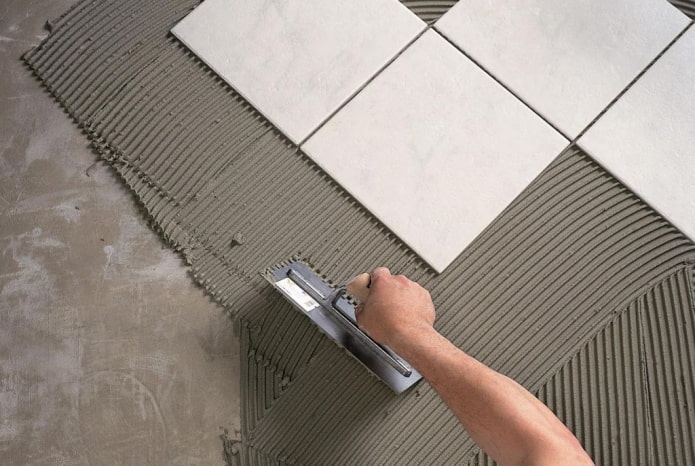
When the work on laying the floor tiles is complete. It is necessary to bring in the bathtub and install it on its legs according to the level. The joints between the wall and the bathtub are sealed with moisture-resistant silicone sealant. Connect the bathtub to the sewer pipes. To continue the work, to protect the decorative layer of the tiles, cover the floor along the entire perimeter with sheets of cardboard. At this stage, a screen under the bathtub is mounted from gypsum blocks.
They start laying tiles on the walls from the edge of the bathtub upwards. The bottom rows are mounted last. The screen under the bathtub is also tiled. After work, the tiles are cleaned of adhesive residue and the solution is allowed to dry completely.
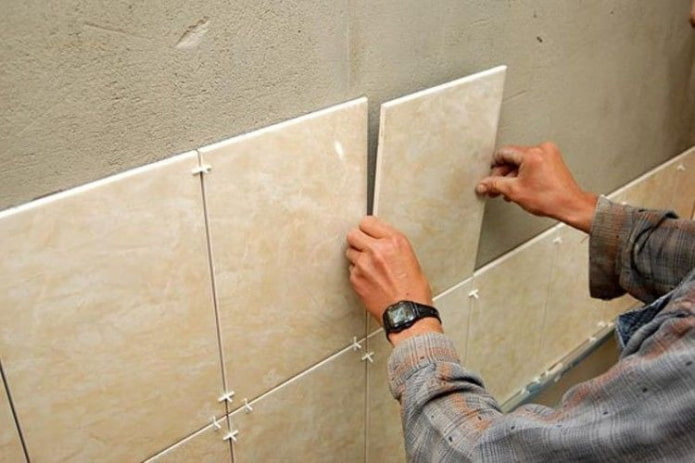
After completing the tiling work, all the seams are rubbed with water-repellent grout, immediately removing the excess. New doors are installed and a suspended ceiling is mounted. At this time, install the lamps, sockets, and heated towel rail.
Installing the plumbing
The last stage of the renovation is installing the plumbing.
Install the toilet in its place and mount the cistern. Connect the toilet to the sewer outlet using a corrugated pipe. Connect the cistern to the water supply using a flexible hose.
Install the sink. The sequence of these works is individual and depends on the method of attaching the sink. Then connect the drain pipe of the washbasin siphon to the sewer.
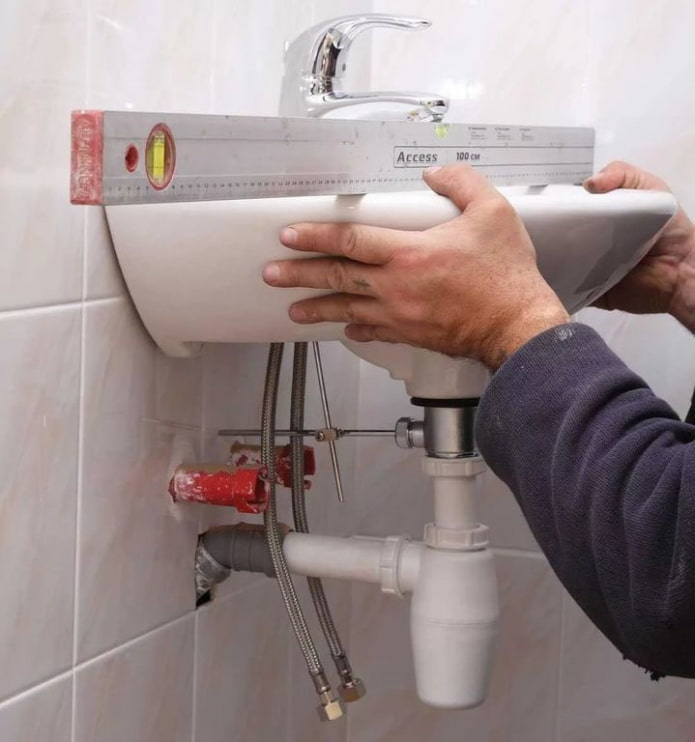
Fauces are installed on the sink and bathtub. A fan with a check valve is installed in the ventilation duct. If the washing machine is to be located in the bathroom, put it in place and connect it to the sewer and water supply.
It remains to hang the cabinets, hang mirrors and other accessories. Do-it-yourself bathroom renovation is ready.
This is approximately the path that those who want to do the bathroom renovation themselves will have to take. By adhering to the described sequence, you will avoid irreparable mistakes in the renovation.
Now reading:
- Perfect Roof and Facade Color Combinations for Your Home (21 Photos)
- Bean bag chair: 39 photos in the interior, tips for choosing and its features.
- 15 creative ways to use burnt wood in the country to decorate your home and plot.
- Bed at a height: more than 40 photos of interiors and modern design solutions.
- How to decorate a bathroom on a budget? 7 best affordable solutions.