What is it?
As the name suggests, a self-leveling floor is a liquid floor covering that hardens after installation. But how is it different from a regular cement screed?
A self-leveling floor for a home is a finishing coating that does not require additional coating. It is also convenient to use as a base for laminate, parquet, linoleum or tiles, thanks to its self-leveling properties. After hardening, you will get a perfectly flat surface on which you can easily lay any finishing materials.
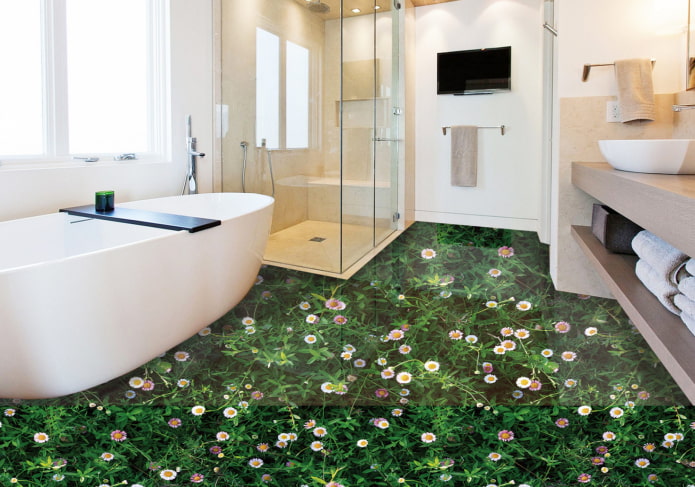
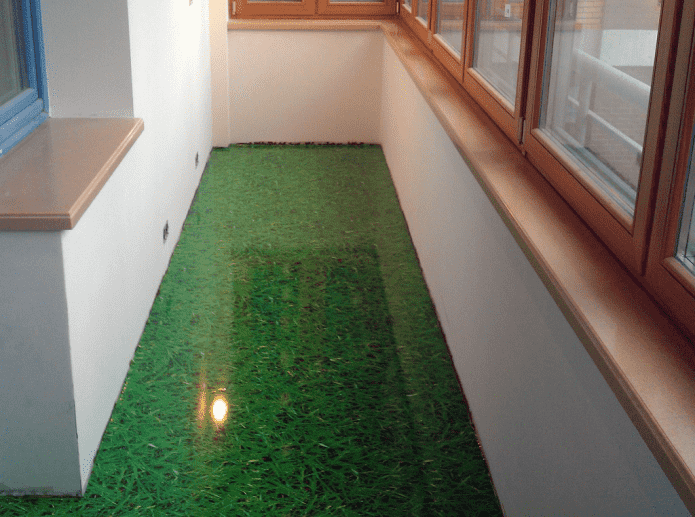
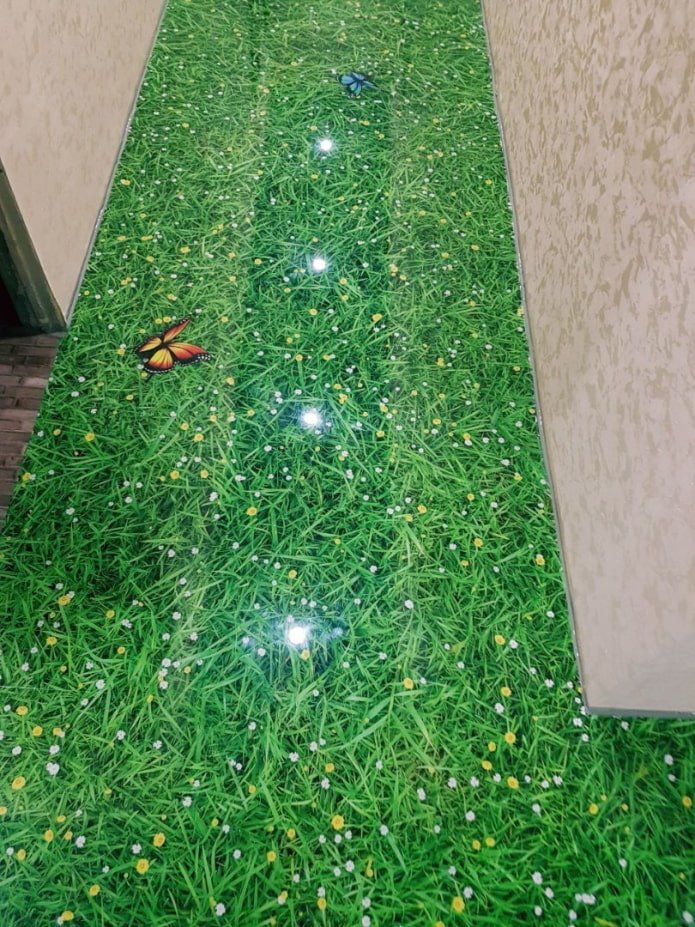
The photo shows a pattern of meadow grass on the floor
Pros and Cons
In addition to many advantages, a self-leveling floor also has some disadvantages. You need to evaluate the feasibility of such a solution before starting its installation.
- Monolithic. The absence of cracks and joints is not only aesthetically pleasing, but also easy to maintain.
- Hygienic. Fungi do not form on the surface or inside, and it is also not afraid of pests. It can be washed even with aggressive agents.
- Durability. The advantage of self-leveling floors is that they can last 30-40 years.
- Wide selection of colors and patterns. Depending on your preferences, order a single-color, textured or 3D image.
- Ease of application. You can pour the composition yourself.
- Wear resistance. The coating is not afraid of impacts and is suitable for areas of active use.
- Small thickness. A thin layer of 1-5 mm will not “eat up” the space and can be used even in small living spaces with low ceilings.
- Safety. The fill is non-flammable and does not emit toxic substances into the air.
- Leveling. With simple manipulations, you can easily hide minor defects in the base.
- Difficulty of replacement. If you are tired of the self-leveling floor, it will not be easy to dismantle. But you can always lay a new floor covering on top or paint the fill.
- High cost. Depending on the type and necessary work, the price per 1 sq. m will cost at least 400 rubles.
- Difficulties with repairs. You cannot replace one plank, as on parquet or laminate.
- Need for preparation. Violation of the surface treatment technology before pouring will cause destruction and peeling.
Which image to choose?
By appearance, there are:
- Monochrome. It can be of any color – white, gray, beige, red, black. This option can be called the most universal.
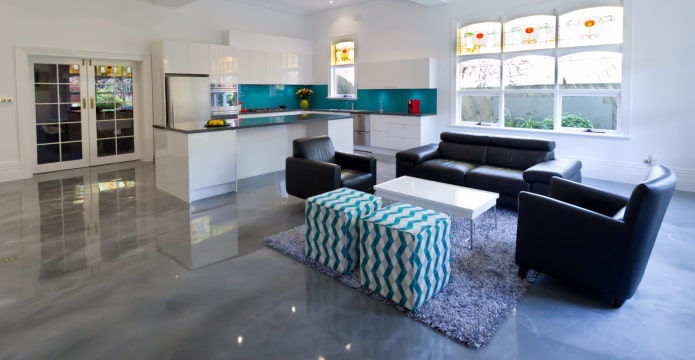
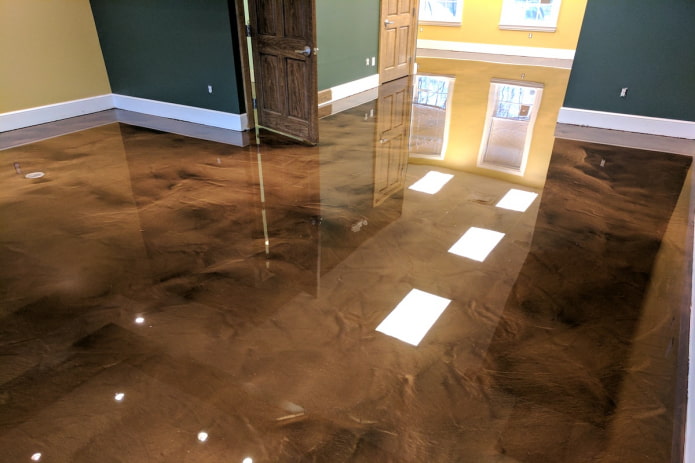
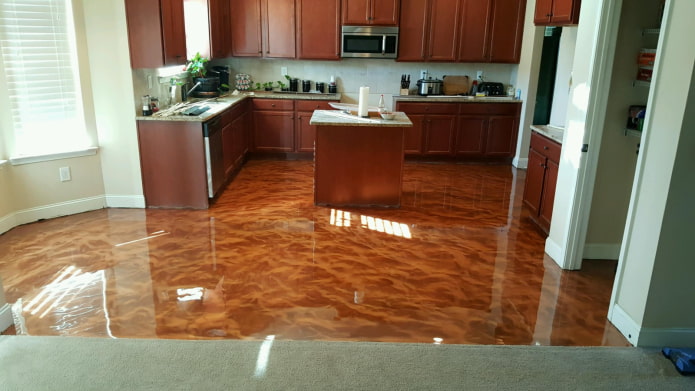
- Textured. The image of sand, brick, wood, tiles or any other texture is poured with a transparent composition. As a result, you can get a realistic imitation of concrete, but it will be easier to maintain and more pleasant to walk on.
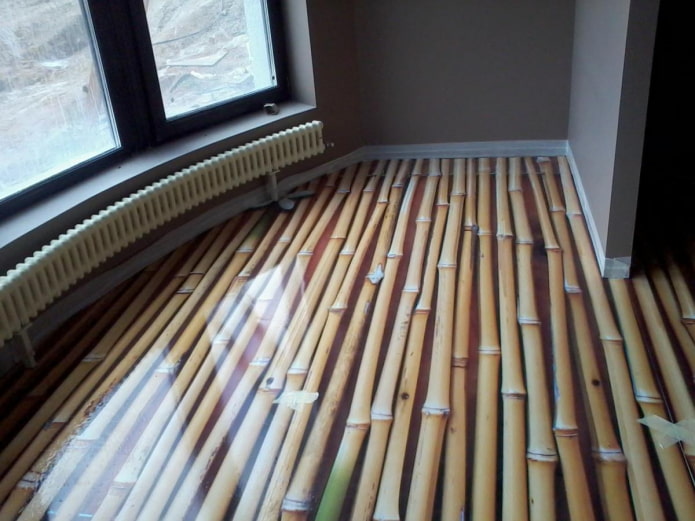
The photo shows a solid floor covering for a room and a loggia
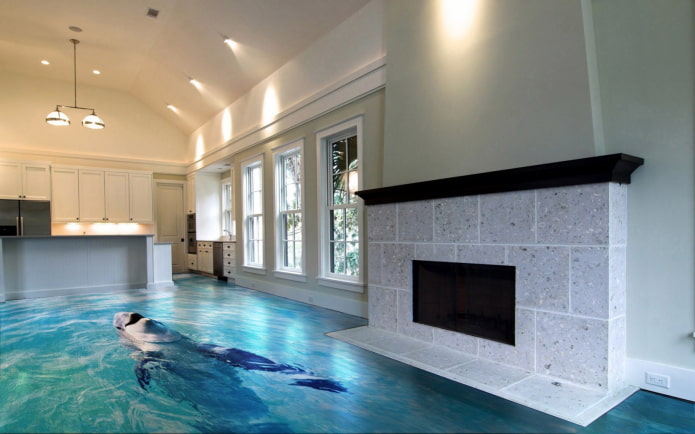
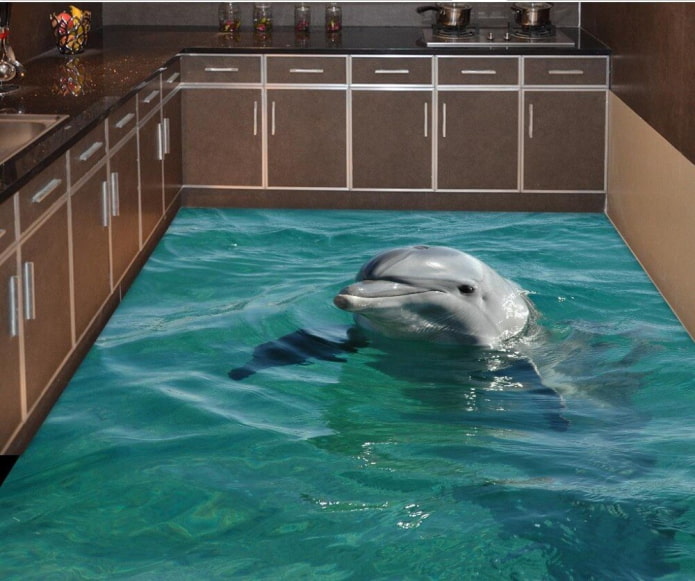
- 3D drawings. The most common motifs are the underwater world, the sea, grass, mountains, plants, animals, space and cityscape. When choosing this type of self-leveling floor, do it consciously: the finish will last for many years – won’t you get tired of the decorative image of a dolphin or flowers in 5-10 years?
3 tips for choosing a floor with a 3D effect:
- Coordinate the location of the picture with the future layout so that important parts of the picture are not under the furniture.
- Choose neutral images in real scale, instead of enlarged and close-up ones.
- Furnish the room minimalistically, focusing on the self-leveling floor.
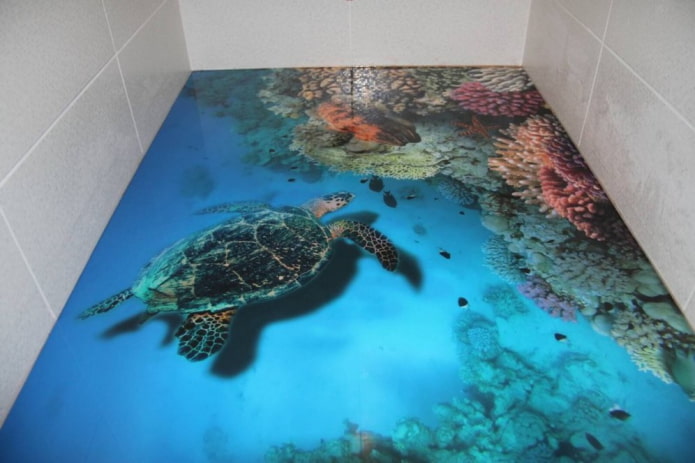
The photo shows a 3D photo with a turtle
Which material is better choose?
Self-leveling floors are distinguished not only by appearance, but also by composition.
- Epoxy. The resin is not afraid of chemicals and will last a long time. Due to the hygienic nature of the coating, it is suitable even for hospitals, and at home it is ideal for a bathroom, kitchen or children’s room. Due to the large assortment of designs, epoxy self-leveling floors are loved by owners of residential premises. Among the disadvantages is relatively low impact resistance, but at home it is almost impossible to damage the coating.
- Methyl methacrylate. Even with a pouring thickness of no more than 5 mm, such a surface is particularly durable. The composition withstands temperature and humidity changes, is not afraid of ultraviolet rays. Rapid hardening can be considered both a minus (you will have to work quickly) and a plus (ready for load in 2-3 hours). However, it is not recommended to wash with aggressive substances and rub with abrasives.
- Polyurethane. If reliability is important to you, choose polymer materials. They easily withstand differences in humidity and temperature, impacts and mechanical loads, cleaning with aggressive agents and abrasives. But be careful when laying – too much humidity can negatively affect the result.
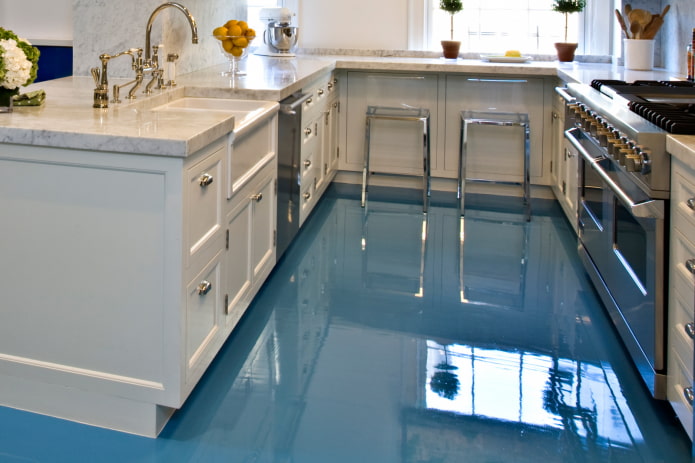
The photo shows a single-color blue self-leveling coating
- Acrylic-cement. This type is more suitable for industrial workshops. The acrylic surface is non-slip, matte, and has moisture-proof properties. Withstands temperatures from -60C to +110C.
How to install?
We have already said that you can create a self-leveling floor in your apartment yourself. Let’s look at the process step by step:
- Preparing the base. Concrete, tiles and wood are subject to pouring. Dismantle the baseboards and poor-quality coating, clean from dirt and dust. Take care of the minimum humidity, it should not be more than 10%. Degrease, sand and, if necessary, level the base.
- Primer. Apply the first coat of primer, wait for drying time according to the instructions.
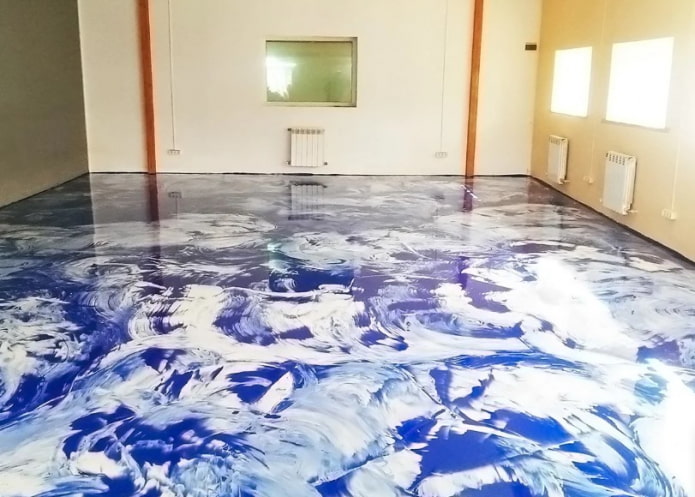
The photo shows an abstract composition for the living room
- Base. When the primer has dried, pour the base polymer, moving from the window to the door. Do not rush – pour a 30-40 cm strip, spread the composition with a roller with needles to a thickness of 2-3 mm, wait 3-5 minutes, repeat with a new strip.
- Image. After drying, carefully glue the fabric with the photo. If it does not have a self-adhesive base, use polymer as glue.
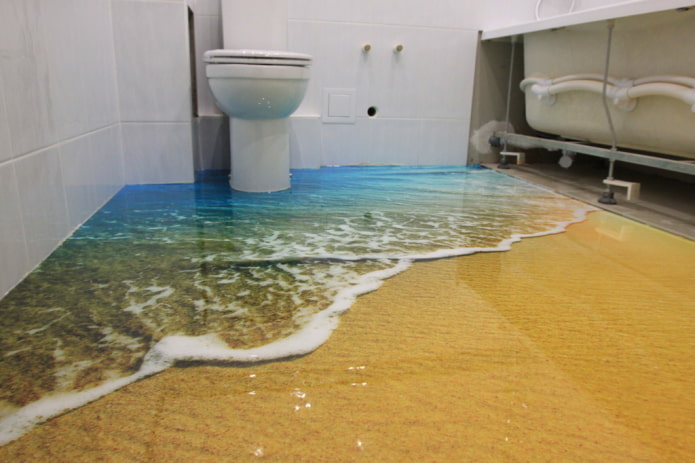
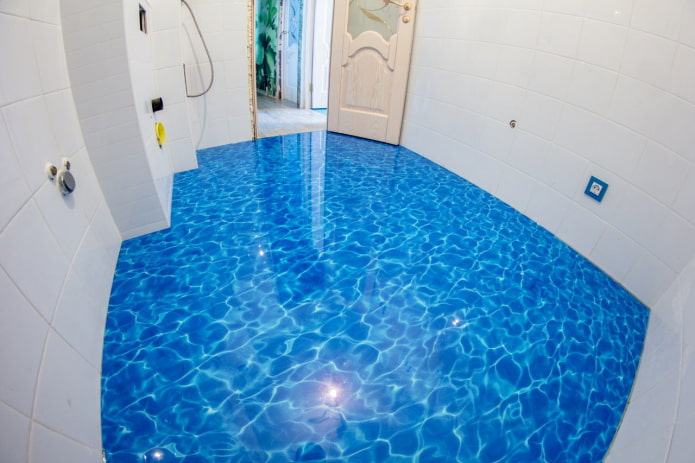
The photo shows the surf in the bathroom
- Finish. The top coat is applied 1-3 mm thick in the same way as the base. The complete drying time depends on the type and manufacturer – read the instructions on the packaging.
Care Features
The service life of the self-leveling floor depends not only on high-quality installation, but also on further care:
- Study the features of your material: polyurethane and epoxy can be cleaned with anything, and methyl methacrylate is afraid of rough brushes and aggressive chemicals.
- Place pieces of fabric or paper under the legs of furniture before rearranging. Put soft buffers on chairs and tables to avoid accidental scratches.
- Do not walk on the surface in high-heeled shoes or hard soles — it is better to walk barefoot, in socks or soft slippers.
- Polish the coating with special wax or mastic 1-2 times a year to keep it smooth.
3D Floor Design Ideas in the Interior
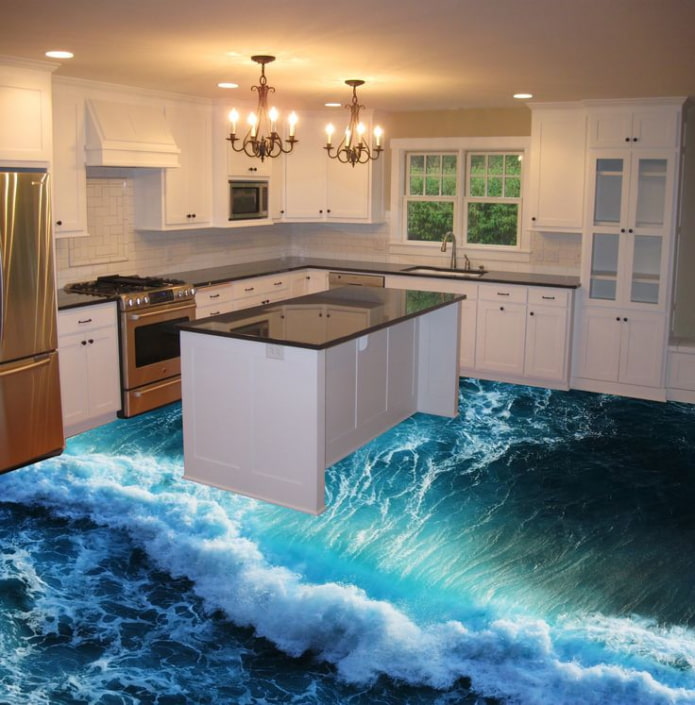
The design of the self-leveling floor covering is chosen based on the functionality of the room. A marine theme is suitable for a bathroom, flowers for a living room or bedroom, and abstraction for a kitchen.
Photo of a self-leveling floor in the kitchen
Due to the absence of seams and joints, this is an ideal solution for maintaining cleanliness and order in the cooking area. Depending on the style of the interior, choose floral motifs, images of animals, natural and urban landscapes. Looks beautiful imitation of sand, concrete, metal.
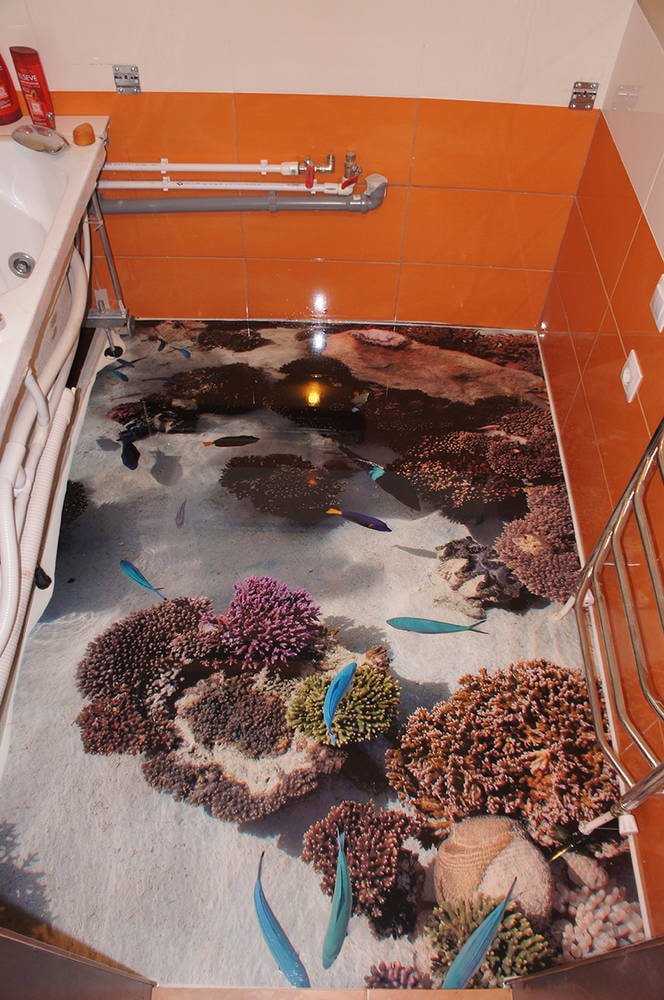
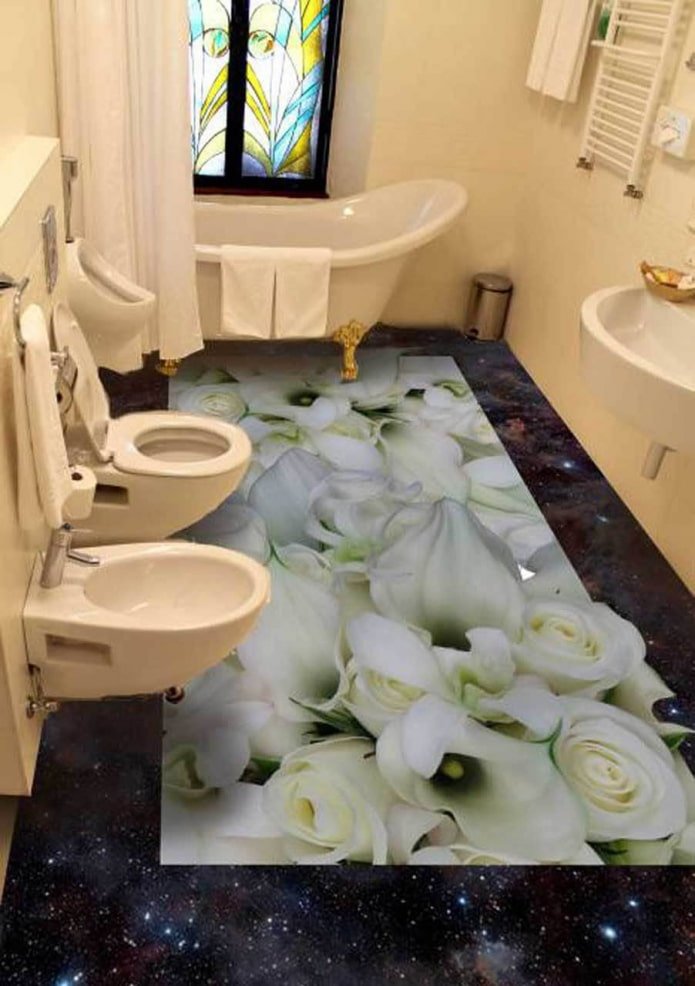
A selection of photos of self-leveling floors in the bathroom room
Self-leveling floors in the bathroom are preferred primarily due to their characteristics: hygiene, resistance to moisture and temperature. The most interesting images are those of the sea depths, waves, and river sand. Combined with heating, you will feel like you are entering a warm sea.
Self-leveling floor on the balcony
Many owners use this covering for the loggia, because it is not afraid of subzero temperatures, water and does not require careful maintenance. Use as a rough (under linoleum, tiles or laminate) or fine finish.
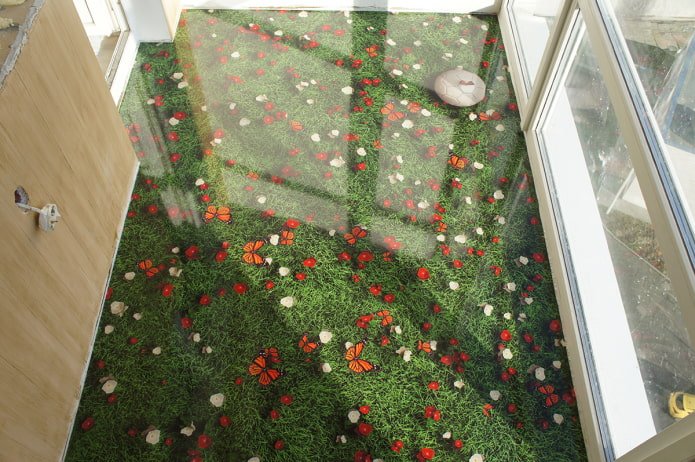
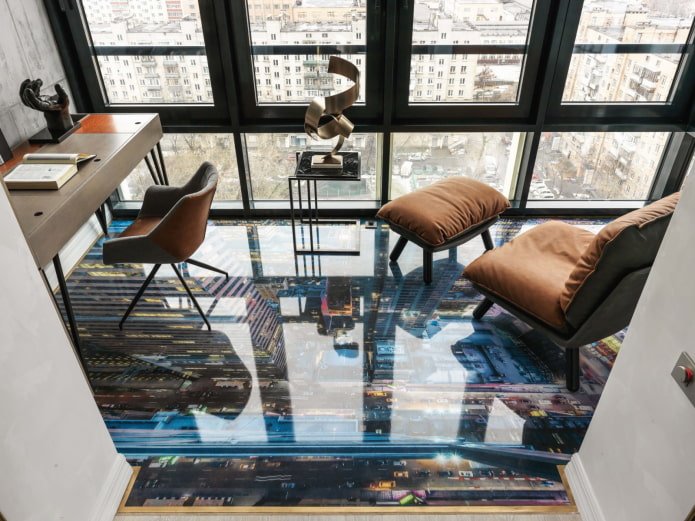
The photo shows an example of an urban landscape for a loggia
A self-leveling floor in toilet
The advantages of filling in a separate bathroom are the same as in a piecework one. The choice of image is also no different – sea, grass, pebbles.
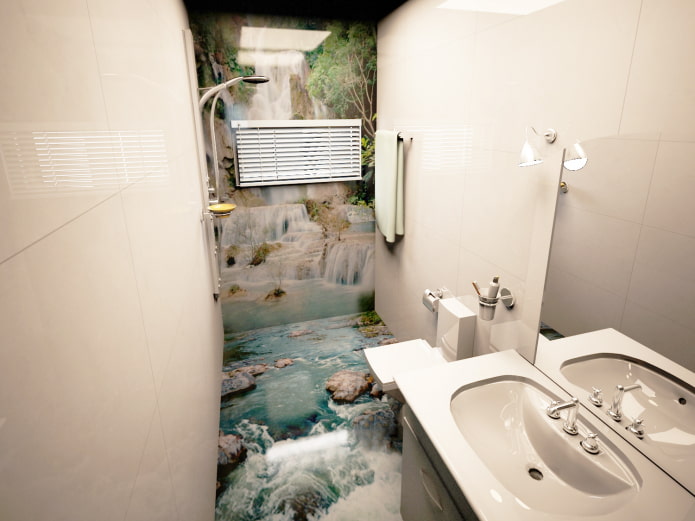
The photo shows a three-dimensional composition on the floor and wall
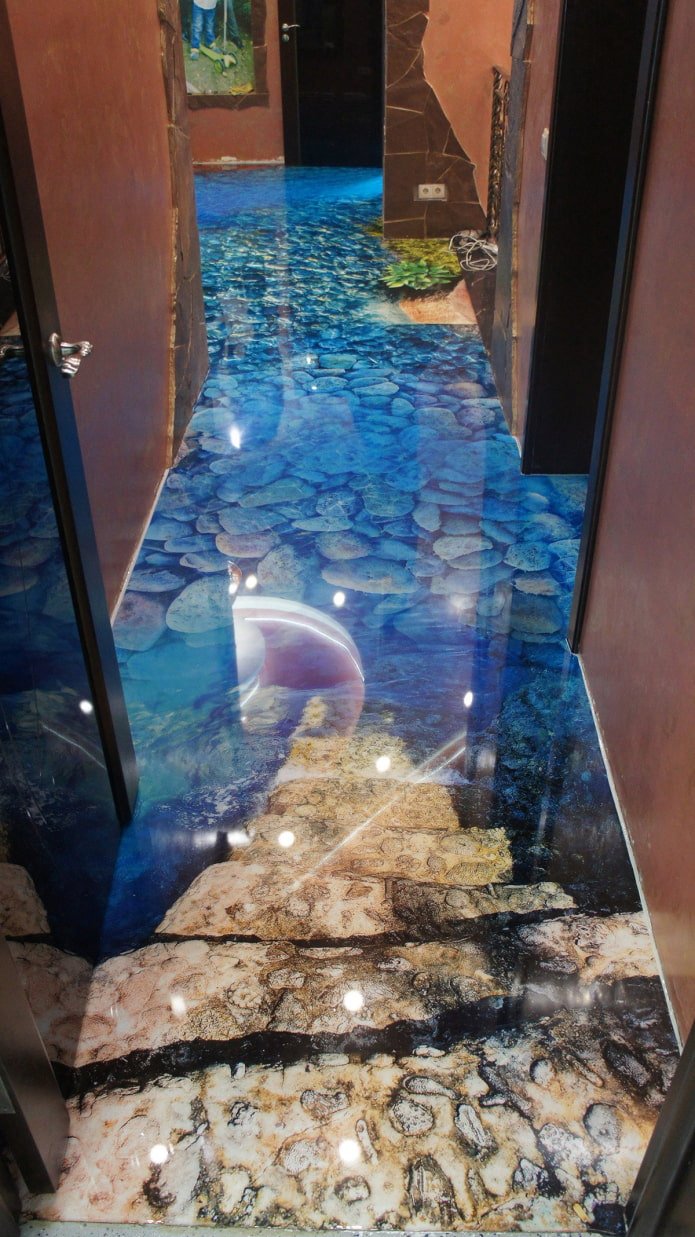
Examples in the hallway interior
Choose a non-slip surface to avoid falls in wet shoes. For the hallway, the most neutral color scheme and patterns are those that imitate stone, concrete, wood, pebbles, grass, and sand.
Living room ideas
Self-leveling floors in the living room are rare, since easy-to-clean and waterproof materials are not needed here. However, a flower arrangement, a city panorama or optical illusions can become a designer highlight of the hall.
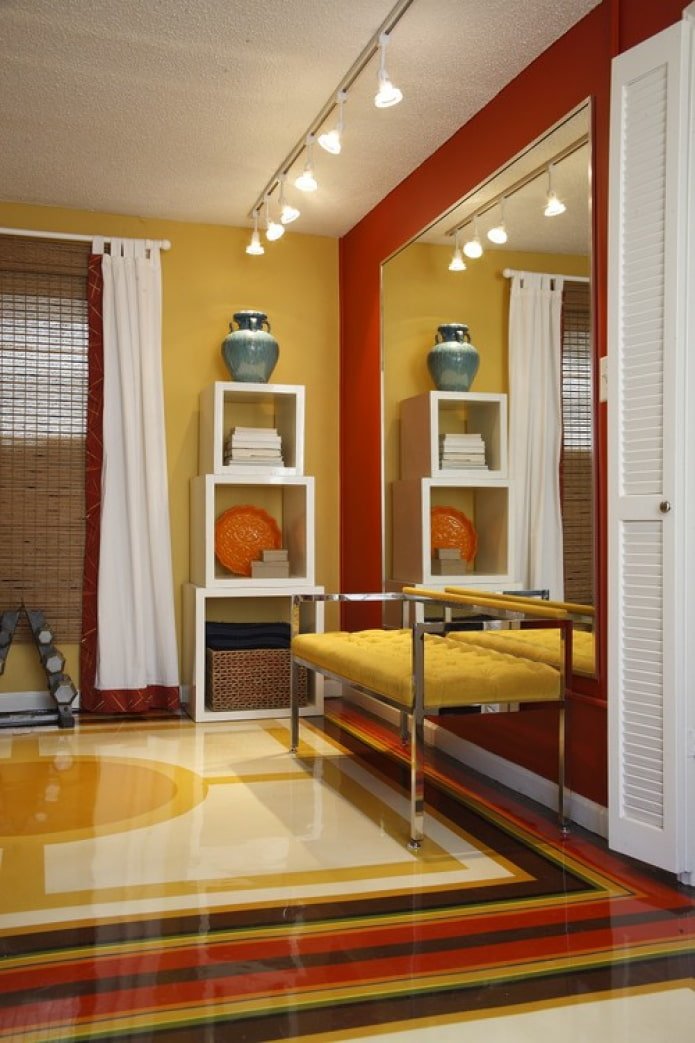
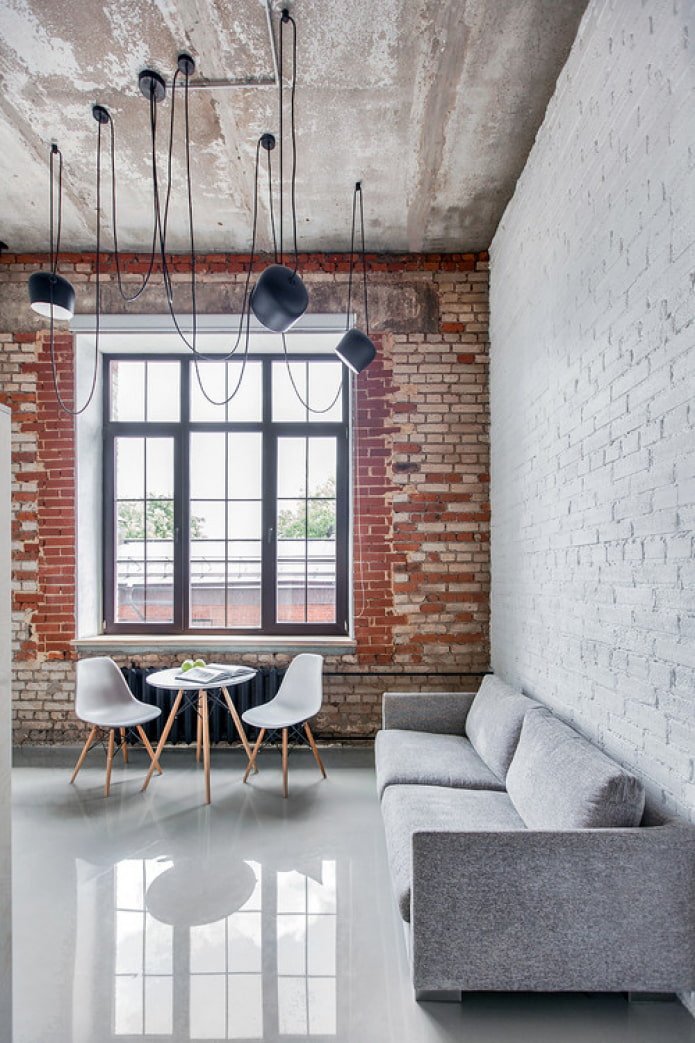
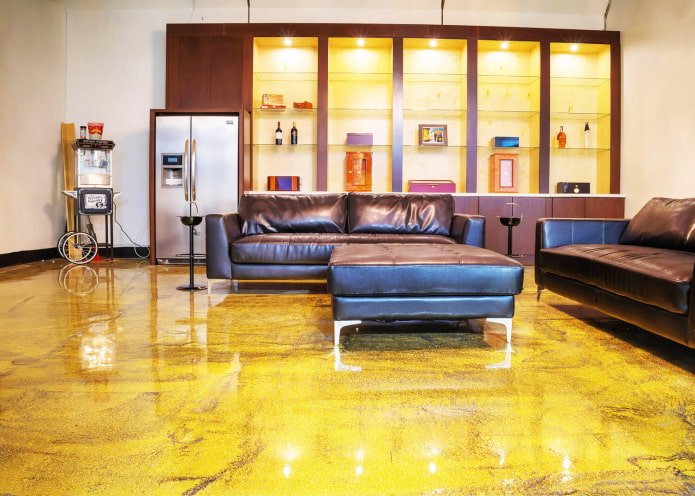
The photo shows an unusual textured floor in guest room
Photo of bedroom floors
When choosing a photo for a self-leveling floor in the bedroom, do not forget that this room is intended primarily for relaxation. Nature views – rivers, grass, trees – are calming. Imitation marble will fit well into a classic interior, and rough stone – into a loft.
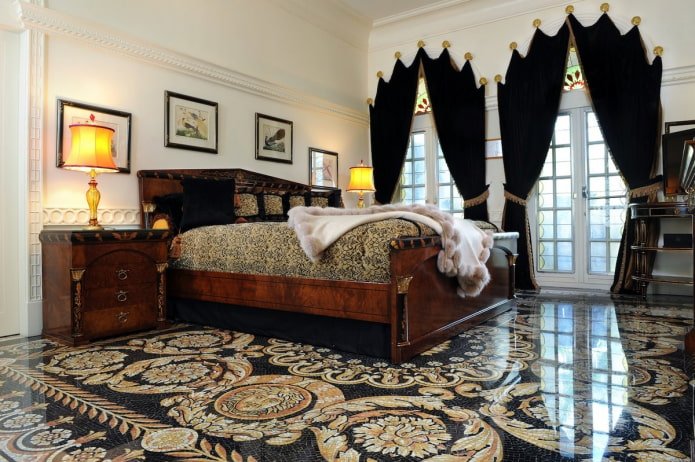
The photo shows imitation stonework using polyurethane
Now reading:
- Grunge style in the interior: key features and ideas with photos.
- Gray Wallpaper for Bedroom: Creative Design Ideas and 70 Inspiring Photos.
- Glazed tiles in the interior: advantages and disadvantages (29 photos)
- Futuristic Interior: Design Ideas, Principles and Inspiring Photos
- Forged entrance doors: design ideas, photos in the interior and exterior of the house.