Pros and cons
Advantages of whitewashing the ceiling:
- Economical. If applied independently, the finished coating will cost about 40-50 rubles per 1 square meter.
- Environmentally friendly. Most often, chalk or lime – natural minerals – are used to achieve a white color.
- Simplicity. Unlike the same painting, anyone can whitewash.
- Protection from fungus. Whitewashing has bactericidal properties, does not allow mold to grow.
- Matte snow-white texture. Relevant in recent years.
- Vapor permeability. The ceiling surface “breathes” – another blow to fungus.
Unfortunately, whitewashing the ceiling also has disadvantages:
- Short-lived. White color in living rooms (bedroom, living room) lasts for a maximum of 3-4 years, in kitchens, bathrooms and even less – 12-24 months.
- The need for painstaking preparation. Before whitewashing the ceiling, it must be thoroughly cleaned, leveled and primed. Otherwise, painting will emphasize the surface imperfections.
More precise pros and cons depend on what composition is used to whitewash the white ceiling. We will talk about possible options, their features in the section “What can be whitewashed?”.
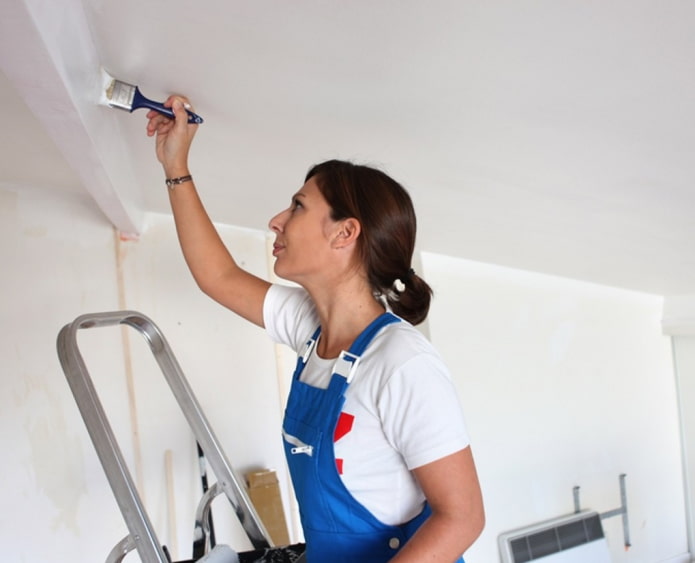
How to prepare the ceiling?
Like any finishing work, whitewashing the ceiling begins with preparation. First of all, take all things out of the room. If you were unable to remove large items (such as a wardrobe or sofa), cover them tightly with film.
Important! The process of removing the old coating and applying a new one is quite dirty, put on clothes that you don’t mind getting dirty, don’t forget to protect your eyes with glasses and your hair with a scarf or any head covering.
Removing the Old Layer
Applying to an existing coating is not recommended: the old whitewash should be removed. For this, you will need:
- a bucket of warm water (clean or soapy);
- a sponge rag; a spatula;
- a flat basin, tray or pallet.
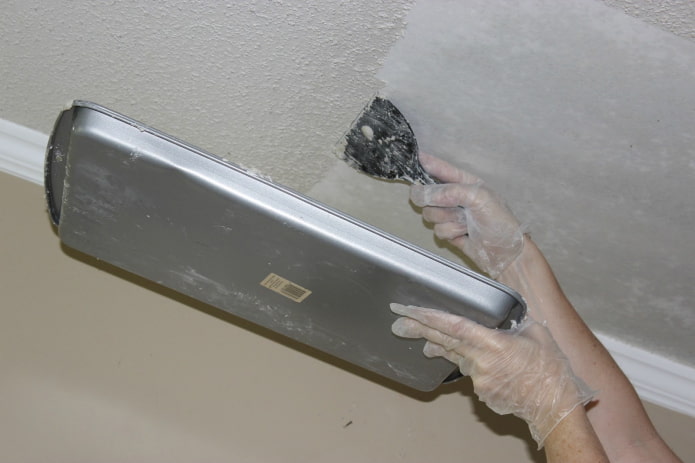
Mentally divide the area of the room into small squares, act gradually: thoroughly soak the coating in the area, remove it with a spatula, placing the tray under the crumbling whitewash (this technique will save you from washing the floor). You need to act quickly – if the water dries, you will have to treat the area again.
Advice! For more effective and quick soaking, use a garden pneumatic sprayer.
It is quite easy to wash off chalk whitewash, but if ordinary water does not take the coating, most likely you are dealing with lime whitewash. To remove it, dissolve 2 tablespoons of soda and 3 tablespoons of table vinegar in 10 liters of warm water.
Then follow the described technology – moisten and scrape. At the end of the dismantling stage, you will need to do wet cleaning: you can wash off the remains with a damp cloth or brush.
Important! If the old whitewash is quite strong, you can leave it. But the fresh layer must be made of the same material: chalk on chalk, lime on lime. To understand what the ceiling was whitewashed with, just run a wet finger over it. Are there marks on your hand? It’s chalk. No? Lime.
Rough preparation
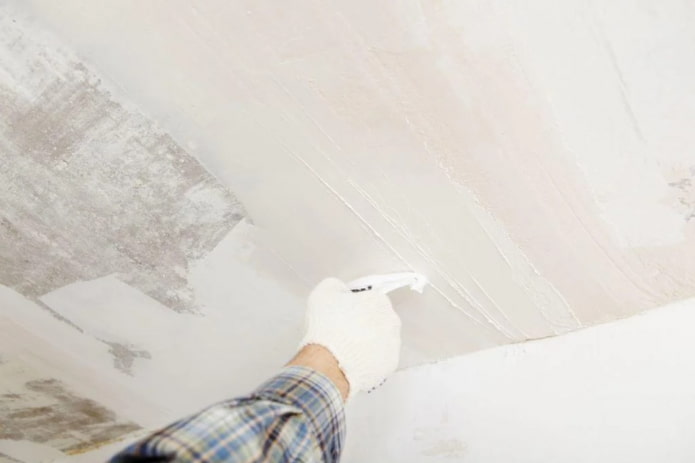
Includes plastering (if necessary), filling cracks and uneven areas, leveling, priming. The process depends on the specific case and type of surface:
- Concrete base. It may be necessary to seal the joints between tiles with painter’s tape, general leveling with finishing putty, sanding, priming.
- Drywall. Preparing drywall is a little easier: just cover the seams, apply a thin layer of putty to even out the color and remove dark spots, and prime.
When the primer has completely dried (usually 24 hours), we proceed directly to whitewashing the ceiling with our own hands.
What can you whitewash with?
There are 3 most popular solutions for whitewashing: they have their own characteristics, advantages, and disadvantages.
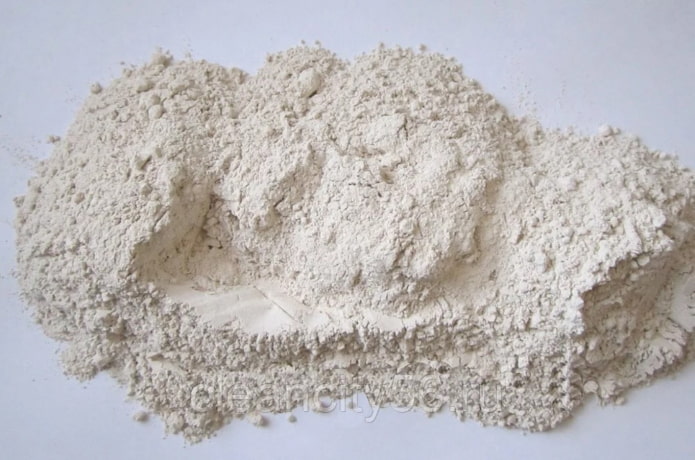
Chalk
A natural dye that gives a natural whiteness. Chalk is absolutely odorless, does not cause allergies, and is breathable. In addition, this material is the cheapest of those presented.
Among the disadvantages – the treated surface crumbles (dusts), fear of water excludes the possibility of using it in damp rooms (bathroom, kitchen). In addition, it will not work to whitewash the walls along with the ceiling, since the chalk smears when touched.
Advice! To make the chalk white stronger and whiter, prepare a special solution. For 5 liters of hot water, take 3 kg of chalk powder, 15 g of blueing and 60 g of wood glue (responsible for high viscosity). Mix everything thoroughly and you can get to work!
If the mixture flows off the knife, you can add chalk little by little, stirring thoroughly after each portion.
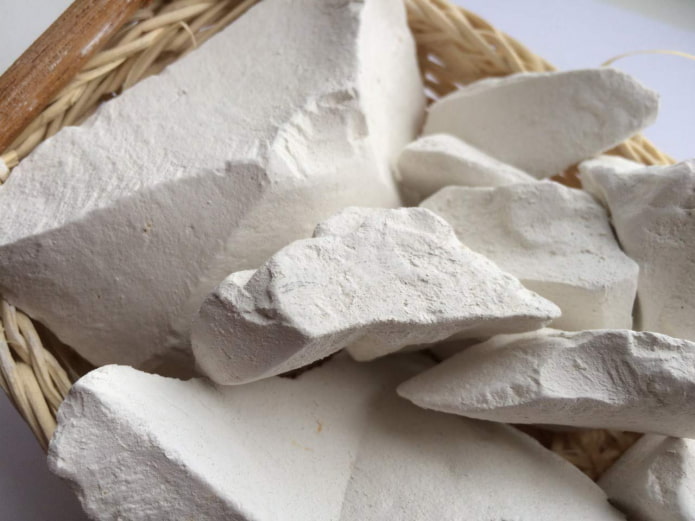
Lime
Whitewashing the ceiling with lime mortar is a little more expensive than with chalk. In addition, after complete drying, lime begins to absorb moisture from the air, thereby lowering the humidity level in the room. The last drawback is the shade, it is more dirty white than snow-white. But this can be fixed!
But slaked lime does not stain, does not crumble, and protects the surface from mold.
To improve the properties of slaked lime, it is mixed with special additives.
- Salt. Pre-added salt will help increase the strength of the applied whitewash.
- Wood glue. Are you going to apply the lime composition not only to the ceiling, but also to the walls? Add glue – with it, the treated surface will not smear.
- Soap. A little laundry soap is responsible for elasticity: no more streaks or brush marks.
Water-based paint
You can’t make water-based paint yourself – you need to buy it ready-made. This fact is both a plus (you don’t need to waste time and effort on mixing) and a minus (ready-made compositions are several times more expensive). But water-based paint lays down more evenly, does not fade or turn yellow, and is not afraid of mechanical impact.
What tools will you need?
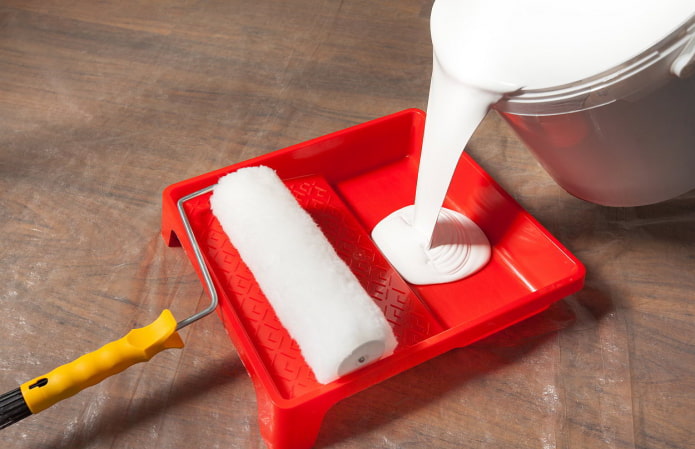
Before whitewashing the ceiling, first prepare everything you need:
- A bucket in which to mix the solution.
- A construction mixer (a drill with an attachment).
- A natural brush, a paint brush, a roller with a tray, a spray gun or a vacuum cleaner – depending on what you plan to apply the whitewash with.
How to whitewash correctly?
When the mixture is selected and ready, the right tool is found, you can start whitewashing.
Step-by-step instructions
Before starting work, it is important to know some rules:
- Pre-wet the base if you chose slaked lime for the work.
- Using a brush with natural bristles, carefully paint hard-to-reach places: corners, joints.
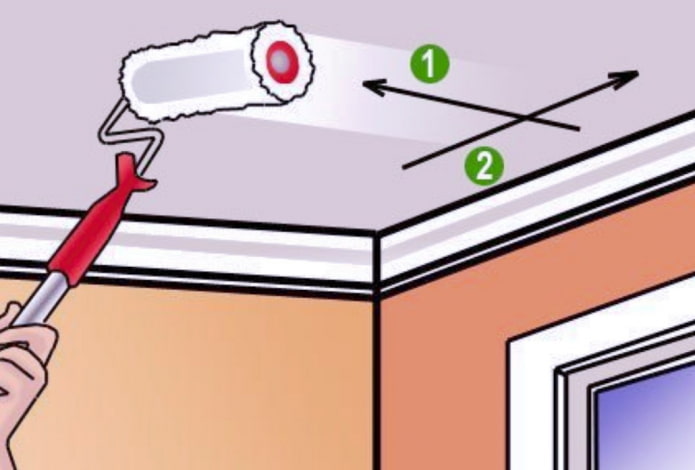
- Apply the first layer perpendicular to the wall with the window.
- Wait for the first layer to dry (5-6 hours).
- Put the second layer perpendicular to the first (parallel to the window).
Important! Go over the previous one by a few centimeters with each new stroke – this way you can avoid “bald spots” (unpainted areas).
To ensure that your efforts are not wasted, do not open the windows and protect the freshly painted surface from drafts until it dries completely. As with wallpaper, the wind blowing around the apartment is destructive to whitewash.
Water-based paint is applied according to the same principle, but sometimes it can behave unpredictably: it can go in spots, stripes. If this happens, sand the ceiling in a circular motion with a fine abrasive, the stripes should disappear.
Video for beginners
Watch an unusual recipe for high-quality chalk whitewash with detailed instructions:
A detailed description of the preparation of the lime composition:
You will learn the secrets of easy and quick ceiling painting from the third video instruction:
Although modern craftsmen consider whitewashing an outdated finishing material, it still has its connoisseurs who like the economy, environmental friendliness of whitewash and the ease of its use. Whitewash is used not only for ceiling decoration, it is also paint the walls inside and outside the house.
Now reading:
- creative ways to decorate the septic tank hatch on your property.
- Brown shades in the interior: combination options and photo examples
- Discover the All-New BMW X1: A Luxury Compact SUV
- Blue in the interior: 89 photos with ideas for color combinations and design
- Original ideas and 60 photos of decorative bio-fireplaces for your interior.